A Complete Step-by-Step Guide to Growing Potatoes in Your Garden

Ireland is known for its potatoes. Rather than walking down to the shop every time you need potatoes for a recipe, why not try growing them in your garden this year? Here’s a complete, step-by-step guide on how to grow potatoes at home in your garden.
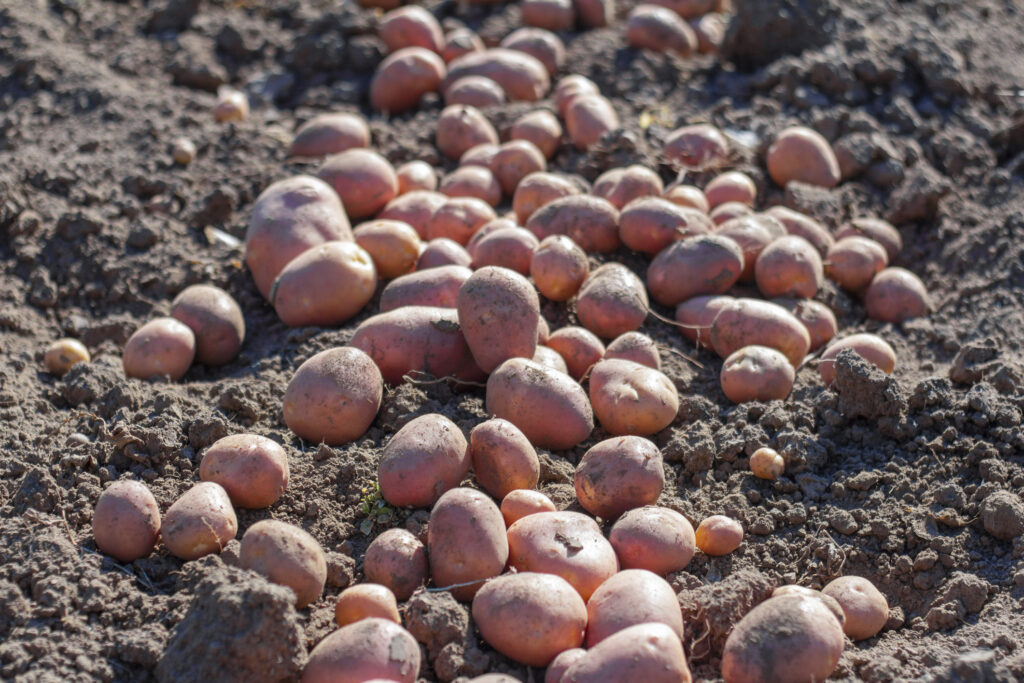
What Types of Potatoes Are Best for Growing?
If you're planning to grow potatoes in your garden, it's important to select the right variety. The type of potato you choose depends on your level of experience with growing them, as well as how quickly you want them to mature. Keep in mind that selecting potatoes from a supermarket and planting them may not yield the best results. These potatoes are often treated with a sprout inhibitor, which prevents them from sprouting in your kitchen, but can also impact their growth in the garden.
Potato Varieties
Seed potatoes (these are what’s used to plant potatoes instead of seeds) are grouped together in classifications called First Earlies, Second Earlies, and Maincrop potatoes. If you’re learning about growing potatoes as a beginner, we recommend choosing a variety in the First or Second Earlies category. They often take up less space, making them the better variety if you’re planning to grow potatoes in pots, containers, or raised beds.
First Earlies:
- Plant these potatoes in early spring, between mid-March and mid-April
- Be ready to harvest, starting in July
Second Earlies:
- Plant these potatoes in early spring, between mid-March and mid-April
- Be ready to harvest from July to September
Maincrop Potatoes:
- Plant these potatoes from mid-April through the summer
- Be ready to harvest these in late autumn
What Materials and Tools Are Required for Growing Potatoes?
You’ll need to gather up the appropriate materials and tools to help you grow your potatoes successfully, including:
- Disease-free seed potatoes
- Fertile, loose, well-draining soil
- Compost
- Fertiliser
- Mulch (optional)
- Straw (optional)
- Watering can or watering source
- Gardening gloves
- Gardening fork
- Appropriate container (optional)
What to Know Before Planting Potatoes
Before you start using our potato growing guide, you need to know the basics of planting and growing these crops. Understanding how long it takes to grow, and therefore how much time you should give yourself (and your crops) to sprout, is crucial to a successful harvest. Plus, you’ll need to give each plant plenty of space so they’re not growing on top of each other and competing for space under the ground. We’ll cover all of that below!
How Long Does It Take to Grow Potatoes and When is the Best Time for Growing Them?
Determining the best time for growing potatoes depends on the variety you’ve chosen. First and second earlies need to be harvested in the July to September timeframe.
- First earlies take roughly 10 weeks until they’re ready to harvest, once they’re in the soil. They should be planted between mid-March to mid-April, although they will still grow if they’re planted in May.
- Second earlies take roughly 13 weeks to grow before they’re ready for harvesting. However, they can be planted between mid-March until late May, and they can be harvested through September.
- Finally, maincrops take the longest to grow before they’re ready to harvest. They can also be planted between March and late May, but they require 15+ weeks before they’re ready to harvest.
You may need to give all varieties 4-6 weeks to sprout or “chit“ properly. This means you can start chitting potatoes around mid-February to prepare for March planting.
How Much Space Do Potatoes Need?
First and second earlies are perfect if you’re learning how to grow potatoes as a beginner. They don’t require as much space as maincrop varieties do. First and second early varieties need to be spaced at least 30cm apart within their row. Each row needs to be 60cm apart from one another. Maincrop varieties require more space. Plant these 38cm apart within their row. Each row should be 75cm apart.
A Step-by-Step Guide to Planting Potatoes
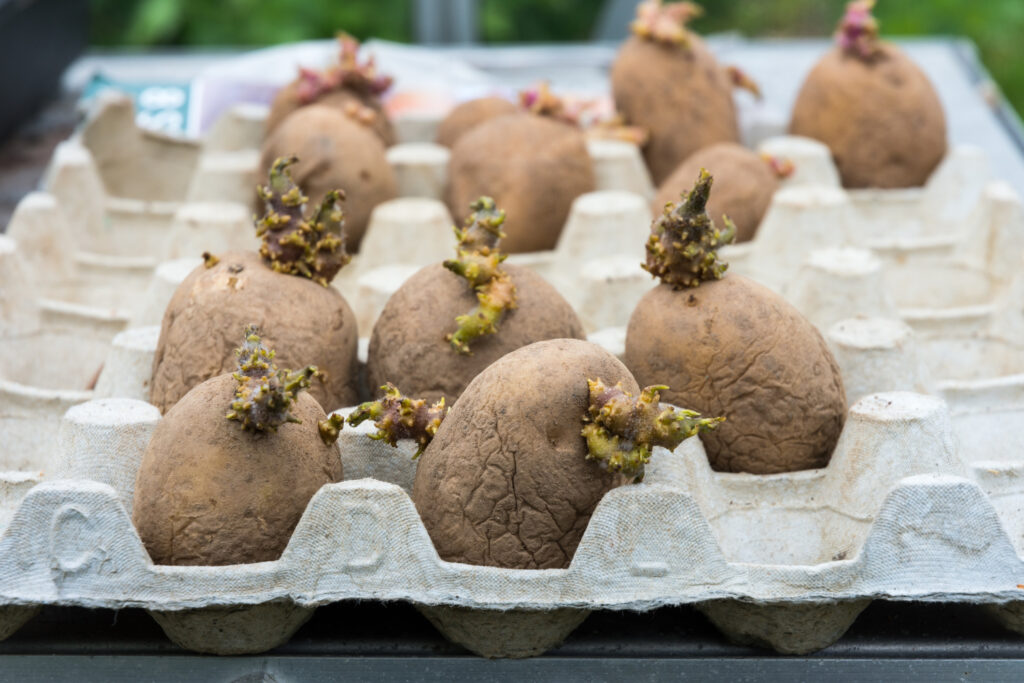
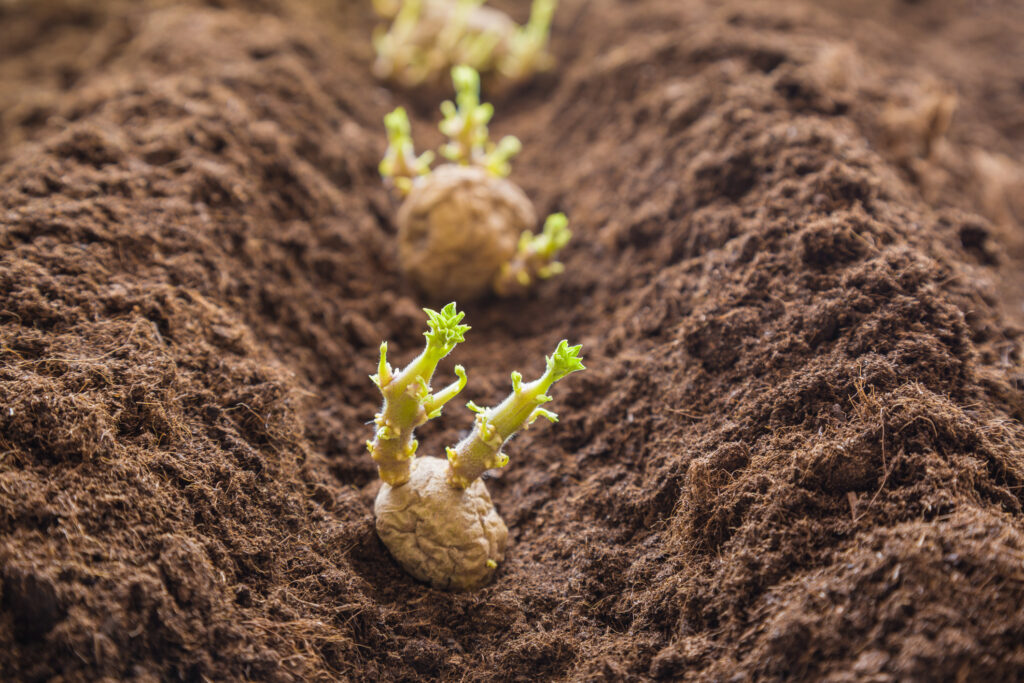
Choose and Chit Your Seed Potatoes
Before you plant them outdoors, you start by growing potatoes indoors. When you have the variety of seed potato you want to use, it’s necessary to let them “chit.” This involves letting the potatoes grow shoots. To do this, place the seed potatoes in egg cartons. Keep the end that has the most eyes facing upward. Sit them in a cool, light spot until 1-2cm long shoots have grown. This can take anywhere from 4 to 6 weeks, so make sure you know when you’re planning to plant your crop and chit accordingly.
Plant the Seed Potatoes
Once they have successfully sprouted, then you can get ready to plant them in your chosen growing method. Small potatoes can be planted directly in the soil. However, larger ones need to be quartered before planting. If you do cut larger potatoes, be sure to leave a sprouted end on the cut. Lay the cut potatoes out to “cure” so they do not rot in the soil once you plant them.
Don’t Forget to Water
Potato plants are flowering vines first, which means they need plenty of water as they grow. Continue watering as the vine continues growing and flowering. Check the soil moisture level to make sure you’re not over or under watering. Once the plant vines begin to die, you can stop watering. This indicates the potatoes are getting ready for harvesting.
Build Small Mounds Around the Potato Vines
As the potato vines grow taller, you’ll want to build small mounds of soil and straw around the stem. This is called “earthing up.” It ensures the potato always has a dark place to continue growing. Once the stem has sprouted 20cm above the soil, build the small mound up around the vines until only about 10cm of the top of it is showing. You can repeat this process every 2 to 3 weeks as it continues growing.
The Different Ways of Growing Seed Potatoes
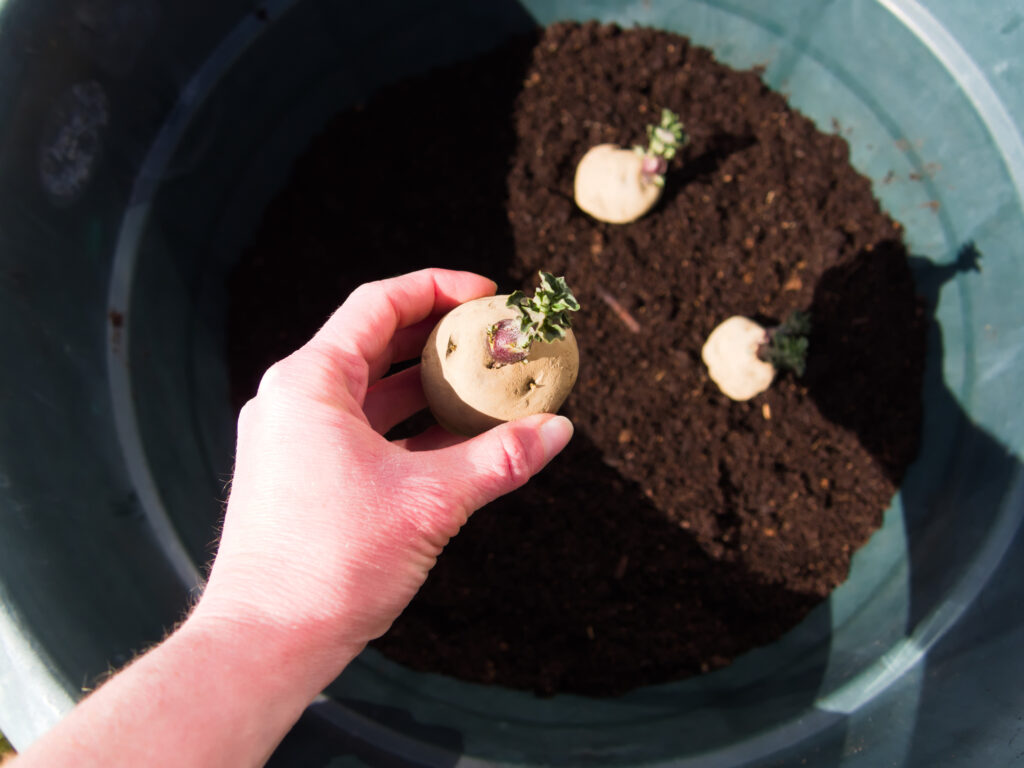
Container Method
If you want to keep your potato plants in a confined space, then learning how to grow seed potatoes in pots, containers, raised beds, or grow bags may be the best option for you. The secret to making sure you yield great results from growing potatoes in containers is using high-quality potting soil and compost. Give the two a good mix together using the directions for your chosen soil and compost. This will give the plant the right nutrients it needs to grow properly.
As long as you have a container that’s roughly 60cm to 92cm tall and has a 38 to 60 litre capacity, you can practically grow potatoes in anything. We recommend not going any taller than the suggested height, otherwise you run the risk of watering your potato plant unevenly. For this method, position the seed potatoes 10cm to 15cm deep in the container. Place about four cut sides of a seed potato in the soil with the sprouts facing upwards.
Cover the seed potatoes, and keep them in an optimal location. That means making sure they receive at least 6 to 8 hours of sunlight per day. Keep an eye on the moisture level of the potato plants. They should be moist but not soaking wet.
Scatter Method
If you choose to do the scatter method for growing potatoes, you’ll need to make sure you pick up mulch and straw. Home gardeners often find that growing potatoes can be as easy as scattering seed potatoes directly on the soil. Then, they simply cover the seed potatoes with a few centimetres of mulch and straw. Continue adding mulch in layers as the potato plants grow. The drawback to this method is that it can create a feeding ground for some pests, such as rodents and bugs.
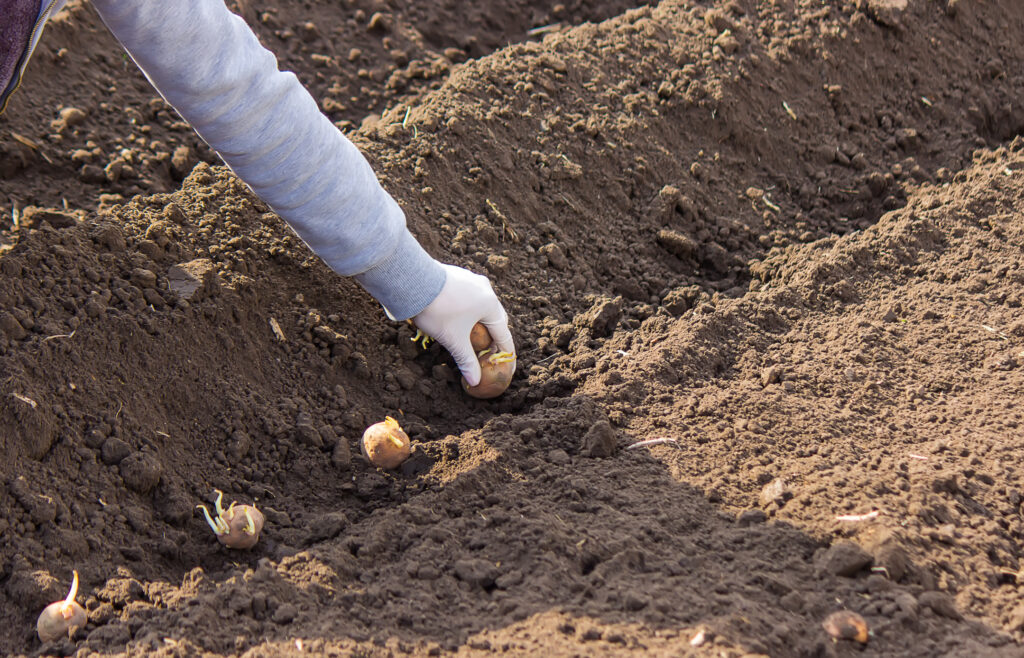
Trench Method
This is one of the more traditional methods of growing potatoes. To do this, dig a trench roughly 15 cm deep. Then, place your seed potatoes in the trench with the eyes or sprouts facing up. Simply cover the potato with 5-7cm of soil and give it a good drink of water. From there, monitor it and watch for it to sprout its first vines. You’ll want to practise “earthing up” for this particular method, which we discussed earlier.
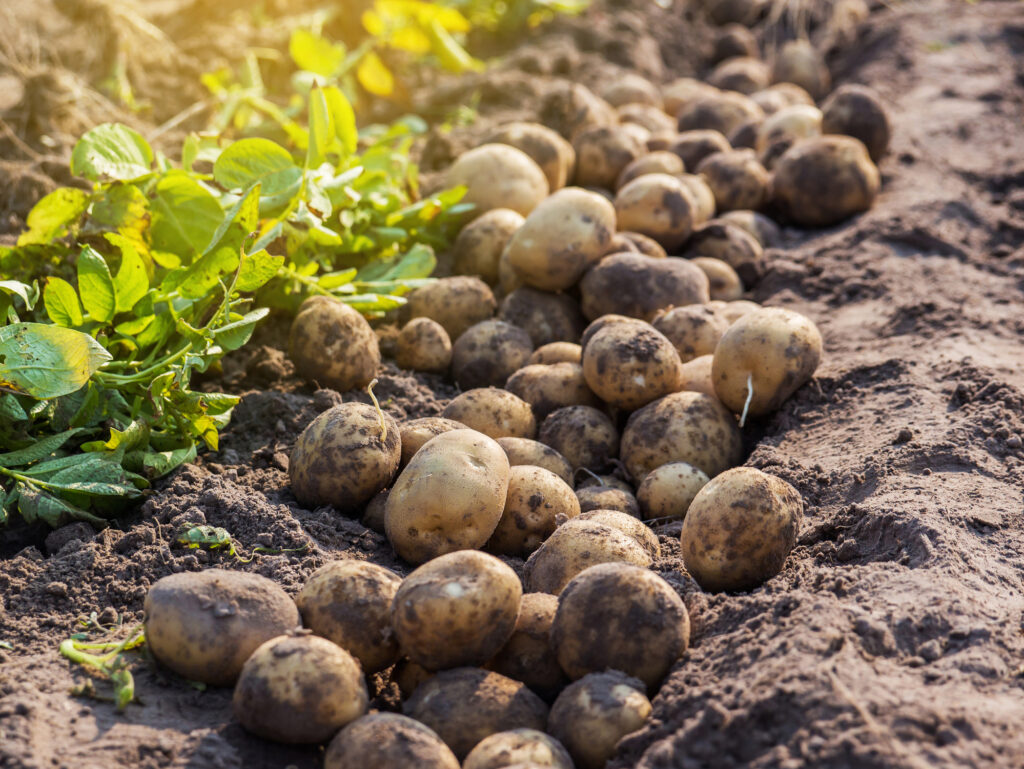
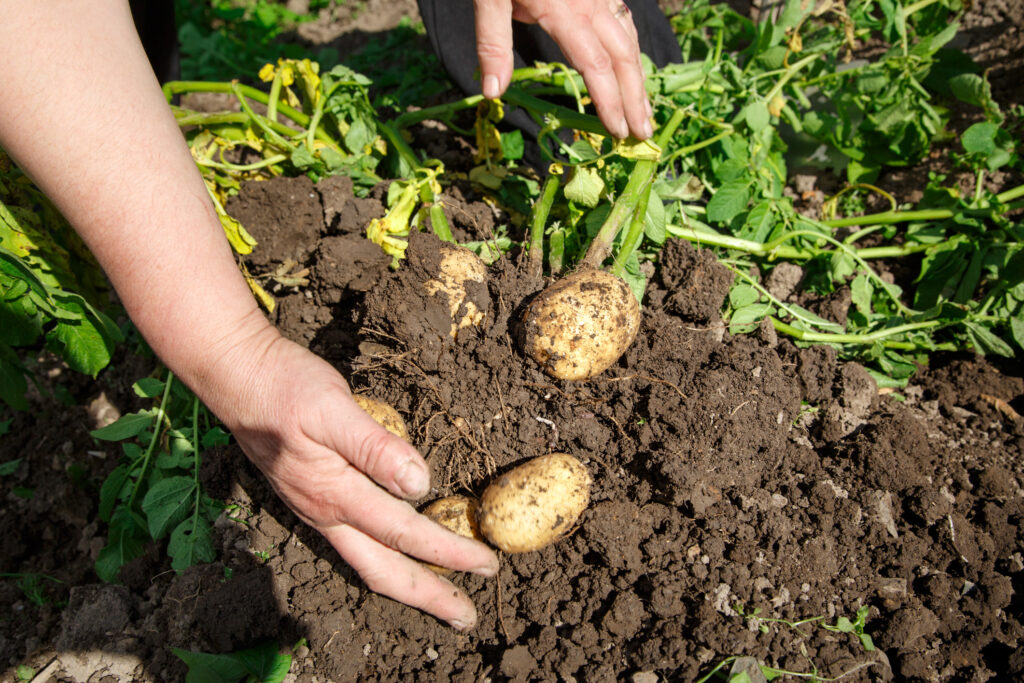
Harvesting Your Crops
Technically, two weeks after the potato vines have flowered, you can dig in and harvest small, baby potatoes. For maincrops, it’s better to wait until the flowers and leaves are yellowing and the vines have died back before you really harvest the crops. At this point, they have reached maturity and are ready to be dug up.
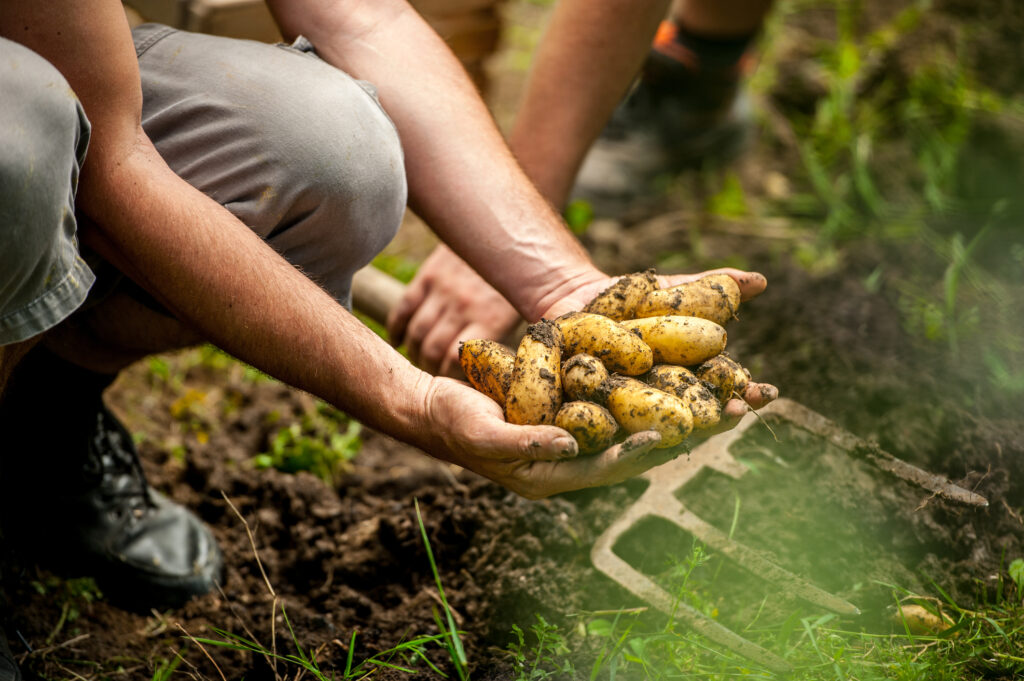
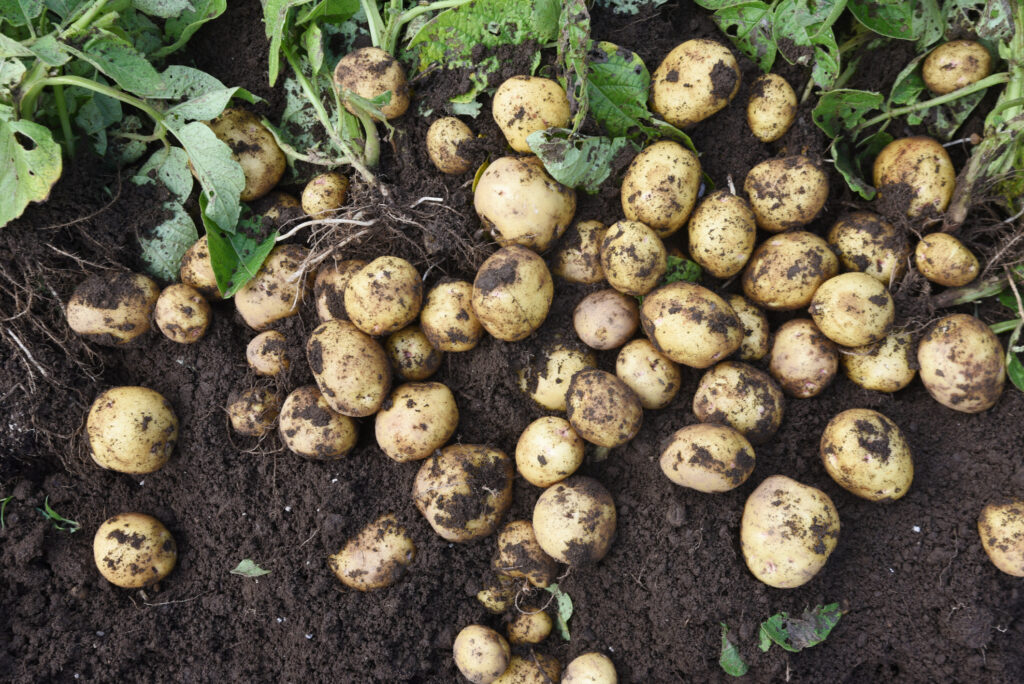
How to Harvest and Store Potatoes
To harvest them, simply put on your gardening gloves, reach into the soil, and dig them out. You can gently use a gardening fork if you need extra leverage. If you don’t have any need for them just yet, let them sit in the ground longer. First and second early varieties can stay in the ground until September. Maincrop potatoes can stay in the ground until the weather is nearing a hard frost.
What Are the Best Methods for Storing Potatoes for Long-Term Use
Potatoes can last a long time if they’re stored properly too. Store them in sacks in a dark, enclosed area that’s free of any frost danger. They must be stored in the dark, otherwise you’ll run the risk of them turning green.
Potato Growing Guide: Caring for Your Crops
These tips, tricks, and advice will help to make sure you yield a successful harvest when growing potatoes.

Light
Just like growing other vegetables, potato crops require a good amount of light. Usually, this means having the plants in full sun for 6 to 8 hours per day. Just make sure to protect the tubers (your seed potatoes) from the sun. You can do this by earthing up regularly if you see the plant getting too far away from the soil.
Moisture
Because the potato plants are responsible for growing such a hearty crop, they need plenty of water. Make sure the soil stays moist, but not soaking wet. During particularly dry and hot spells, you may need to water more than once per day.
Fertiliser
A high-quality, organic fertiliser, that is slow to release works perfectly with potato plants. You may want to give them a diluted liquid fertiliser mixed with water every couple of weeks.
Soil
Having the right type of soil prepared for your potato plant is critical to the success of it. An acidic soil with a pH balance between 5.0 and 6.0 is ideal. Any more acidic than that, and the potatoes grow rough spots on the skins. Your soil should also be well-draining and loose, rather than compacted. This will make sure it doesn’t hold onto too much water, which can cause the potato tubers to rot.
Dealing with Common Potato Pests and Diseases
Just like with all flowering plants and crops, potato plants are prone to certain pests and diseases. Be on the lookout for these, and be ready to tackle them with these solutions:
- Many insects, like beetles and aphids, like to eat through the flowering portions of the plant. Look for them on the undersides of leaves, as that’s where they often hide. Remove beetles by hand.
- Wireworms prefer to eat the tubers and roots underground. To prevent these, simply rotate where you plant your potatoes each year.
- Scabs are the rough spots we mentioned earlier that come from soil that’s too acidic. These look like sores or sunken holes on the skin of the potato. To combat this, you’ll need to lower the pH balance of your soil. Peat moss added to the planting spot should work.
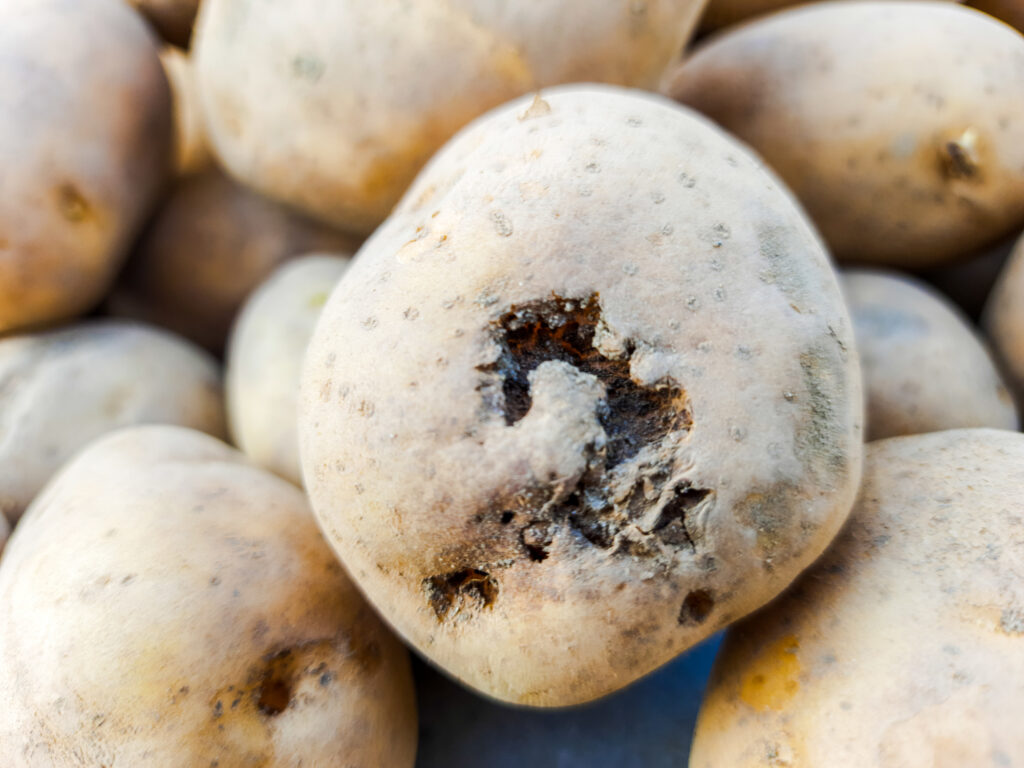
- Blight is a disease that, if left untreated, runs rampant through potato harvests. The foliage of the plant turns black and then mouldy. To prevent it from happening, make sure your chosen seed potatoes are certified as disease-resistant and disease-free. If your crop winds up with blight, you’ll need to burn or dispose of the plant.

Growing potatoes is a worthwhile and rewarding activity for home gardeners everywhere. Simply follow this step-by-step guide on how to do it. And when you’re ready to gather your supplies, shop our gardening range!
