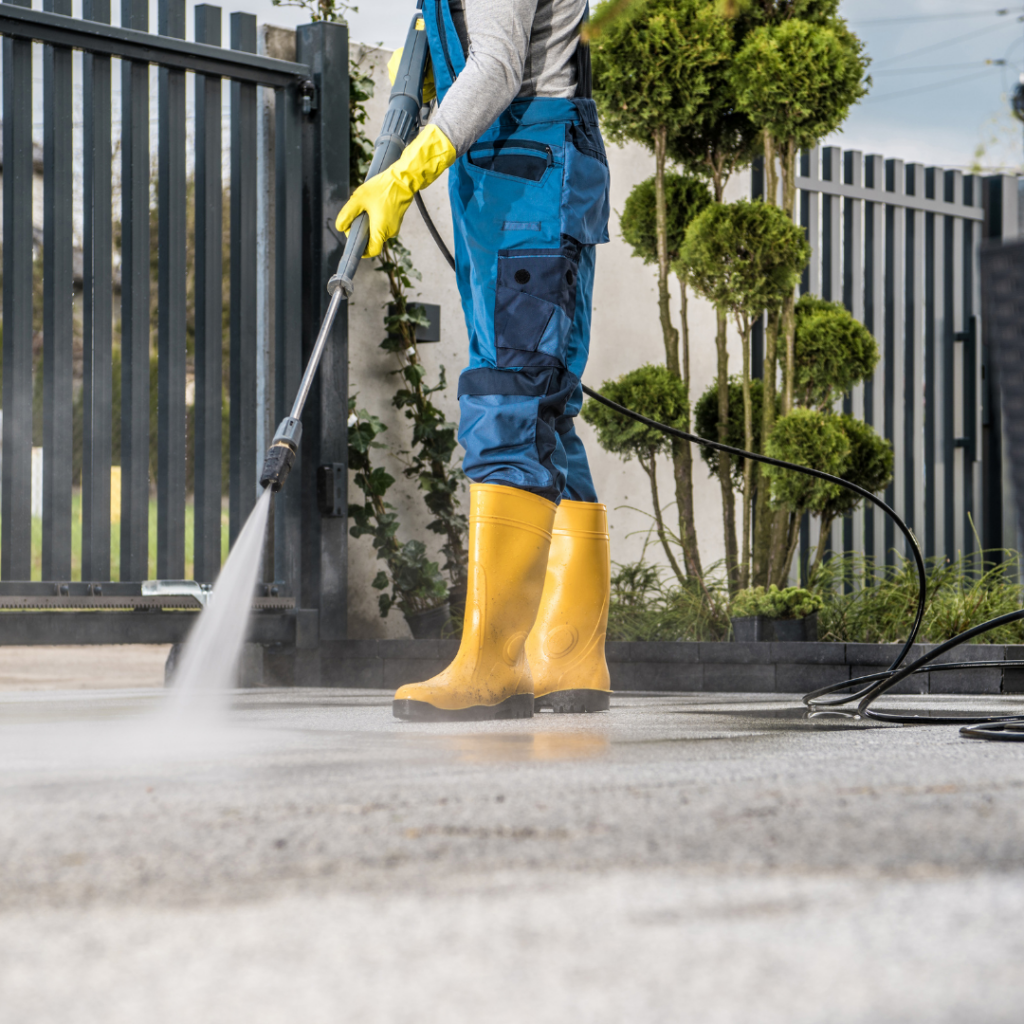
How to Clean Your Garden Patio with a Power Washer

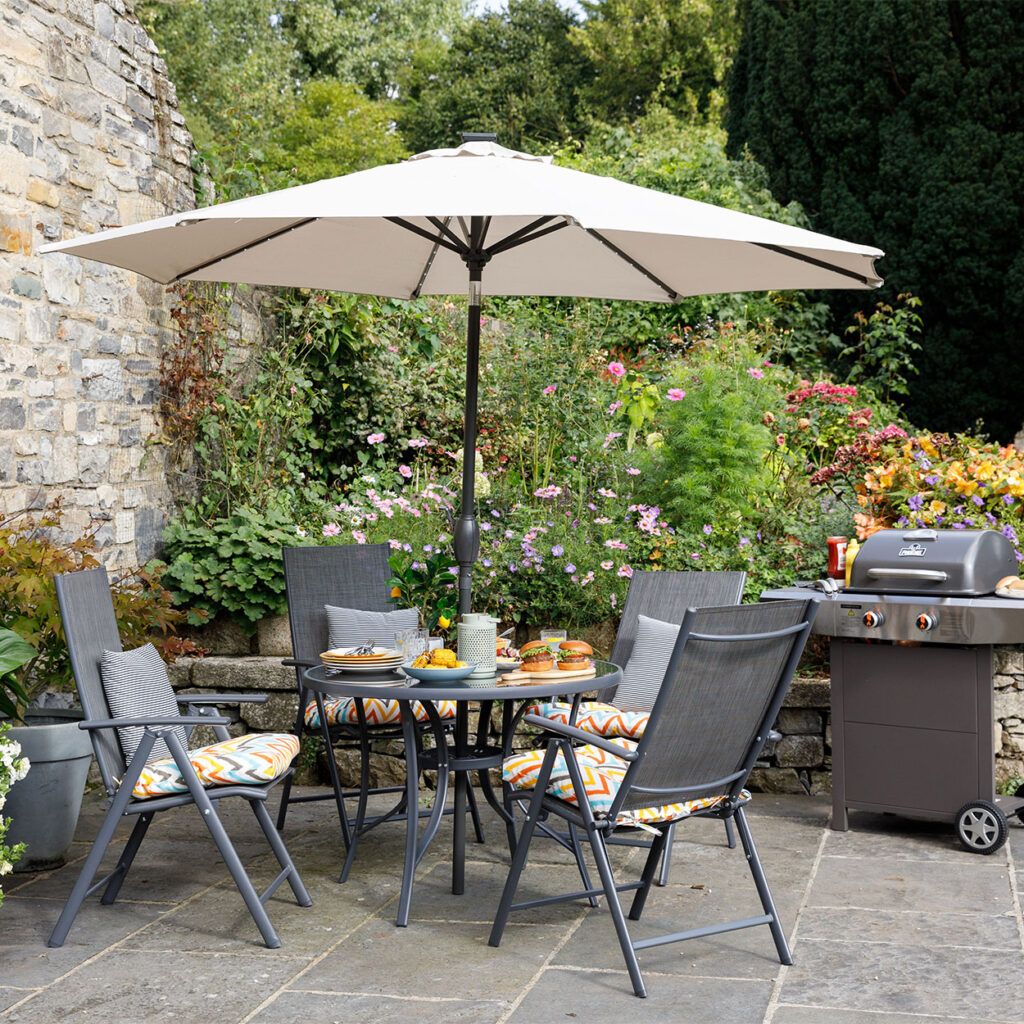
Our outdoor space is an extension of our home, and it's important to keep it looking its best. It's a place to entertain, relax and connect with nature. Free from dirt, debris and clutter, your patio area transforms into a comfortable place to spend time. A high-quality pressure washer will help you achieve this with ease! They offer effortless power, easily cutting through grime and allowing you to make the most of the warmer days in your garden. Keep reading for everything you need to know on cleaning your patio with a pressure washer.
Gathering Necessary Tools and Equipment
Before you unleash the cleaning power of a pressure washer, make sure you are well-equipped with everything you need for the task at hand.
Pressure Washer
Choose a pressure washer with enough power to get the job done. For patio, a PSI of around 1500 - 2500 is recommended. Read our full Karcher pressure washer buying guide for everything you need to know!
Safety Gear
Wear eye protection to prevent debris and water spray from going into your eye. Durable work gloves will help protect your hands from the pressure and potential scrapes from the patio surface.
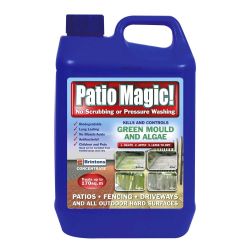
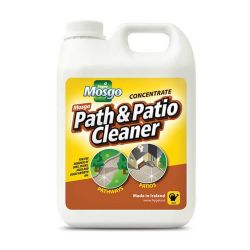
Cleaning Agents
Cleaning solvents can make a huge difference when it comes to cleaning your patio. Many of them can be used all year round and offer immediate results! They will help remove dirt and stubborn stains from paths and patios!
Preparing the Patio for Cleaning
Some prep work is essential before you begin blasting away dirt and grime. Here's how to get your patio ready for a pressure washer makeover.
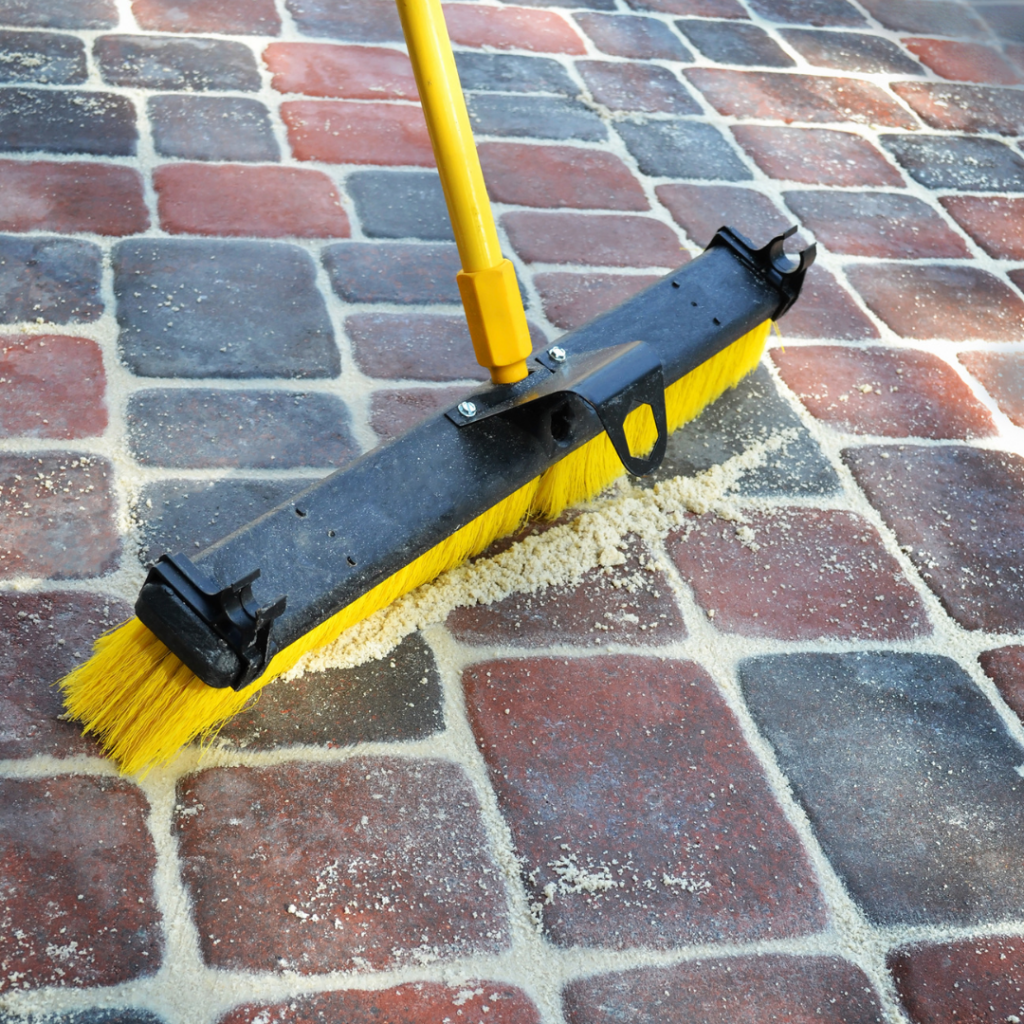
Clear the Clutter
Remove all furniture, pots and garden decorations from the area. It's important to have unobstructed cleaning access and to also prevent accidental damage from the pressure washer spray.
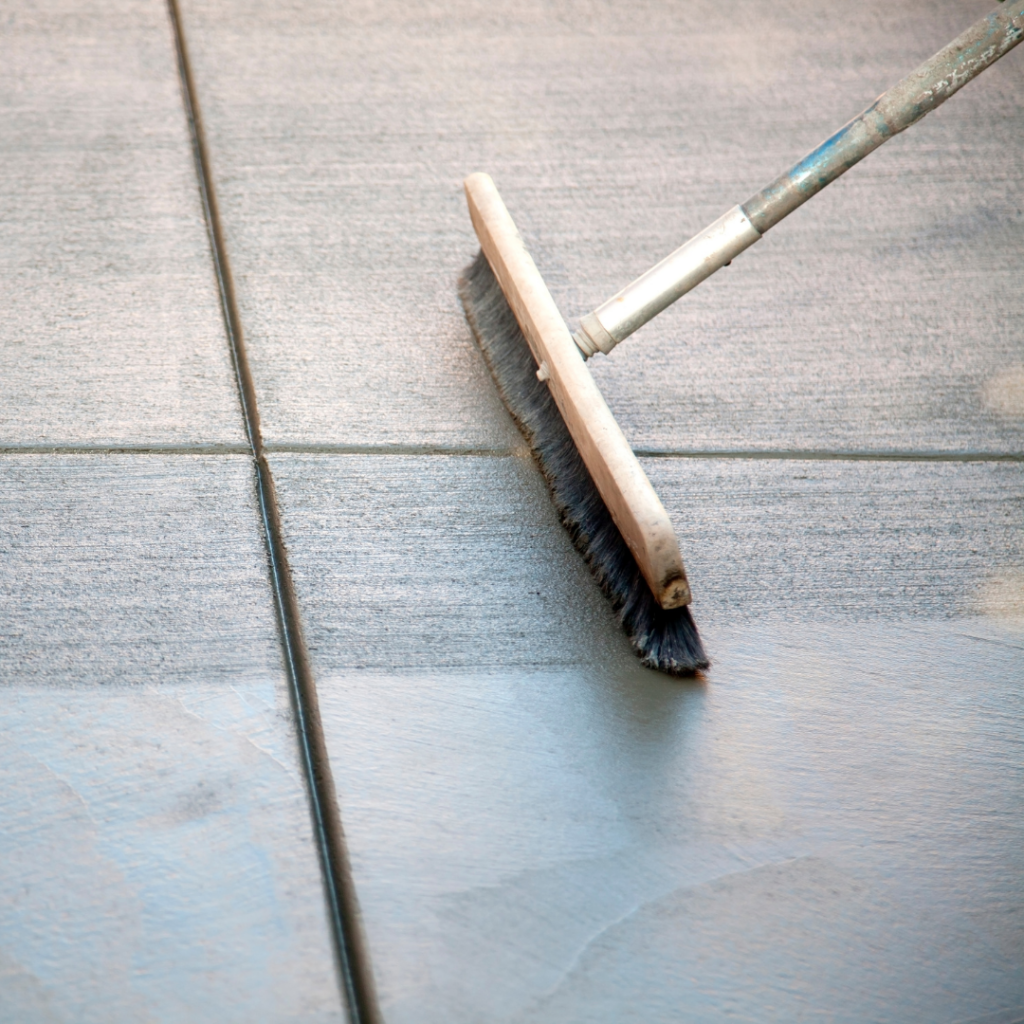
Use a broom to sweep away leaves, twigs and loose dirt from the entire patio surface. This will stop the debris from turning into a muddy mess.
Check to see if there are any loose pieces of pavement, gravel or edging stones prior to pressure washing. Secure them if possible or remove them temporarily if needed to avoid dislodging them.
Protect Surrounding Areas
If your patio is close to plants and shrubs, consider covering them with tarps or other drop cloths to offer them protection. The power of a pressure washer can damage delicate foliage and flowers.
For walls or fences bordering your patio, use sheeting to shield them from overspray especially if they're painted or made of delicate materials.
Choosing the Right Nozzle and Pressure
When it comes to pressure washing, picking the correct nozzle and pressure is crucial for achieving a clean surface without causing damage to it. Keep reading for a breakdown on how you can make the right choice.
Picking the Correct Nozzle
The standard spray nozzle is the most versatile choice and a good starting point. It provides a focused stream for a more general clean.
Opting for a fan nozzle gives a wider spray pattern and is ideal for covering larger areas quickly. Its drawback is that it might not be strong enough for tougher grime.
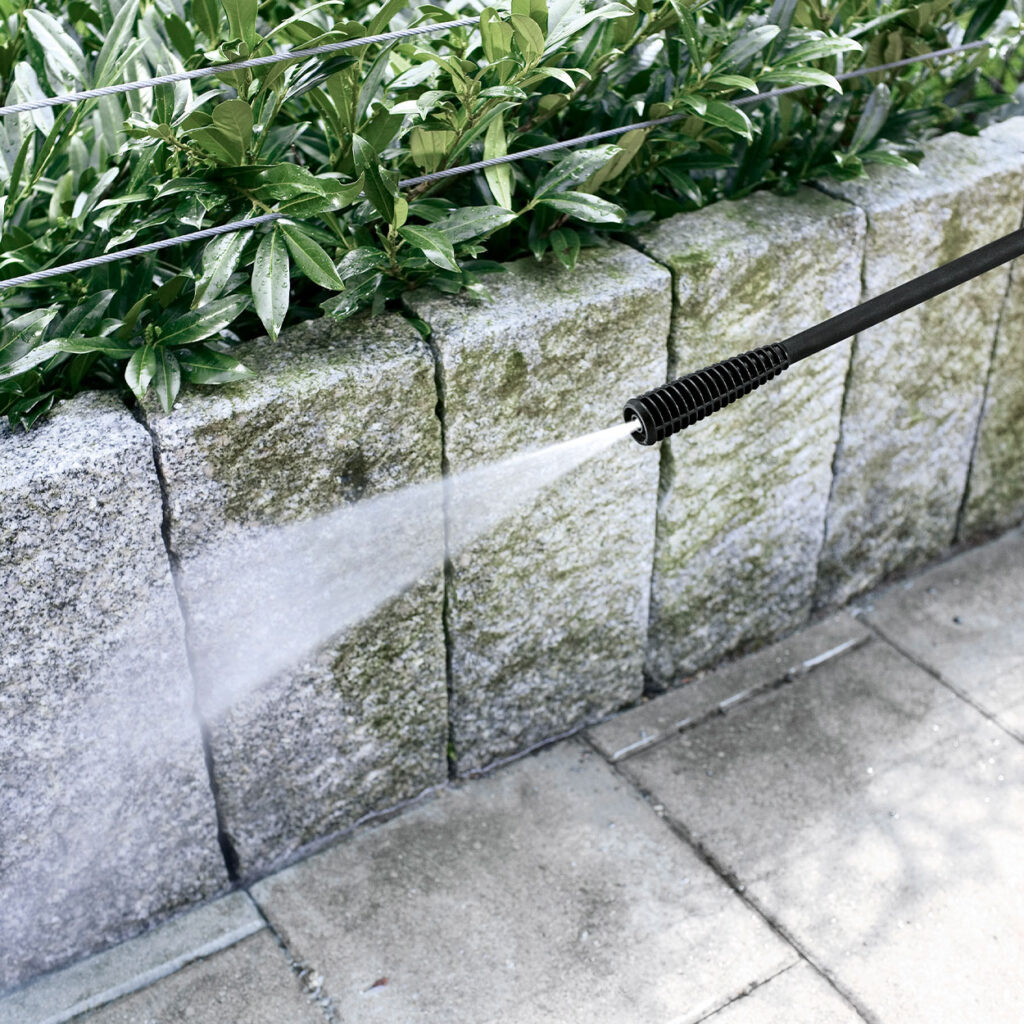
The turbo nozzle creates a rotating jet of water, offering aggressive cleaning power for tackling stubborn dirt, mould or mildew. However, it can damage delicate surfaces.
Picking the Correct Pressure
It's important to match the power to the task at hand. For tough grime and dirt, you need sufficient pressure to remove it properly. However, using too little pressure won't be enough to tackle stubborn stains.
A good rule of thumb is to start is to start low and go slow. Always begin with a lower pressure setting and test it on a safe area before moving on to cleaning the patio or car.
Always consult your pressure washer manual before getting to work. It will provide specific recommendations for different materials such as concrete, wood or metal.
Pre-Treat your Patio with Detergent
Applying detergent is a key step to achieving a sparkling clean patio area. High quality detergent will help break down and loosen grime particles, making them easier to remove when it comes to pressure washing. Follow these 3 simple steps when using any path or patio cleaning agent.
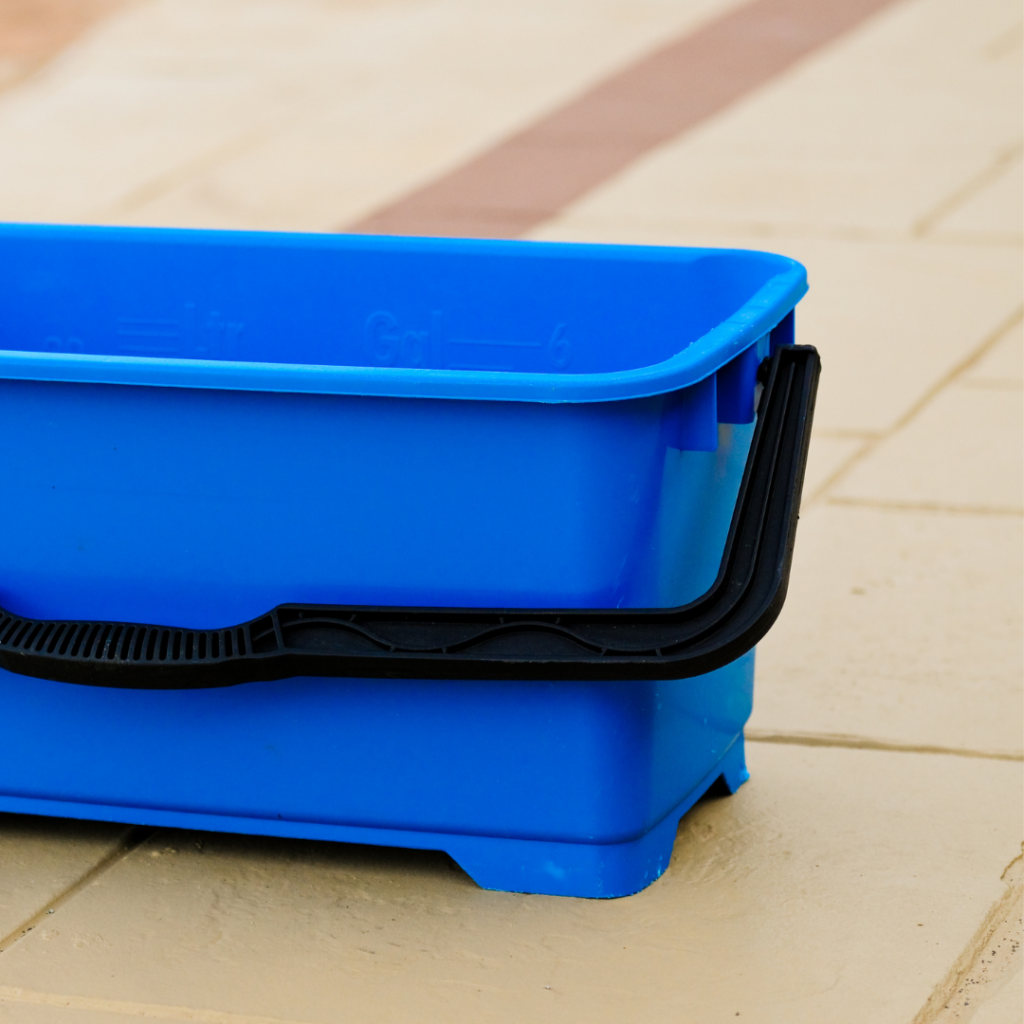
- Preparation - Follow the manufacturer's instructions on mixing the detergent with water if applicable. This can usually be done in a bucket or directly into the pressure washer's detergent tank.
- Application - Pour the diluted detergent solution onto the entire patio surface. Let it sit for the recommended time. For stubborn stains, apply the detergent directly to the stain and scrub with a sponge or brush to loosen it further.
- Begin - Once the pre-treatment time has passed, start pressure washing the patio. Remember to start with a low-pressure setting and adjust as needed.
Operating the Power Washer
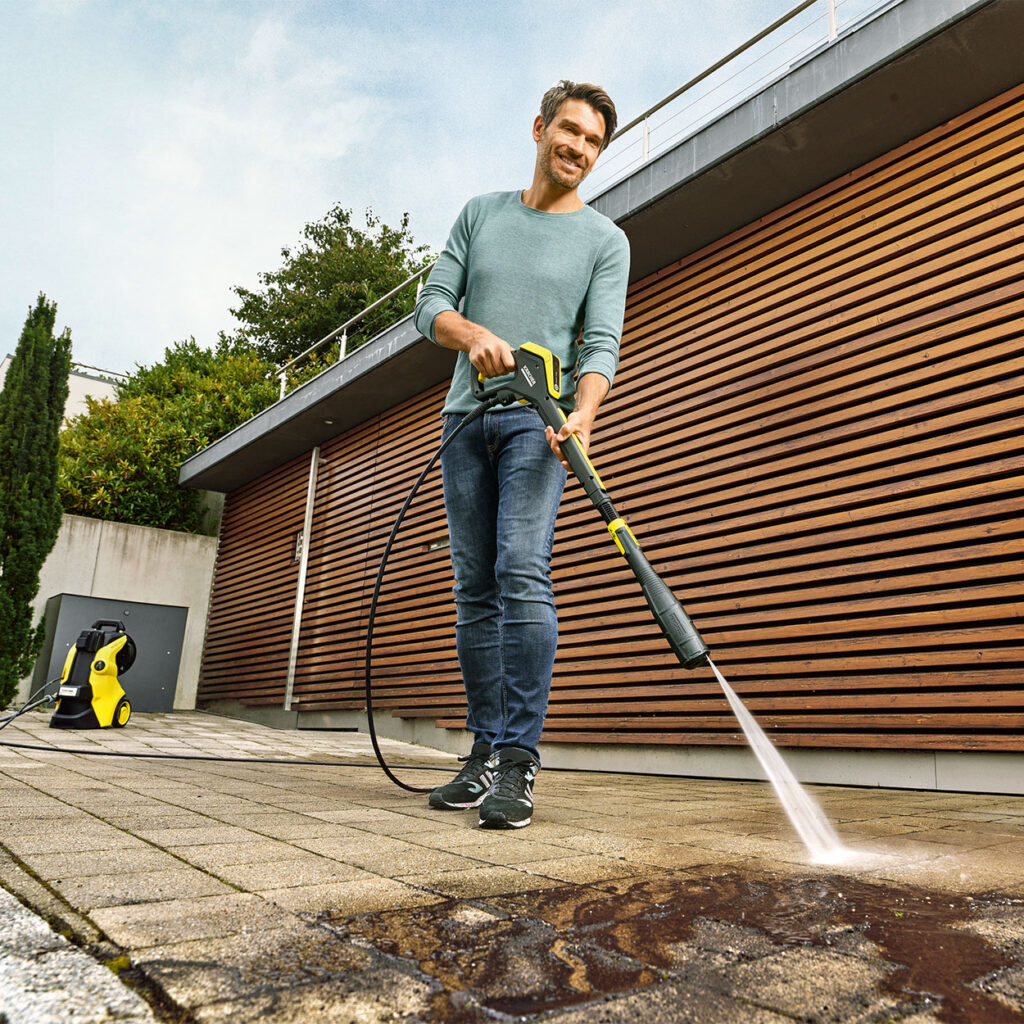
Now that your supplies are gathered, your water source is connected, the patio is clear from obstruction, and the area is pre-treated you are ready to begin power washing the dirt away! By following these techniques, your patio will be brand new in no time.
Maintain a Safe Spray Distance
Hold the spray wand at a safe distance from the patio surface, typically around 12 - 18 inches. This will help avoid damaging the surface.
Work in Sections
Ensure even cleaning and avoid accidentally spraying dirty areas back onto clean spots by dividing the workload into sections.
Use a Sweeping Motion
Move the spray wand in a sweeping motion across the patio surface, again ensuring even cleaning. Overlap ever so slightly with each pass to avoid missing any spots.
Rinsing and Drying the Patio
While power washing may leave your patio looking squeaky clean, the job isn't quite finished yet. Here's why rinsing and drying your patio after power washing is an important final step.
Removing Soap Residue
Using detergents can leave a film of soapy residue on the surface if not rinsed thoroughly. This can make the patio very slippery and dangerous to walk on. Leaving soap residue also creates an environment for mould and mildew to grow.
Preventing Staining & Streaks
Tap water often contains minerals that when dry, leave a white or chalky stain on your patio surface. Rinsing with clean water removes these minerals before they get a chance to settle.
Incomplete rinsing can leave behind streaks and uneven cleaning marks on your patio, tarnishing the hard work it took to get it clean!
Drying Effectively
The natural slope of your patio should allow most of the water to drain off. However, for faster drying use a squeegee or brush to push excess water towards drains or a low-lying area of the patio.
On sunny days, natural sunlight can also help dry your patio surface quickly. It's important to let your newly cleaned patio dry completely before putting your garden furniture and décor back onto it.
Maintenance Tips
A well-maintained patio becomes an extension of your living space, offering a place to entertain, to relax and to enjoy the outdoors. By looking after it, you'll reap the rewards for many years to come.
Regular Cleaning
Brushing away leaves, dirt and debris on a weekly basis will prevent them for building up and potentially staining your patio surface.
Depending on how good or bad the weather has been and how much you use the patio, a deep clean might be needed. Make sure to check back to this blog on how to clean your garden patio with a power washer.
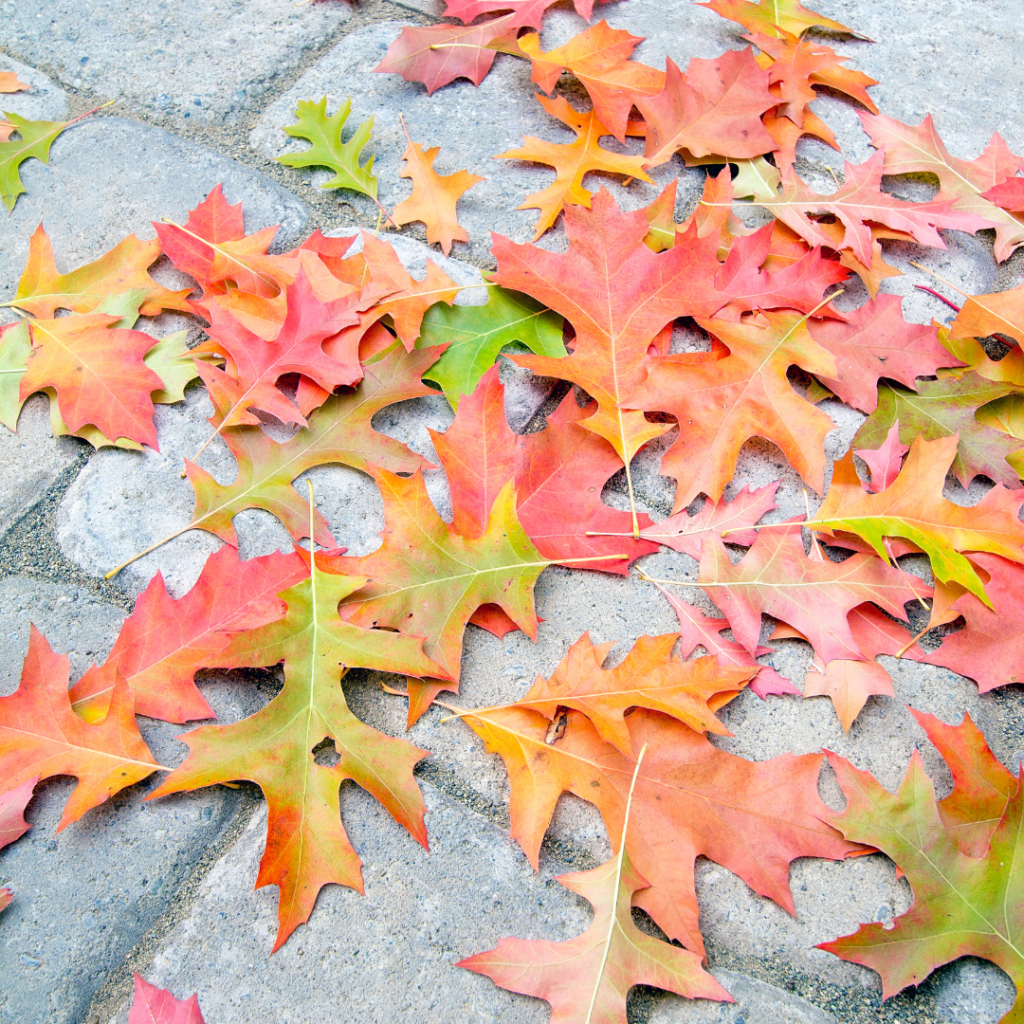
Seasonal Maintenance
Before winter arrives, use autumn as a chance to clear fallen leaves and debris. This will prevent them from trapping moisture and promoting mould growth.
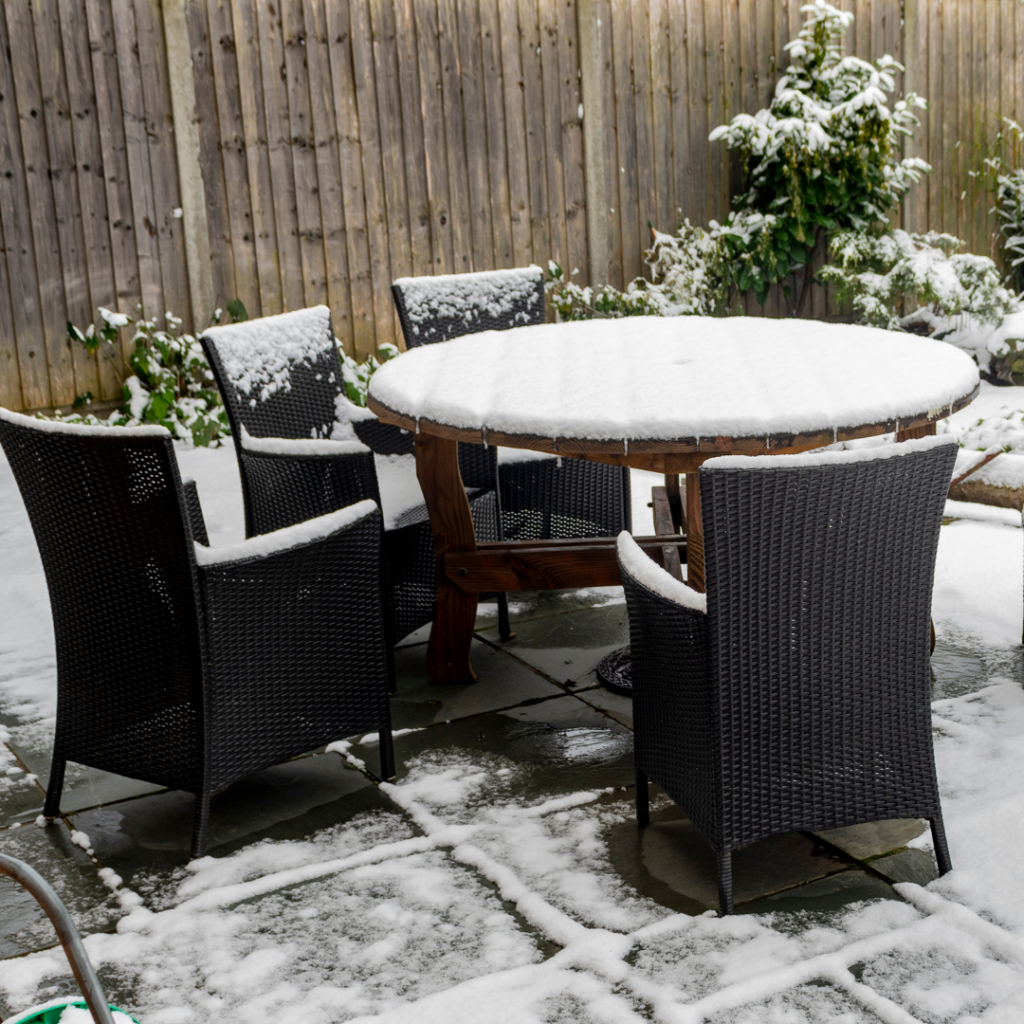
Once winter has passed, give your patio a thorough cleaning to remove any winter grime or salt reside that may have accumulated.
Surface Protection
For certain patio materials like concrete or pavement, applying a sealant periodically (every 2-3 years) can help protect the surface from staining and weather damage.
By adhering to these top tips, you'll have your outdoor area looking its best for years to come! Ready to give your patio a powerful clean? Explore our range of top-notch power washers now!

Keegan Da Costa
Working with your hands is one of the most rewarding ways to improve your home, and for me, that comes through woodworking, DIY, and gardening. I’ve always been drawn to carpentry, especially the process of turning raw materials into something practical, durable, and well-crafted. Whether it’s building furniture or taking on smaller projects around the house, I value precision and doing things properly. Gardening brings the same satisfaction in a different way. From planning layouts to growing and shaping outdoor spaces, it’s about creating environments that feel natural, balanced, and inviting. At their core, DIY and gardening are about the same thing: improving your space through a hands-on, thoughtful approach that delivers lasting results.