Paint & Decorating, DIY & Building, Community News
How to Colour Drench Your Bathroom in a Weekend

You don't always need a complete bathroom renovation to dramatically change the look and feel of your space. With good preparation, the right bathroom paint and a confident approach to colour, even a dated bathroom can be transformed in a weekend.
For this Weekend Project, we used colour drenching to give an existing bathroom a completely new look. By carrying one colour across the walls, ceiling and key features, we created a seamless, cohesive scheme without replacing the bath, tiles, radiator or other major fixtures.
What Is Colour Drenching?
Colour drenching is a decorating technique that uses the same colour, or closely related shades, across several surfaces in a room rather than stopping at the walls.
That can include the walls, ceiling, doors, woodwork, bath panel and even suitable radiators.
Using colour consistently helps reduce strong visual breaks between surfaces and creates a more immersive, considered look. It can be particularly effective in bathrooms, where a relatively small amount of paint can make a big visual impact.
Our Bathroom Colour-Drenching Project
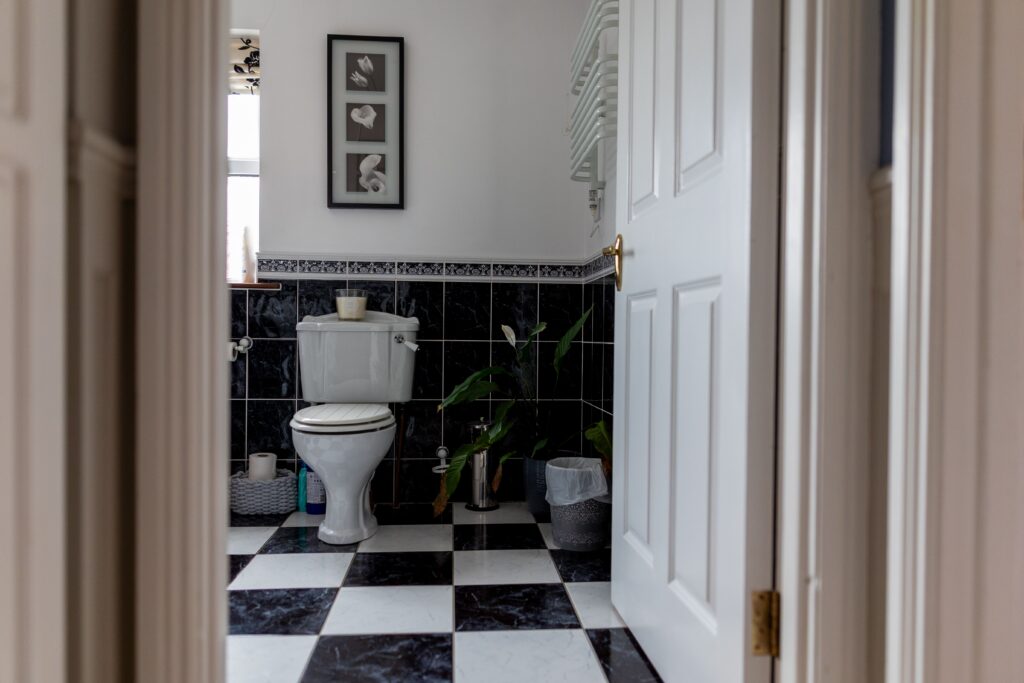
Bathrooms have to work harder than many other rooms in the home. Steam, moisture, condensation and regular cleaning all mean that choosing suitable paint and properly preparing surfaces are particularly important.
For this project, our aim was to modernise a dated bathroom without carrying out a full renovation.
Instead of introducing several contrasting colours, we chose a colour-drenched approach using Fleetwood Ripples Folly.
The colour was carried across the walls and ceiling, while the radiator, bath panel and woodwork were also refreshed to help them blend into the wider scheme.
The result? Fewer visual breaks, a more cohesive finish and a bathroom that feels completely transformed.
What You'll Need to Colour Drench a Bathroom
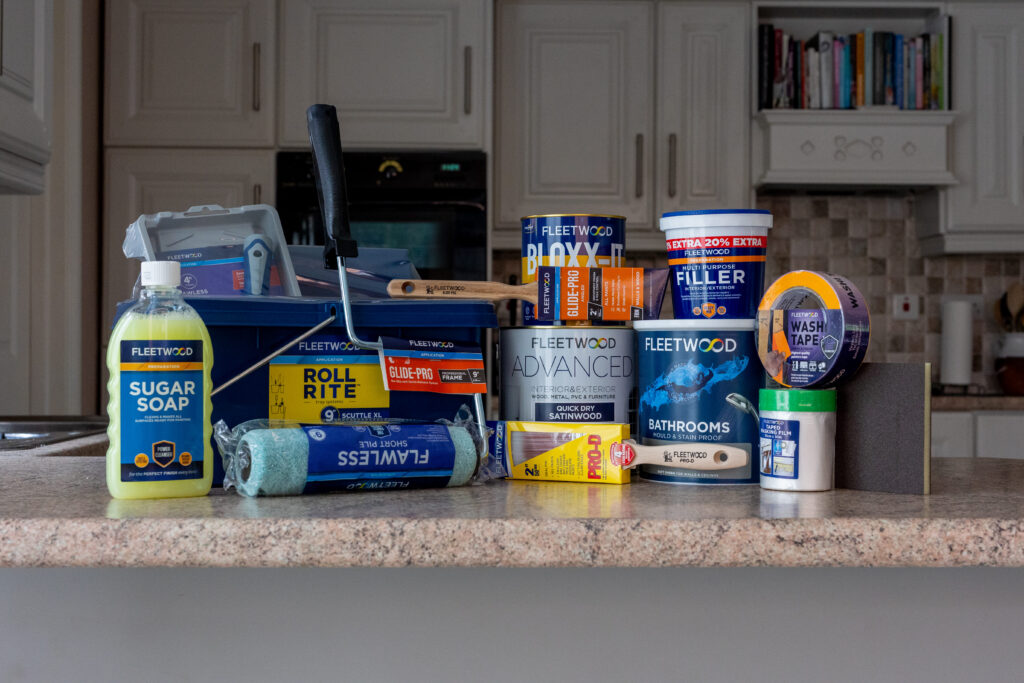
Paint and Primer
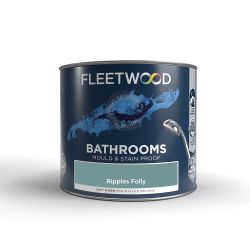
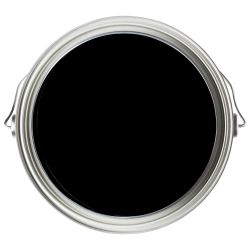
- Fleetwood Bathroom Paint – Ripples Folly
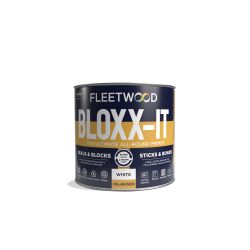
- Fleetwood Bloxx-It Primer
- Fleetwood Advanced Satinwood for suitable woodwork, bath panel and metal surfaces
![2.5L Fleetwood Bathroom Ripples Folly]()
![Fleetwood 1L Bloxx-It Primer]()
![Fleetwood 750ml Advanced Quick Dry Satinwood Black]() Fleetwood 750ml Advanced Quick Dry Satinwood Black
- Sale
€21.80€29.07 per ltrWas €26.99- Delivery
- Click & Collect
Painting and Preparation Tools
- Fine-grit sandpaper
- Dust sheets or floor protection
- Masking tape
- Angled sash brush
- Short-pile roller
- Mini roller
- Extension pole


Always check the instructions for each product and make sure the paint or primer you choose is suitable for the surface you are decorating.
Day One: Prepare Your Bathroom for Painting
Good preparation is one of the most important parts of any bathroom painting project.
Step 1: Protect the Bathroom
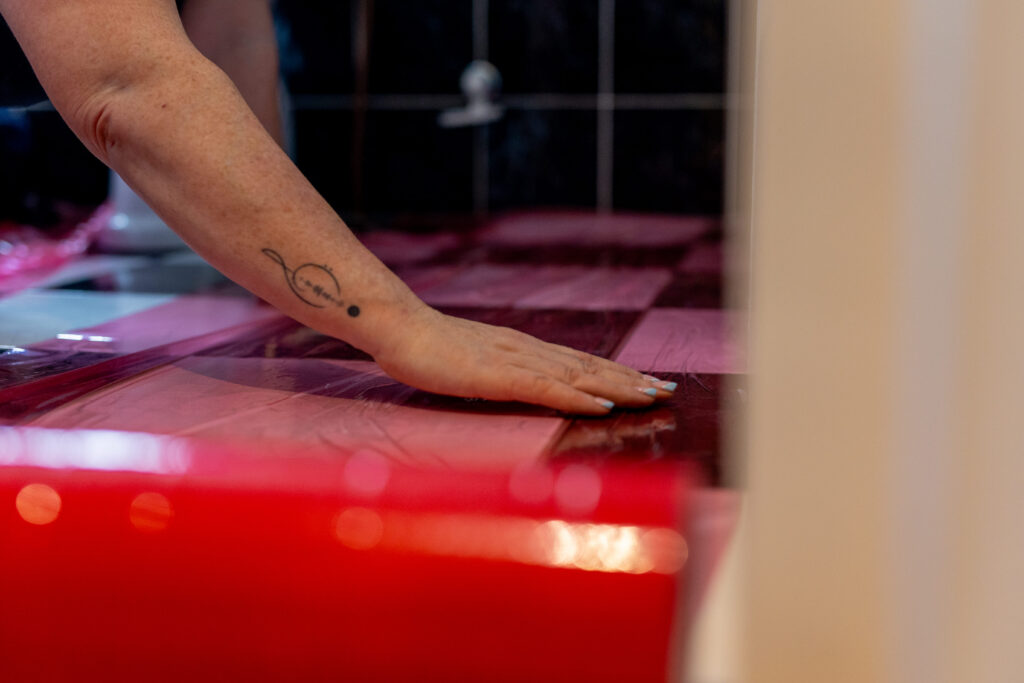
Before opening your paint, protect the surfaces that are staying as they are.
Cover the floor and sanitaryware, and use masking tape around fittings, tiles and any other areas you don't want to paint.
Spending a little extra time preparing the room now will help you achieve cleaner lines and save time when the painting is finished.
Step 2: Prepare the Surfaces
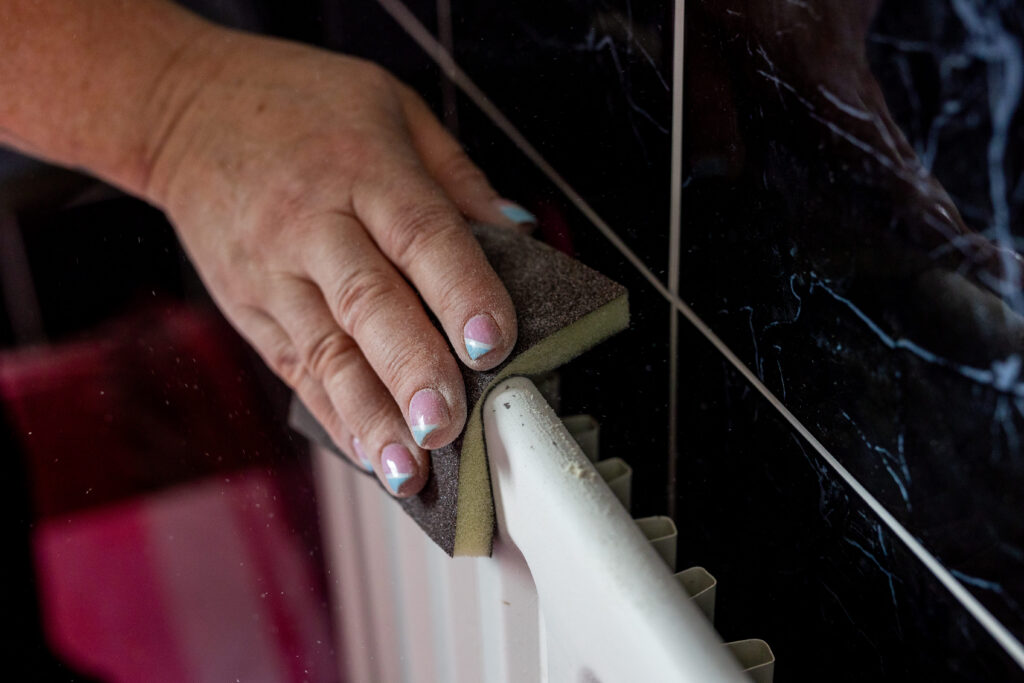
Preparation becomes particularly important when colour drenching extends beyond your walls.
Lightly sand suitable surfaces such as the bath panel, window sill, door and woodwork to create a good key for the new paint.
Remove any dust and make sure surfaces are clean and dry before priming or painting.
Step 3: Prime Where Needed
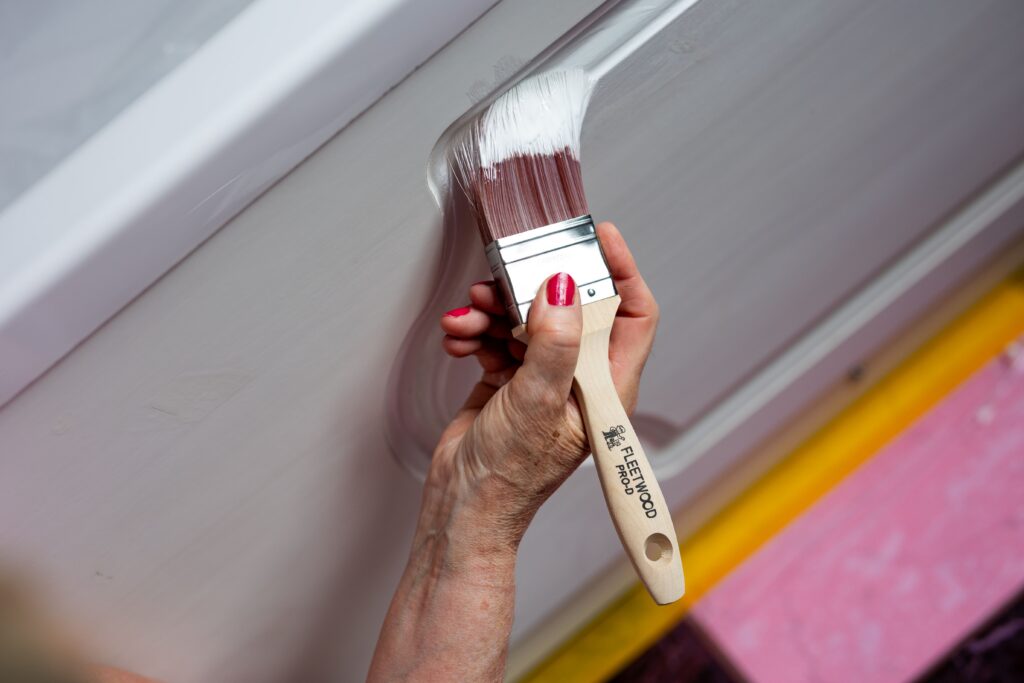
Apply the appropriate primer to surfaces that require it, following the manufacturer's instructions.
For this project, Fleetwood Bloxx-It Primer was used to prepare suitable surfaces before applying the topcoat.
A properly prepared and primed surface creates a stronger base for your paint and helps produce a smoother, longer-lasting finish.
Allow the primer to dry fully before moving on.
Day Two: How to Colour Drench Your Bathroom
With the preparation complete, it's time to introduce the colour.
Step 1: Paint the Bathroom Ceiling
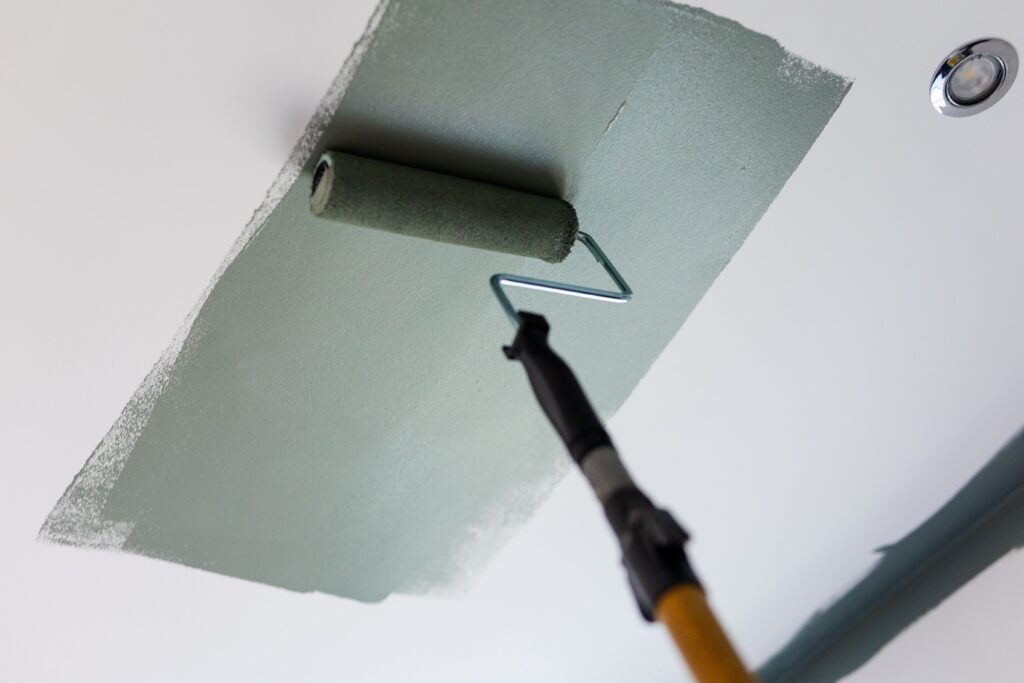
Start at the top of the room and work down.
Instead of using a traditional white ceiling, continue your chosen bathroom colour overhead.
Painting the ceiling the same colour as the walls is one of the defining features of bathroom colour drenching. Removing the sharp contrast between wall and ceiling allows the colour to wrap around the room and helps create a more immersive look.
An extension pole will make painting the ceiling easier and help you maintain a more even finish.
Step 2: Continue the Colour Across the Walls
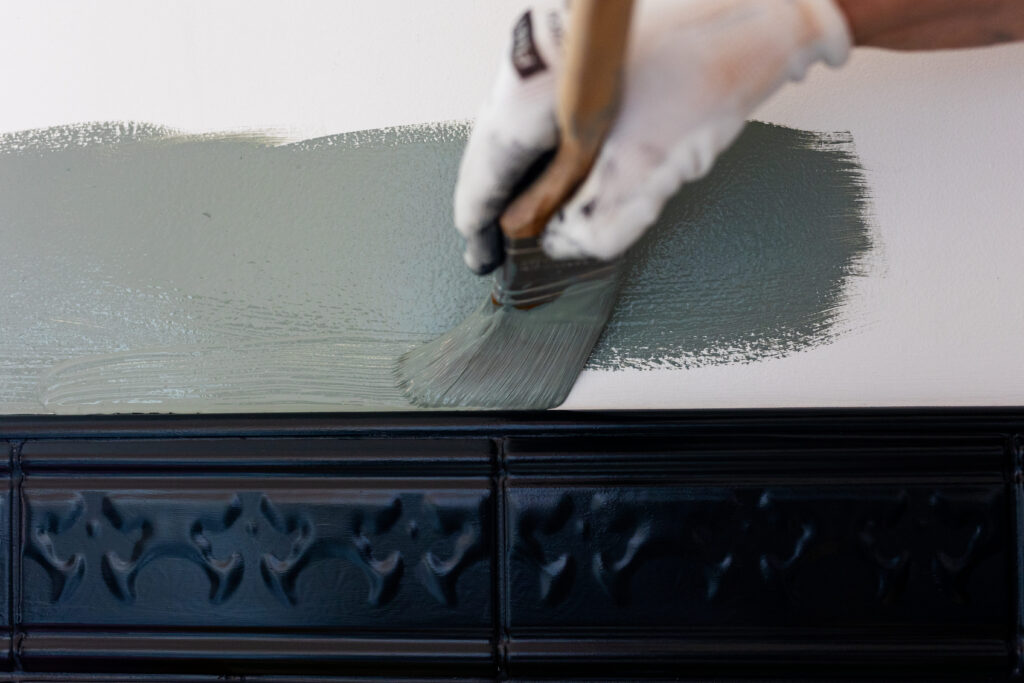
Once the ceiling is complete, carry the same shade onto the bathroom walls.
Use an angled sash brush to cut in around corners, edges and fittings, followed by a short-pile roller for larger areas.
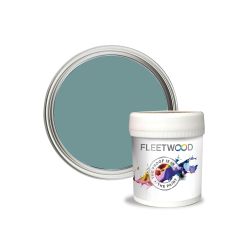
For this project, we used Fleetwood Bathroom Paint in Ripples Folly.
Using one colour across the ceiling and walls allows the shade to become the central feature of the room while reducing visual contrast between surfaces.
When painting a bathroom, always choose a paint formulated for the conditions found in humid and frequently cleaned spaces.
Step 3: Bring the Radiator Into the Colour Scheme
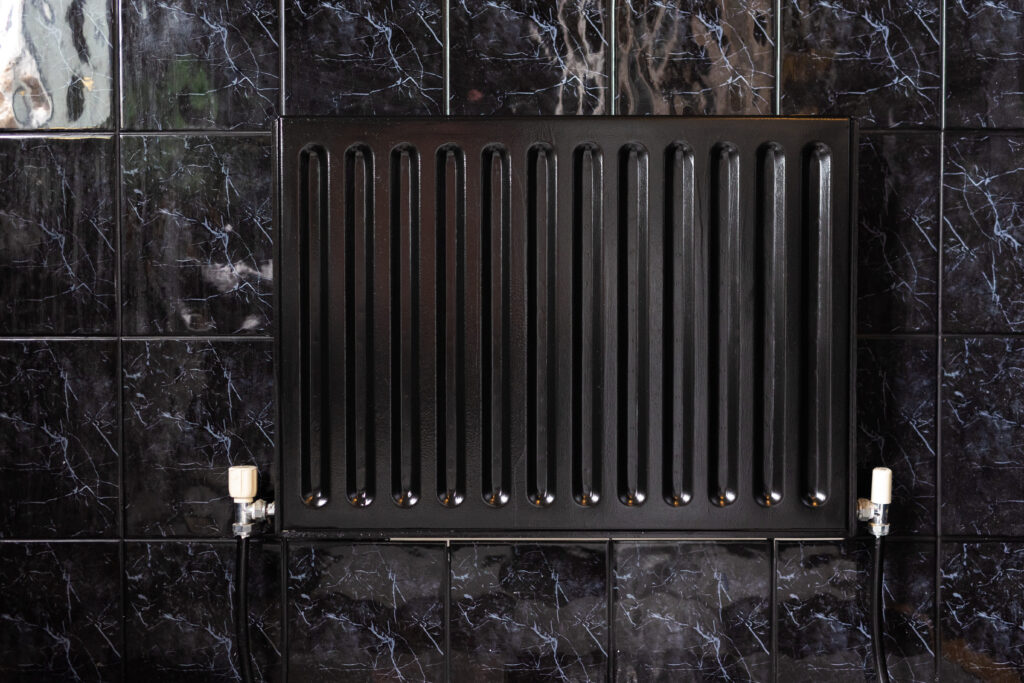
Colour drenching doesn't have to stop at the walls.
Instead of leaving the radiator as a contrasting feature, it can be incorporated into the wider colour scheme where the surface and products being used are suitable.
For this project, the radiator was cleaned, prepared, primed and painted to coordinate with the surrounding room.
Blending practical features into your colour palette can reduce visual clutter and make the finished bathroom feel much more considered.
A mini roller or suitable brush can make it easier to work around awkward areas.

Step 4: Paint the Bath Panel and Woodwork
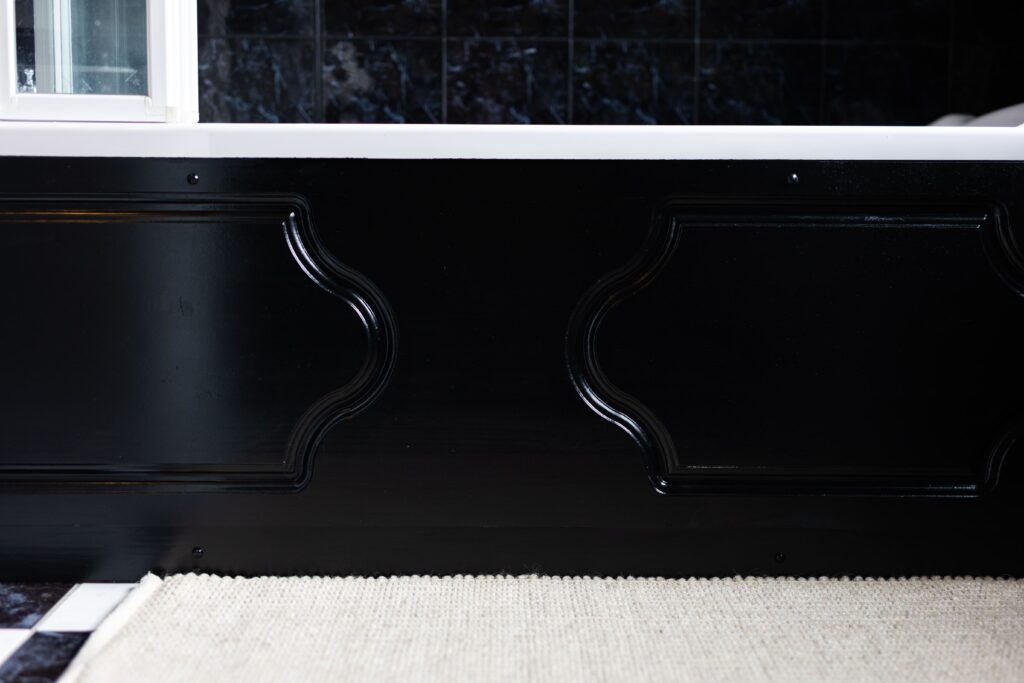
The same approach can be applied to suitable bath panels, window sills, doors and other woodwork.
Rather than replacing these features, we prepared and painted them so that they worked with the wider bathroom colour scheme.
Repeating the same colour family throughout the room allows individual features to feel like part of one complete design.
Step 5: Add the Finishing Touches
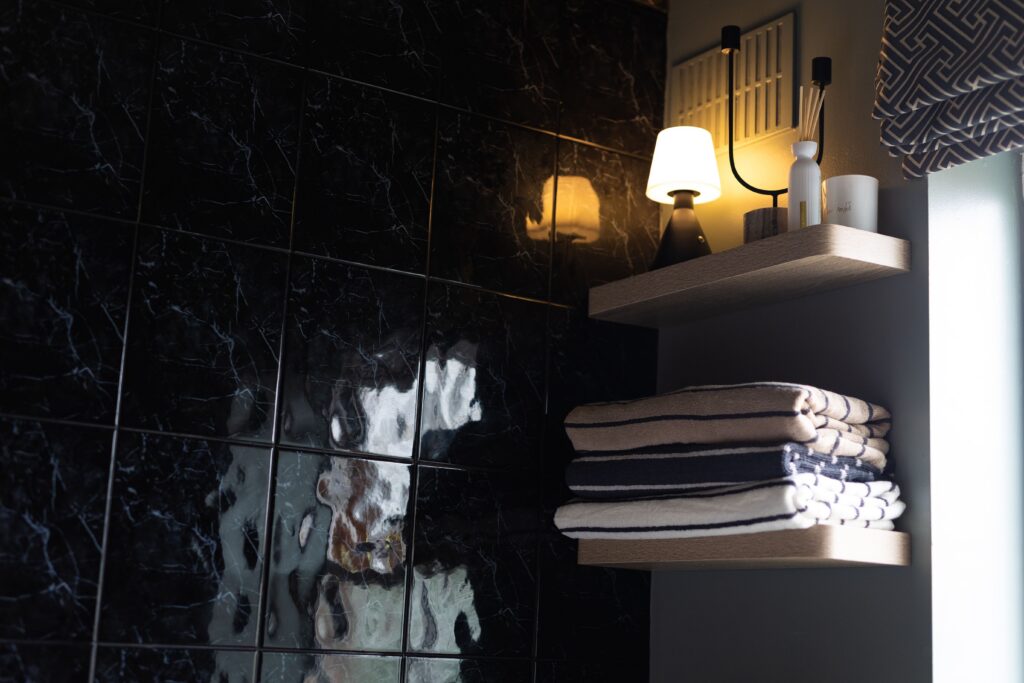
Small details can make a big difference to the finished room.
For this bathroom makeover, the grout lines were also refreshed, helping the existing tiles sit more comfortably alongside the newly painted surfaces.
Once all painted surfaces are properly dry, carefully remove your masking tape and bring accessories back into the room.
Metallic finishes, lighting, mirrors, textiles and decorative accessories can add warmth and contrast without disrupting the overall colour-drenched effect.
Bathroom Colour Inspiration: Fleetwood Ripples Folly
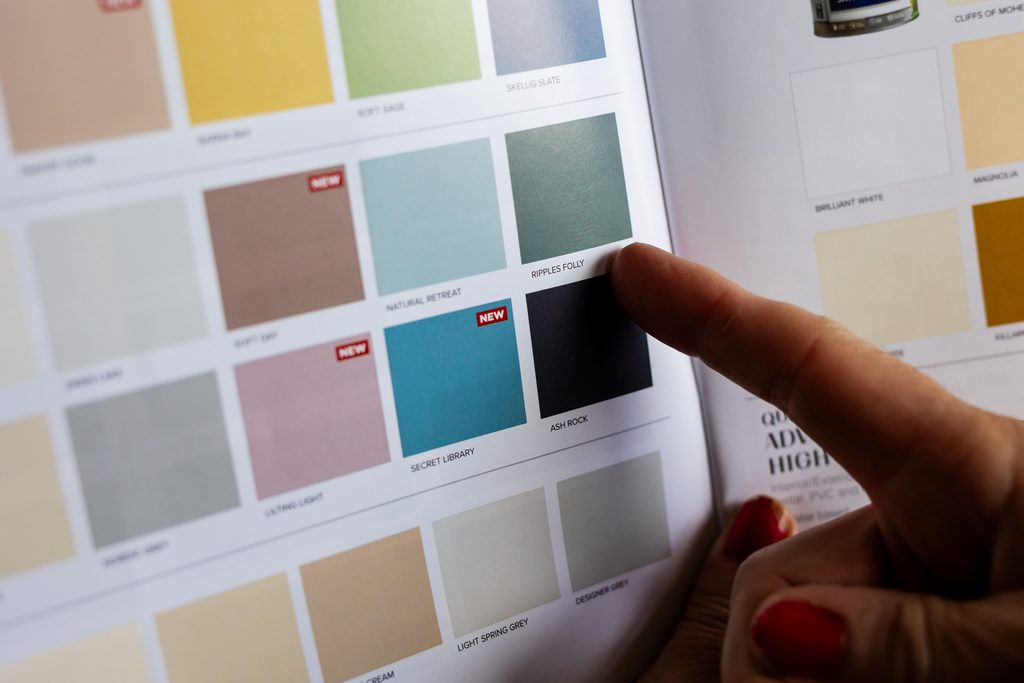
For this project, we chose Ripples Folly from the Fleetwood Bathroom Paint range.
Rather than pairing the colour with a white ceiling or contrasting walls, we used it as the foundation of the entire bathroom scheme.
Carrying the colour across the walls and ceiling, with coordinating painted details elsewhere in the room, creates a deeper and more immersive effect.
It also shows why you shouldn't automatically avoid darker colours in a small bathroom.
Using a deeper shade consistently can reduce visual breaks between surfaces and create a bathroom that feels intentional, cohesive and full of character.
Can You Colour Drench a Small Bathroom?
Yes. Colour drenching can work particularly well in a smaller bathroom.
Traditional contrasting walls, ceilings and trim create several visible boundaries around a room. Using one dominant colour can soften those boundaries and give the space a more unified appearance.
The key is choosing a colour you enjoy and considering how it works with your bathroom's existing tiles, flooring, natural light and artificial lighting before committing.
Testing your chosen shade in the room first is always worthwhile.
The Final Bathroom Makeover
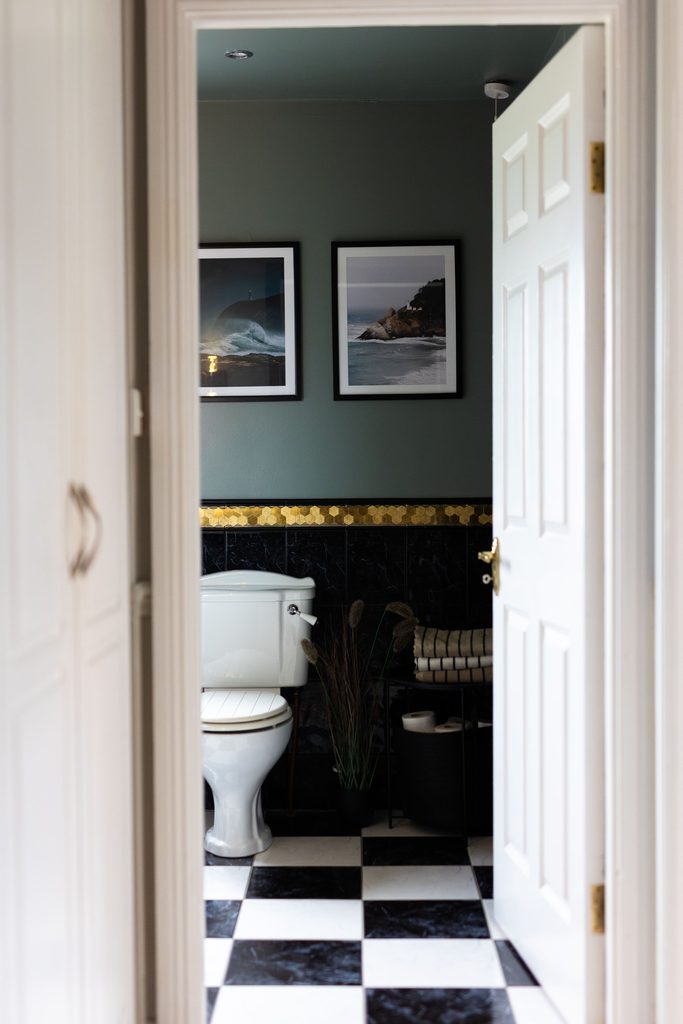
What started as a dated bathroom now feels like a completely different space — without replacing the bath, tiles, radiator or other major fixtures.
The biggest transformation comes from the way the colour has been used.
Taking Ripples Folly beyond a single feature wall and carrying the colour across the ceiling, walls and surrounding details creates a much more immersive finish.
Rather than drawing attention to every individual surface, colour drenching brings the entire bathroom together.
Combined with careful preparation and a few clever paint updates, this project shows how dramatically you can transform a bathroom in a single weekend while making the most of what's already there.
Bathroom Colour Drenching FAQs
What is colour drenching?
Colour drenching involves using one colour, or closely related shades, across multiple surfaces such as walls, ceilings and trim to create a cohesive and immersive look.
Should you paint the ceiling the same colour as the walls?
For a fully colour-drenched look, yes. Continuing the wall colour across the ceiling removes the traditional white break between the two surfaces and creates a more seamless effect.
What paint should you use in a bathroom?
Choose a paint specifically suitable for bathrooms and humid areas. Bathrooms experience moisture, steam and frequent cleaning, so the paint should be appropriate for those conditions.
Can dark colours work in a small bathroom?
They can. Dark shades can create a cosy, immersive effect, particularly when used consistently rather than broken up by several contrasting colours. Always test the colour in your own bathroom and look at it under different lighting conditions before deciding.
Can you paint a bathroom radiator or bath panel?
Many suitable surfaces can be painted when correctly prepared, primed and finished with an appropriate product. Check what your bath panel or radiator is made from and follow the paint manufacturer's preparation and application instructions before starting.
Ready to give your bathroom a fresh new look? Explore bathroom paints, primers, brushes, rollers and decorating supplies at Woodie's.

Fleetwood Paints
Fleetwood Paints is Ireland’s largest paint manufacturer, with over 75 years of expertise helping people bring their decorating ideas to life. From choosing the perfect colour to finding the right paint for the job, Fleetwood combines trusted products, expert advice and practical project inspiration to make decorating feel easier and help you get the job done with confidence.