Paint & Decorating, Home Décor
How to Create a Gallery Wall

Have you got a few bare walls that could do with a bit of dressing up? Why not get creative by creating a stunning gallery wall! This is a great idea for creating visual interest on walls in rooms like, the living room, dining room, hallway, bedrooms, and home office.
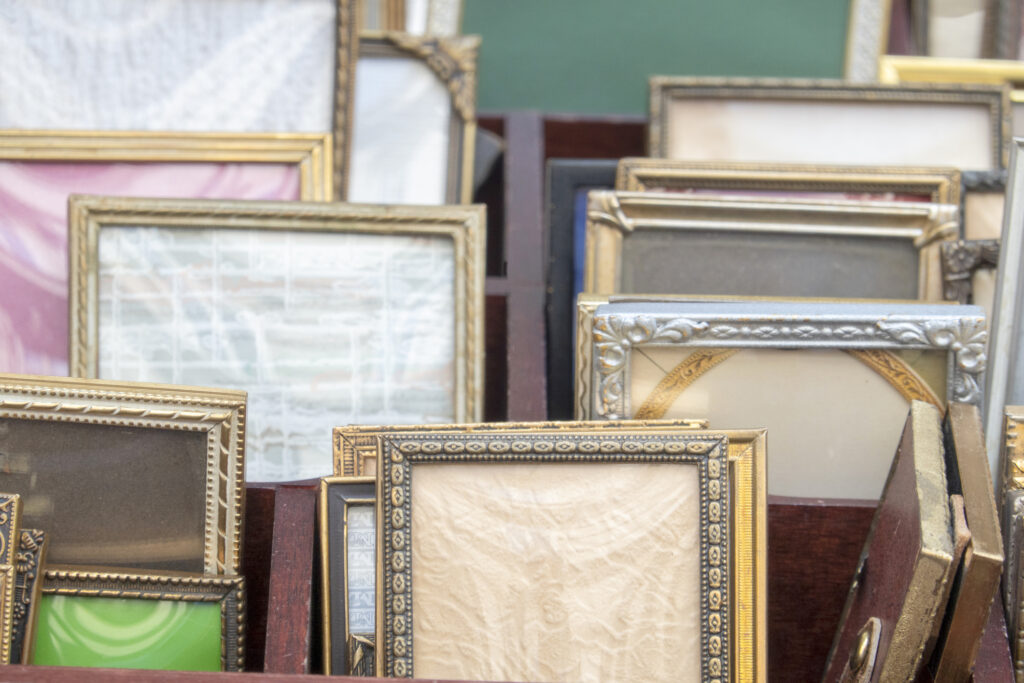
Choosing the Right Frames for Your Gallery Wall
When it comes to choosing the right frame, there are a number of factors to consider. These include, but are not limited to: the style; colour; and the size and shape of the frames.
Style
Choosing the right frames for your gallery wall is key to creating the perfect look and feel for the room. Depending on the look you're going for, you might want a frame that's sleek and modern, antique frames, or wooden frames that can easily be painted a different colour.
Colour
Once you've settled on your style of frame, it's important to consider the colour next. Deciding factors can include: the colour of the walls in the room they'll be placed in; accent colours around the room; and whether you want just one colour, a variety of colours, or complementary shades. Another thing to consider when it comes to the colour of your frames is whether you have a particular shade of wooden furniture or flooring. When purchasing wooden frames (that you don't intend to paint a different colour), it would be best to match them to the colour of the already existing wood in the room.
Size & Shape
To create a visually impactful gallery wall, it's a good idea to choose frames in a variety of sizes. This will also make it easier when splitting up your print. Larger image features won't need to be cropped to fit smaller frames; and smaller image features won't get lost in a larger frame. Other aspects like mixing up landscape and portrait style frames, thick or thin frames, and varying shapes are all great for creating visual interest with your gallery wall.
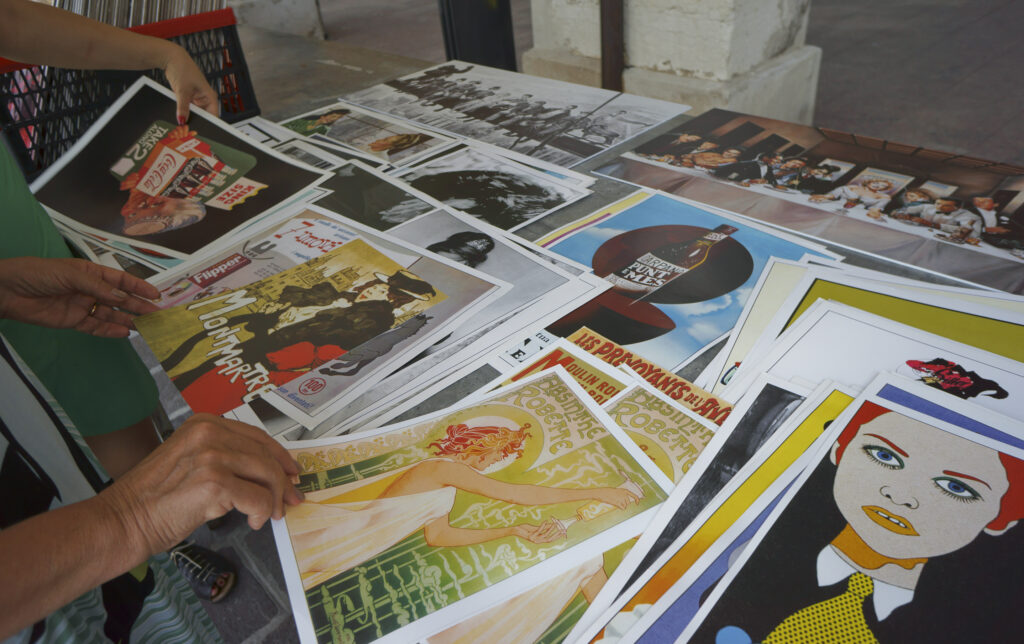
Picking Your Oversized Print for Your Gallery Wall
Once you have your frames, it's time to start choosing what you're going to put in them. While some choose the simple option of patterned wallpaper, others opt for an oversized print. Other things to consider are: colours; theme; and style.
Colour
Just like when you're choosing your frames, the colours in the print you choose also need to be carefully considered. Different colour options to think about include: complementary shades to the colours already in the room; bright or muted colours; or whether you want coloured prints at all - Some people like to have a classic black and white look when creating a gallery wall.
Theme
The theme of your print is also an important factor to consider. Some options include: cityscapes; landscapes; inspirational quotes; nature; fashion; famous posters, artwork or photographs; and purely colour focused prints. Whichever theme you choose, you'll be guaranteed a complete transformation of the look and feel of the room you're creating the gallery wall for.
Style
It's important to think about the style of your print too. While some people opt for paintings and drawings, others choose realistic photography or posters. The style of print you choose will depend on the look and feel you are going for in your chosen room. Spend time choosing which style is right for the room and goes best with your chosen theme.
Tools for the Job
Now that you’ve chosen your frames and print, it’s time to start gathering everything you’ll need to complete the project:
Step-by-Step Guide to Creating a Gallery Wall
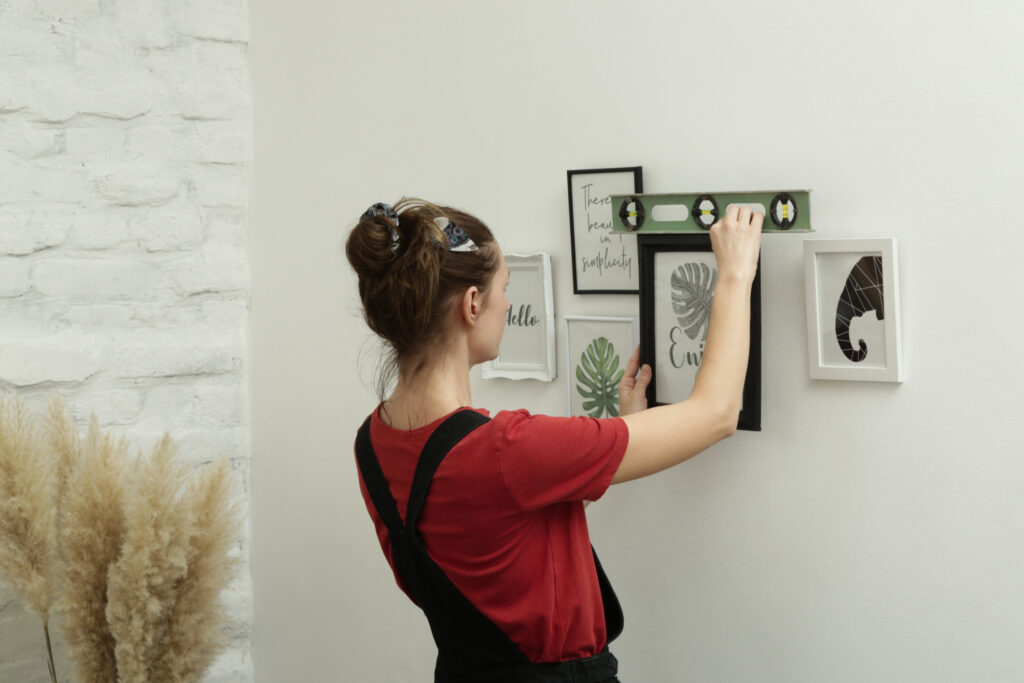
With all the tools you’ll need gathered, it’s time to get to work! Follow the steps below to get started:
- Lay out your chosen oversized print or wallpaper
- Gather and prepare your frames
- Place the frames on the print and decide on your layout
- Take a photo of your frame layout
- Trace around the edges of the pictures inside the frames
- Remove the frames from the print
- If painting the frames a different colour, now is the time to do so
- Cut out the imagery along the markings you previously made
- Place the cut out imagery inside the frames and secure them
- Hang the frames as per your layout
- Stand back and admire your creation!
If you’re more of a visual learner, you can watch our how to video below:
And there you have it! If you’re ready to get started, you can find everything you’ll need here.
