Paint & Decorating, Outdoor Living
Painting Garden Furniture: Step-by-Step Guide from Woodie’s

There’s something deeply satisfying about transforming tired garden furniture into pieces that look brand new. Whether you're reviving a beloved wooden bench or spray painting metal garden furniture, this guide will walk you through everything you need to know. It’s the perfect way to get your garden ready for the summer months or that next garden party.
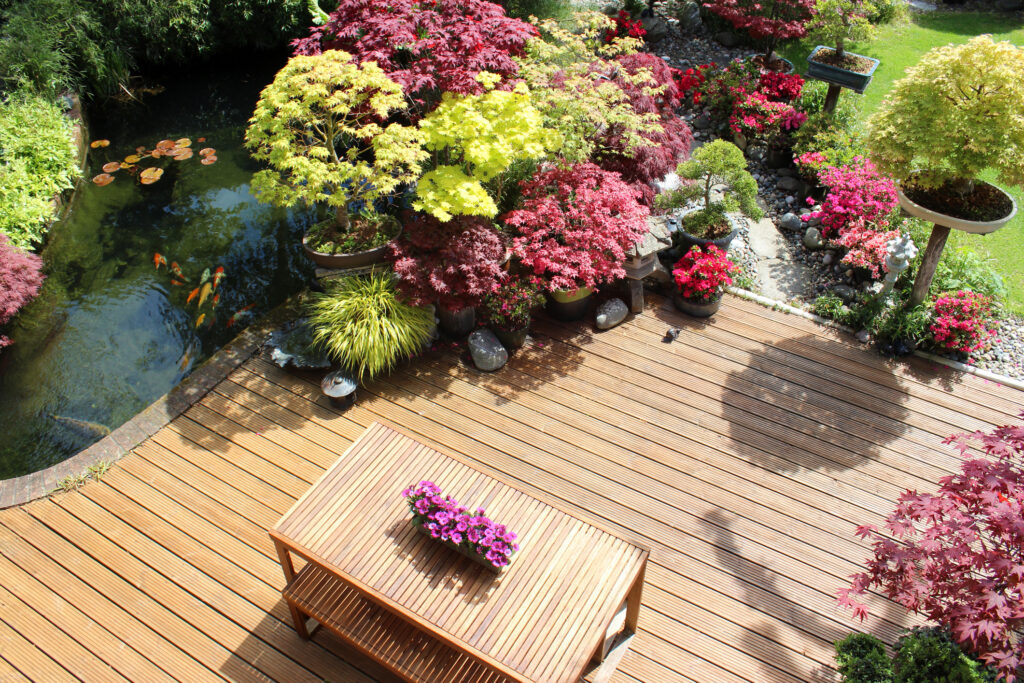
Painting your outdoor furniture is not just a cosmetic upgrade — it's a rewarding DIY project that can extend the life of your pieces and add a splash of personality to your garden space. From rustic wooden tables to sleek aluminium chairs, a fresh coat of paint can make a world of difference. Plus, it’s a great way to complement your overall garden aesthetic, especially if you're following one of our low-maintenance garden design tips.
Why Paint Your Garden Furniture?
Painting garden furniture not only refreshes its appearance but also extends its life by protecting it from the elements. Rain, sun and fluctuating temperatures can wear down materials, but a coat of quality exterior furniture paint acts as a shield. It also gives you the chance to express your style through colour.
From painting aluminium garden furniture to restoring wooden classics, this guide has it covered.
What You'll Need
Before you dive in, make sure you have the following tools and products:
- Cleaning supplies
- Sanding block or electric sander
- Paintbrushes and rollers – explore our full decorating tools range
- Dust sheet or newspaper
- Primer suited for your material
- Paint (woodcare, masonry, or specialist spray paint)
- Masking tape for precision
- Sealant (optional for added durability)
![750Ml Fleetwood Garden And Wood Paint Fern Drop]() 750Ml Fleetwood Garden And Wood Paint Fern Drop
750Ml Fleetwood Garden And Wood Paint Fern Drop- Buy 1 get 1 Half Price
€16.99€22.65 per ltr- Delivery
- Click & Collect
![Dosco 5inch Protex Masonry Brush]()
![Black+Decker Mouse Sander]()


Need extra supplies? Find everything in our paint & decorating department.
Step-by-Step: Painting Garden Furniture
1. Clean Thoroughly
Start by giving your furniture a good wash. Dirt, mould, and flaking paint can all interfere with the new finish. Use sugar soap or a suitable outdoor cleaner, and let it dry completely.
2. Sand the Surface
This is key, especially when painting wooden garden furniture or hardwood pieces. Use sandpaper or an electric sander to smooth rough areas and remove any loose paint. For metal or aluminium, lightly sand to help the primer adhere.
3. Apply Primer
Primer is essential for a smooth, long-lasting finish. For timber, opt for a wood primer from our woodcare collection. If you’re spray painting metal garden furniture or working with aluminium, use a metal-compatible primer from our specialist paint section.
4. Choose and Apply Paint
Select a durable paint that suits your furniture material. We stock a wide range of exterior masonry paints and specialist formulas designed for outdoor use.
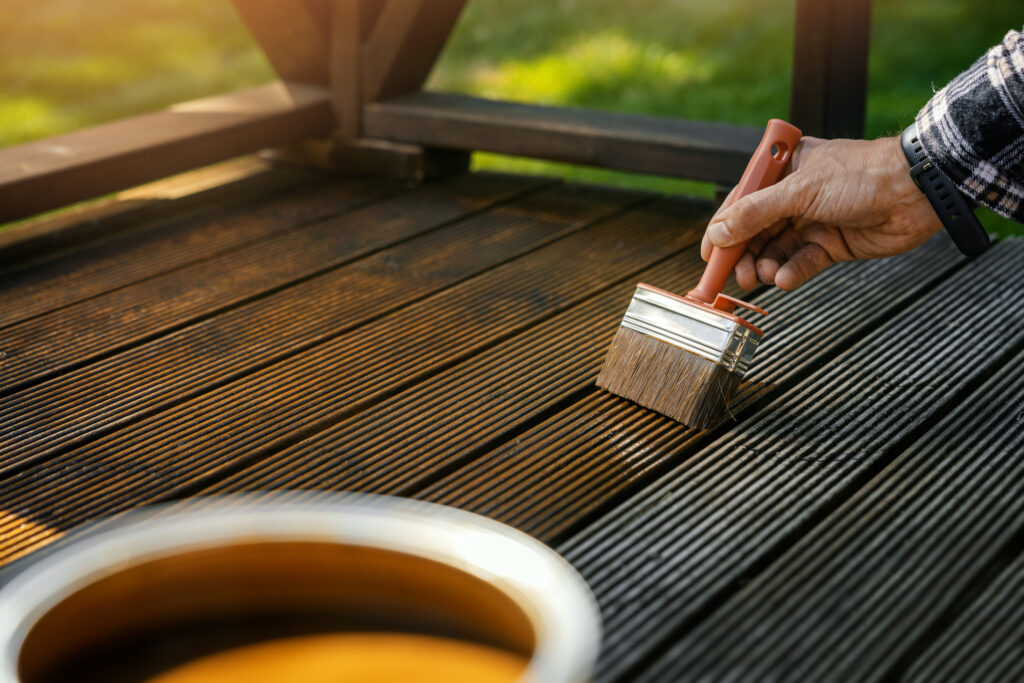
Apply paint in light, even coats. For spray painting garden furniture, hold the can about 15-20 cm away and use sweeping motions. Let each coat dry fully before applying the next.
5. Add a Protective Topcoat (Optional)
If you want extra weatherproofing, especially for painting hardwood garden furniture, consider a clear sealant. This step enhances longevity and makes cleaning easier.
Top Tips for a Flawless Finish
- Check the forecast: Always pick a calm, dry day to avoid dust and debris getting stuck in wet paint.
- Prep like a pro: Clean and sand thoroughly. Good prep work sets the stage for a smooth finish.
- Use quality tools: A decent brush or roller will reduce streaks and drips. For spraying, use steady hand movements.
- Apply multiple thin coats: Thinner coats dry faster, adhere better, and prevent unsightly runs.
- Work in a shaded area: Direct sunlight can cause paint to dry too quickly, leading to cracks or bubbles.
- Let it cure: Even if it feels dry to the touch, give the paint ample time to harden before using the furniture.
- Test colours in natural light: Outdoor lighting can change how paint looks. Test first to avoid surprises.
- Maintain regularly: Wipe down your painted furniture every few weeks and touch up any chips promptly.
Common Mistakes to Avoid
- Skipping the prep stage: Neglecting to clean or sand will lead to poor adhesion and peeling paint.
- Using indoor paint: Always opt for paints designed specifically for outdoor use, like those in our woodcare or masonry ranges.
- Overloading the brush or roller: This can result in drips and uneven coverage. Less is more.
- Painting in poor conditions: Humidity, high winds or freezing temps can all affect the finish.
- Not priming properly: Especially important for non-wood materials like metal or plastic. Primer ensures your paint lasts.
- Skipping a topcoat: If you want your efforts to stand the test of time, especially on hardwood or metal furniture, don’t skip the sealant.
- Ignoring drying times: Rushing between coats can trap moisture, causing bubbles or peeling.
Spruce Up Your Summer Furniture with Woodie’s
A few hours of DIY can give your outdoor furniture a whole new life. Whether you're refreshing a balcony nook or preparing for a summer gathering, a lick of paint makes all the difference.
Looking for inspiration? Check out our ideas for hosting a summer garden party or clever small balcony upgrades.
When you're ready to get started, head over to our full selection of decorating accessories and supplies to kit yourself out like a pro.
FAQs: Painting Outdoor Furniture
Can I paint over old paint?
Yes, but always sand down any flaky areas first for best results.
What’s the best paint for wooden garden furniture?
A specialist woodcare paint or stain from our woodcare range.
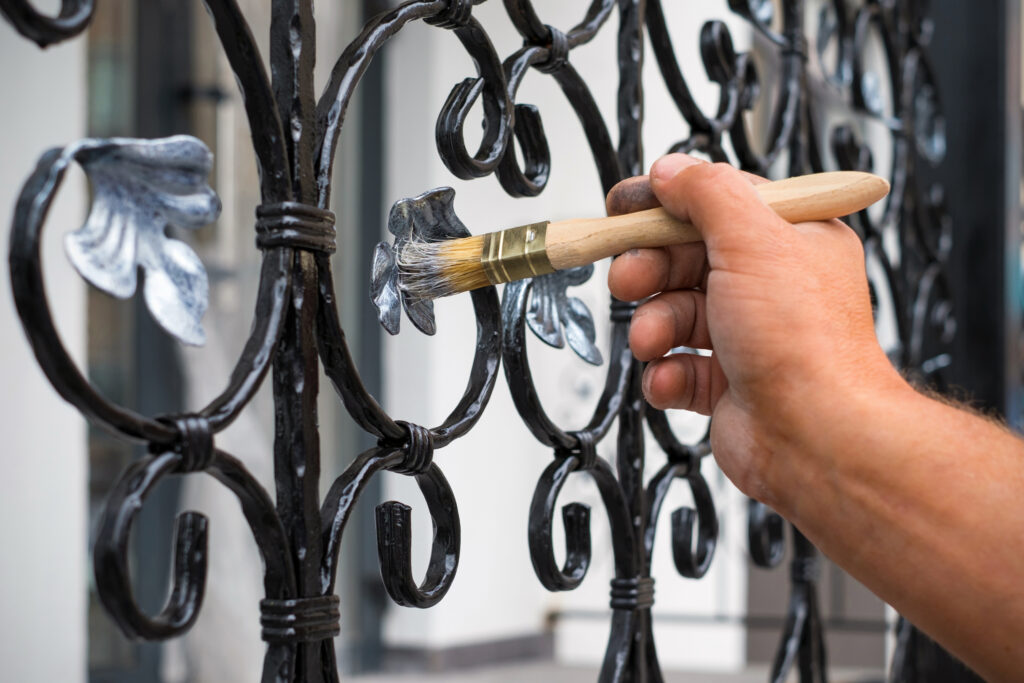
Can I spray paint metal furniture?
Absolutely. Use products from our spray paint section designed for metal.
Do I need a primer?
Yes, especially for metal and hardwood. It ensures better adhesion and durability.

Keegan Da Costa
Working with your hands is one of the most rewarding ways to improve your home, and for me, that comes through woodworking, DIY, and gardening. I’ve always been drawn to carpentry, especially the process of turning raw materials into something practical, durable, and well-crafted. Whether it’s building furniture or taking on smaller projects around the house, I value precision and doing things properly. Gardening brings the same satisfaction in a different way. From planning layouts to growing and shaping outdoor spaces, it’s about creating environments that feel natural, balanced, and inviting. At their core, DIY and gardening are about the same thing: improving your space through a hands-on, thoughtful approach that delivers lasting results.