How to Paint Your Kitchen Cabinets: A Step-by-Step Guide

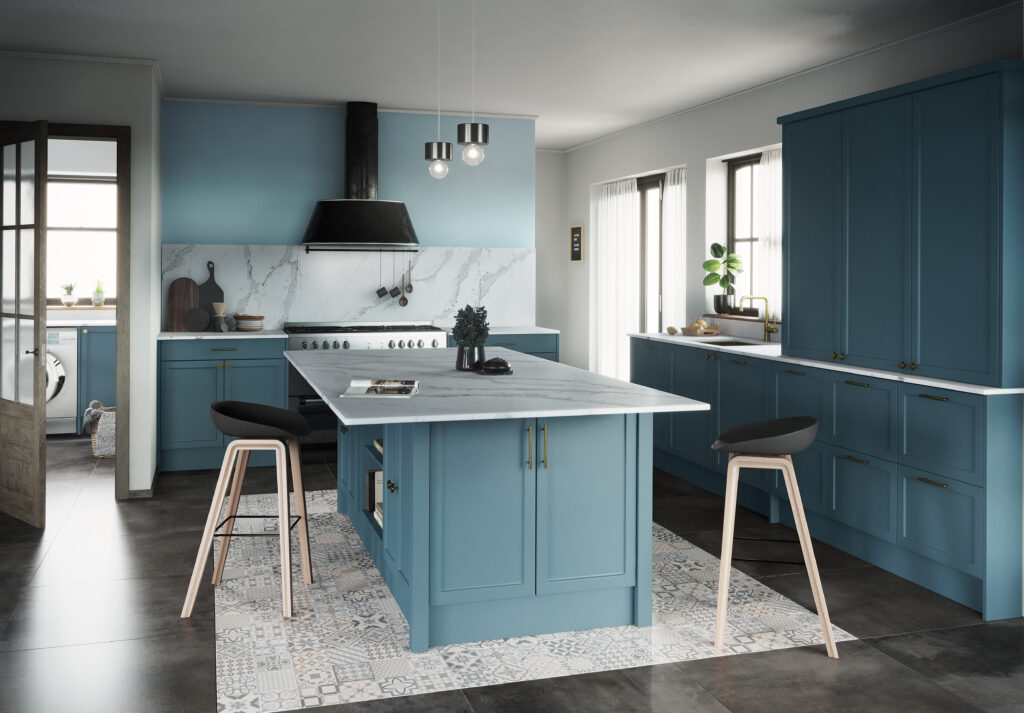
Is your kitchen in need of some freshening up but you’re not in the market for a full renovation just yet? Then why not give it a lift by applying a fresh coat of paint to your kitchen cabinets! We have all the help you’ll need to get the job done below. Read on for our step-by-step guide for painting your kitchen cabinets below.
How to Choose the Right Paint for Your Kitchen Cabinets
Choosing the right paint for your cabinet makeover involves considering a number of factors. Read some of our tips below to help you choose the best paint for you!
Durability: Kitchen cabinets are subjected to frequent use, moisture, and potential splatters of grease and food. Choose a paint that is specifically formulated for high-traffic areas and is resistant to moisture, stains, and wear.
Type of Paint: Oil-based paints provide a durable finish but can have a strong odour and longer drying time. Water-based paints are more environmentally friendly, dry faster, and have less odour, but they may require more coats for a comparable finish.
Finish: The finish you choose affects the appearance and durability of your cabinets. These include:
- Matte: Offers a flat, low-reflective finish. It can hide imperfections but might not be as durable or easy to clean.
- Satin: Strikes a balance between matte and glossy. It's easy to clean and provides a subtle sheen without being too reflective.
- Semi-Gloss: Provides a slightly glossy finish that's more durable and easier to clean. This makes it a popular choice for kitchen cabinets.
- High Gloss: Offers a reflective and highly durable finish. It can make cabinets look sleek and modern but may show imperfections more prominently.
Colour: The colour you choose should complement your kitchen's overall design and style. Consider the colour of your walls, countertops, and appliances when picking out your paint palette.
Cabinet Material: Different cabinet materials may require specific types of paint. Ensure the paint is compatible with the cabinet’s materials before purchasing.
Priming: Most cabinets benefit from a primer coat before painting. Priming helps the paint to stick better and provides a more even finish. Make sure to choose a primer that is compatible with the paint you plan to use.
Quality of Paint: Quality paints offer better coverage, durability, and colour retention, ensuring that your cabinets will look great and last longer.
Sample Testing: Before committing to painting all your cabinets, test your chosen paint on a small, inconspicuous area. This allows you to see how well the paint sticks, dries, and looks on your cabinets.
Consult Professionals: If you're unsure about which paint to choose or how to proceed, consider having a chat with our instore colleagues. They can provide expert advice tailored to your specific needs.
Preparation: Regardless of the paint you choose, proper surface preparation is essential. Clean the cabinets thoroughly, sand to create a smooth surface, and repair any imperfections before applying paint.
By carefully considering each of the above, and taking your kitchen's specific requirements into account, you can choose a paint that will make your kitchen look great while also protecting the cabinets from everyday wear and tear.
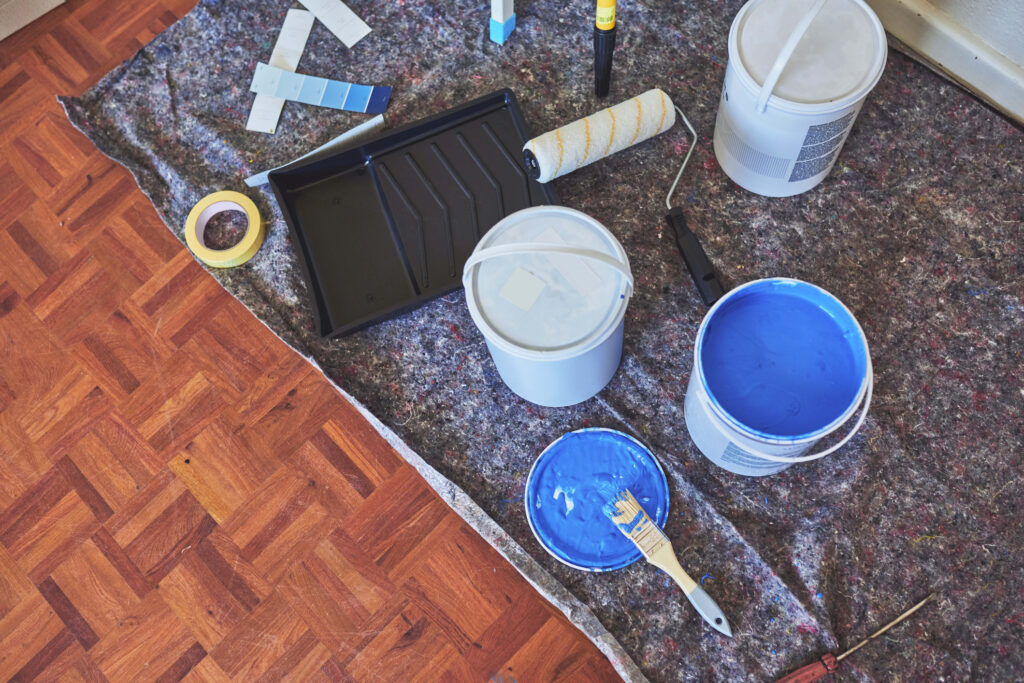
Tools for the Job
Once you’re ready to get started, you’ll need to make sure you have the following tools to complete the job:
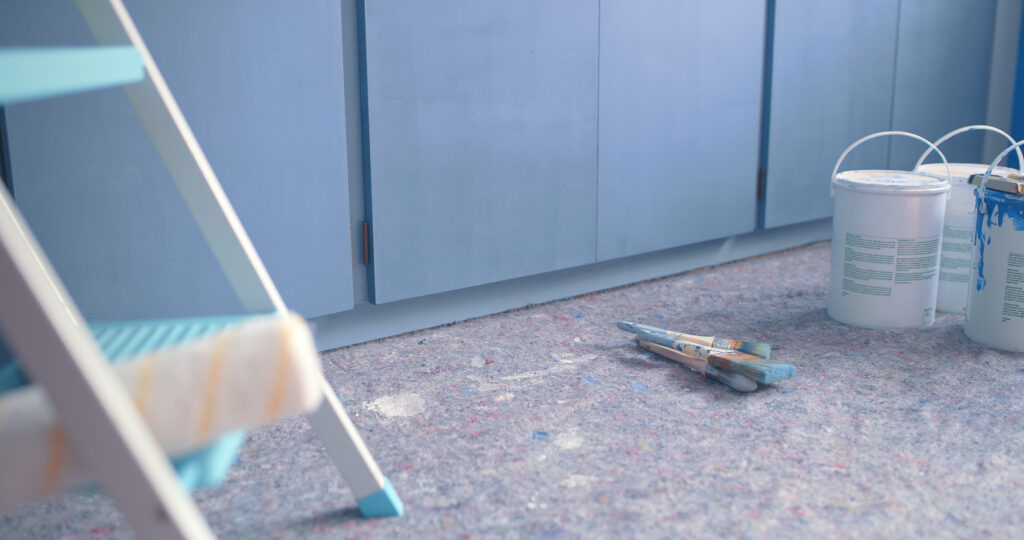
Preparing Your Kitchen Cabinets for Painting
Now that you have all the necessary tools for the job, it’s time to start prepping your kitchen cabinets for painting! Follow our handy step-by-step guide below to get started:
- Empty all contents from your cabinets
- Using a screwdriver, remove knobs and handles
- Mask off edges, hinges, and glass (if your cabinets have glass doors) using masking tape
- Place dust sheets on surrounding areas to protect surfaces from paint and debris
- Clean and degrease the cabinets using sugar soap
- Once cleaned, wash down them down with water and dry them off
- Lightly sand the cabinets to smoothen the surface before painting
- Using a cloth, wipe off all residue and dust
- Apply your chosen primer and leave to dry
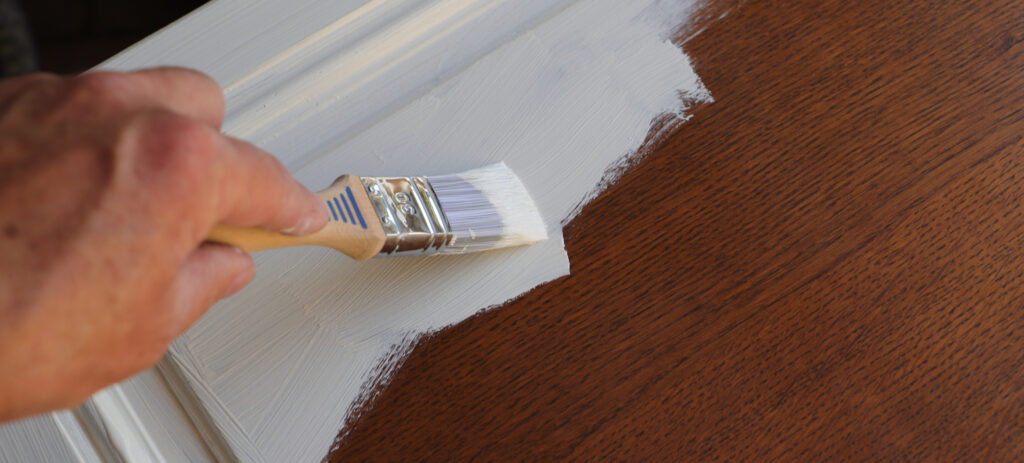
Step-by-Step Guide to Hand Painting Your Kitchen Cabinets
After all that preparation, and with your primer fully dried, it’s time to get painting! Follow the steps below to get the job done:
- Lightly sand down the cabinets to remove dust
- Apply first coat of paint and leave to dry
- Once the paint is dry, lightly sand the cabinets again to remove any additional dust
- Apply a second coat of paint and leave to dry
- Once the cabinets have fully dried, remove all masking tape, slowly and carefully
- Re-add any knobs and handles you previously removed
- Step back and admire all your hard work!
Spray Painting Your Kitchen Cabinets
If you’re not a fan of hand-painting your kitchen cabinets, then spray painting them is a great alternative! There are also two options you can choose from – Aerosol spray cans or a paint sprayer. It also offers several benefits, including:
- Smooth & Even Finish: Spray painting provides a smooth and even finish that is hard to achieve with traditional brushes or rollers. The fine mist of paint from the spray gun or can creates a uniform coat that covers the surface evenly.
- Professional Look: Spray painting can give your cabinets a professional, factory-finish appearance. The smooth finish helps hide imperfections and brush strokes, resulting in a high-end look.
- Time and Efficiency: Spray painting is typically faster than using brushes or rollers. It covers larger surface areas quickly, reducing the time required to paint the cabinets.
- Thinner Coats: Spray painting allows you to apply thinner coats of paint, which can result in a more durable finish. Thinner coats are less likely to drip or sag and tend to dry faster.
- Saves Paint: Spray painting is more efficient in terms of paint usage. It requires less paint to cover the same area compared to using brushes or rollers.
- Access to Hard-to-Reach Areas: Spray painting is particularly effective at covering intricate details, corners, and crevices in cabinets. This ensures that all parts of the cabinets receive an even coat of paint.
- Less Mess: Spray painting generates less mess compared to brushing or rolling. There's no need for paint trays or constant reloading of brushes or rollers, reducing cleanup time.
- Minimal Brush Marks: With spray painting, you eliminate the risk of visible brush marks or texture that can occur when using traditional painting methods.
- Versatility: Spray painting can be used on various cabinet materials, including wood, laminate, and metal. It adheres well to different surfaces, making it a versatile option.
- Customisation: Spray painting offers a wide range of colour options. You can also easily achieve various finishes, such as matte, glossy, or satin, depending on your preferences.
However, it's important to note that spray painting does require some specialised equipment and proper technique to achieve the best results. Adequate preparation is crucial for a successful spray-painting project. This can be done following the previous steps we listed for prepping your kitchen cabinets. Additionally, proper ventilation and safety precautions are necessary when working with spray paint to avoid inhaling fumes and overspray.
Are you ready to tackle the task of painting your kitchen cabinets? Shop everything you need here.
