Top Tips for Wrapping Gifts Like a Pro

Now that all of your Christmas gift shopping is done, it's time to prepare each of the wonderful presents you've bought. Before you get started, you'll need to decide how you'd like to present your gifts this year. Whether you prefer the traditional route of wrapping, the quick and easy route of a gift bag, or something a bit fancier like a hamper, we've got the guide for you. Read on as we explore the various options below.
Gift Wrapping
There are a few different ways you can go about wrapping presents. Here we'll explore 3 different ways to do it - The Amateur Expert, The Enthusiastic Stacker, and The Inspiring Department Store Pro.
Tools for the Job:
- A selection of wrapping paper
- Scissors
- Sellotape
- Ribbon/Twine
- Bows
- Labels

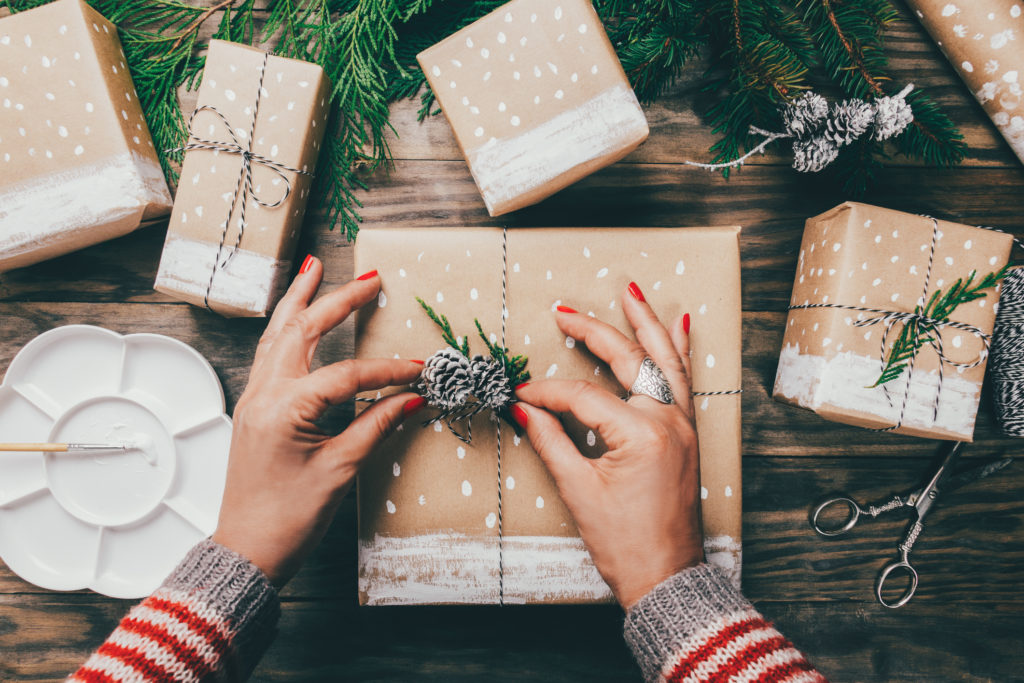
Step-by-Step Guide - The Amateur Expert
If you've ever successfully wrapped a present without tearing the paper or having areas of the gift exposed, then you can call yourself an Amateur Expert! If you still need a little guidance, follow the steps below to finally master the skill:
- Find a hard, flat surface to lay out your wrapping paper on and start to unroll
- Place your gift in the centre of the wrapping paper
- Once you're satisfied that you'll have enough gift wrap to fully conceal your present, use the scissors to cut away the necessary amount from the rest of the wrapping paper roll
- Bring 2 of the opposite sides together to meet at the centre of your gift
- Smooth the edges down and hold it together with a piece of tape
- Move to either end of your present and fold the top side of the paper down until it touches the side of your gift
- Next, fold either side of the paper inwards until it meets the gift
- Take the remaining piece of paper and fold it upwards, overlapping the already folded down top and side and seal with tape
- If you find the bottom length is too long to attach to just the side, fold it into itself until you achieve the desired length and follow the step above
- Repeat on the opposite side
- Add finishing touches and pop under your tree
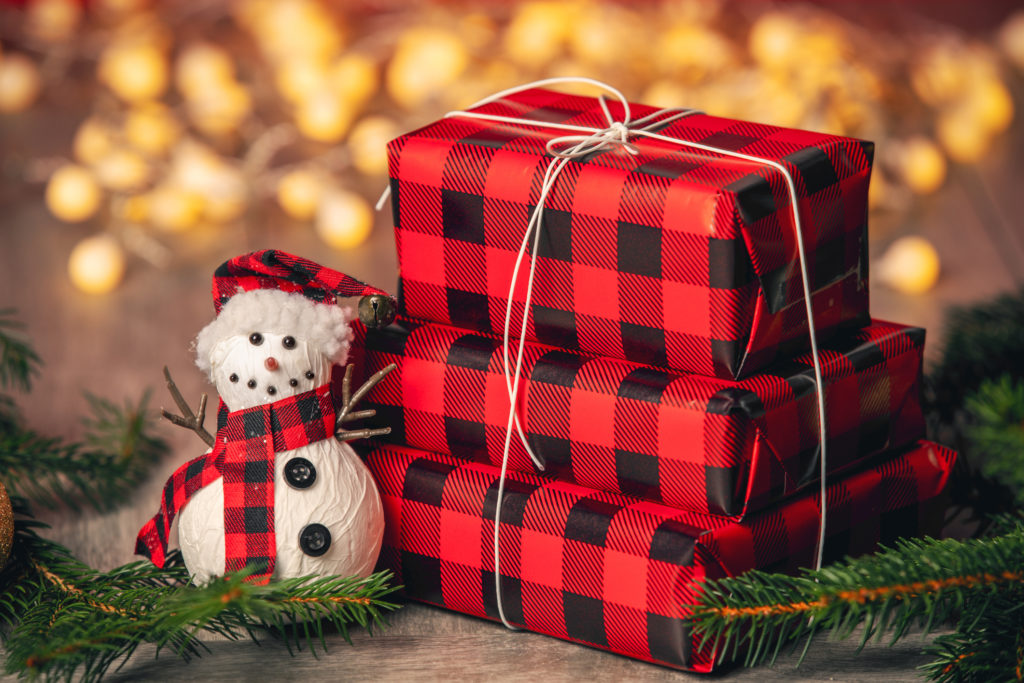
Step-by-Step Guide - The Enthusiastic Stacker
Have a couple of gifts to give to that special someone and would prefer not having to loosely hand each over? Then the stacking method is perfect for you! Read on below to learn how you can do it:
- Follow steps 1-10 above until all your gifts for your recipient are wrapped
- Take your ribbon, raffia or twine and lay it out on your wrapping surface, cutting off the length you'll need
- Place your wrapped gifts in a neat stack, upside down on top of the ribbon/raffia/twine
- Make sure the lengths of the ribbon/raffia/twine are even on either side of your present stack
- Pull the two ends of the ribbon/raffia/twine towards the top centre of the stack and loop together
- Bring the two ends of the ribbon/raffia/twine to the remaining two sides of the presents and pull towards the end of the stack
- Flip the stack, so the gift at the bottom is now at the top, and bring the two ends of the ribbon/raffia/twine together at the centre
- Complete the process by tying the two ends together in a bow
- Add finishing touches and pop under your tree
Step-by-Step Guide - The Inspiring Department Store Pro
The envy of every struggling gift wrapper, the department store wrapping pro makes it seem so effortless. Most don't even use tape to seal the paper! Well now you can learn how to do it yourself and compete with the best by following the guide below:
- Find a hard, flat surface to lay out your wrapping paper on and start to unroll
- Place your gift in the centre of the wrapping paper
- Once you're satisfied that you'll have enough gift wrap to fully conceal your present, use the scissors to cut away the necessary amount from the rest of the wrapping paper roll in a square shape, giving an additional 2 inches on each side
- Remove your gift from on top of the wrapping paper and fold it in half diagonally so it's in the shape of a triangle
- Next, lay the wrapping paper flat diagonally, so it looks like the shape of a diamond
- Place your gift in the centre of the wrapping paper
- Take the piece of wrapping paper at the bottom of the diamond-shaped position it's in and fold over the top of the gift, smoothing the edge
- Use one hand to hold the folded piece in place
- Take the right side of the wrapping paper with your free hand and fold over the gift, smoothing the edge
- While using one hand to hold the folded pieces in place, repeat with your free hand for the left side
- Now repeat for the top piece of wrapping paper
- Take the top piece you've just folded over the gift and tuck into the bottom piece
- Add finishing touches and pop under your tree
Gift Bags
Not a fan of wrapping your presents, or just don't have a lot of time to spare? Then popping them in a festive gift bag is the perfect option for you. While it's easy to just quickly pop your gifts in a bag and be done with it, why not spruce things up a bit this year instead! Add something extra to your gift presentation by following our step-by-step guide below.
Tools for the Job:
- Scissors
- Sellotape
- Ribbon/Twine
- Bows
- Labels/Gift Tags
- Gift Bags
- Tissue

Step-by-Step Guide
- If you're choosing to wrap your gifts before popping them into a gift bag, follow one of the step-by-step guides above.
- Choose tissue paper in a complementary colour to your gift bag
- Open each piece of tissue completely, lying them flat - this creates more volume with the tissue
- Line each side of the inside of your gift bag with the tissue, arranging in such a way that they extend out of the top of the gift bag
- If you want to add an additional colour or two of tissue, then repeat steps 2-4
- Place your gifts in the centre of the tissue at the end of the gift bag
- Cover your gift by adding one or two bunched up sheets of tissue on top of it
- Add finishing touches and pop under your tree

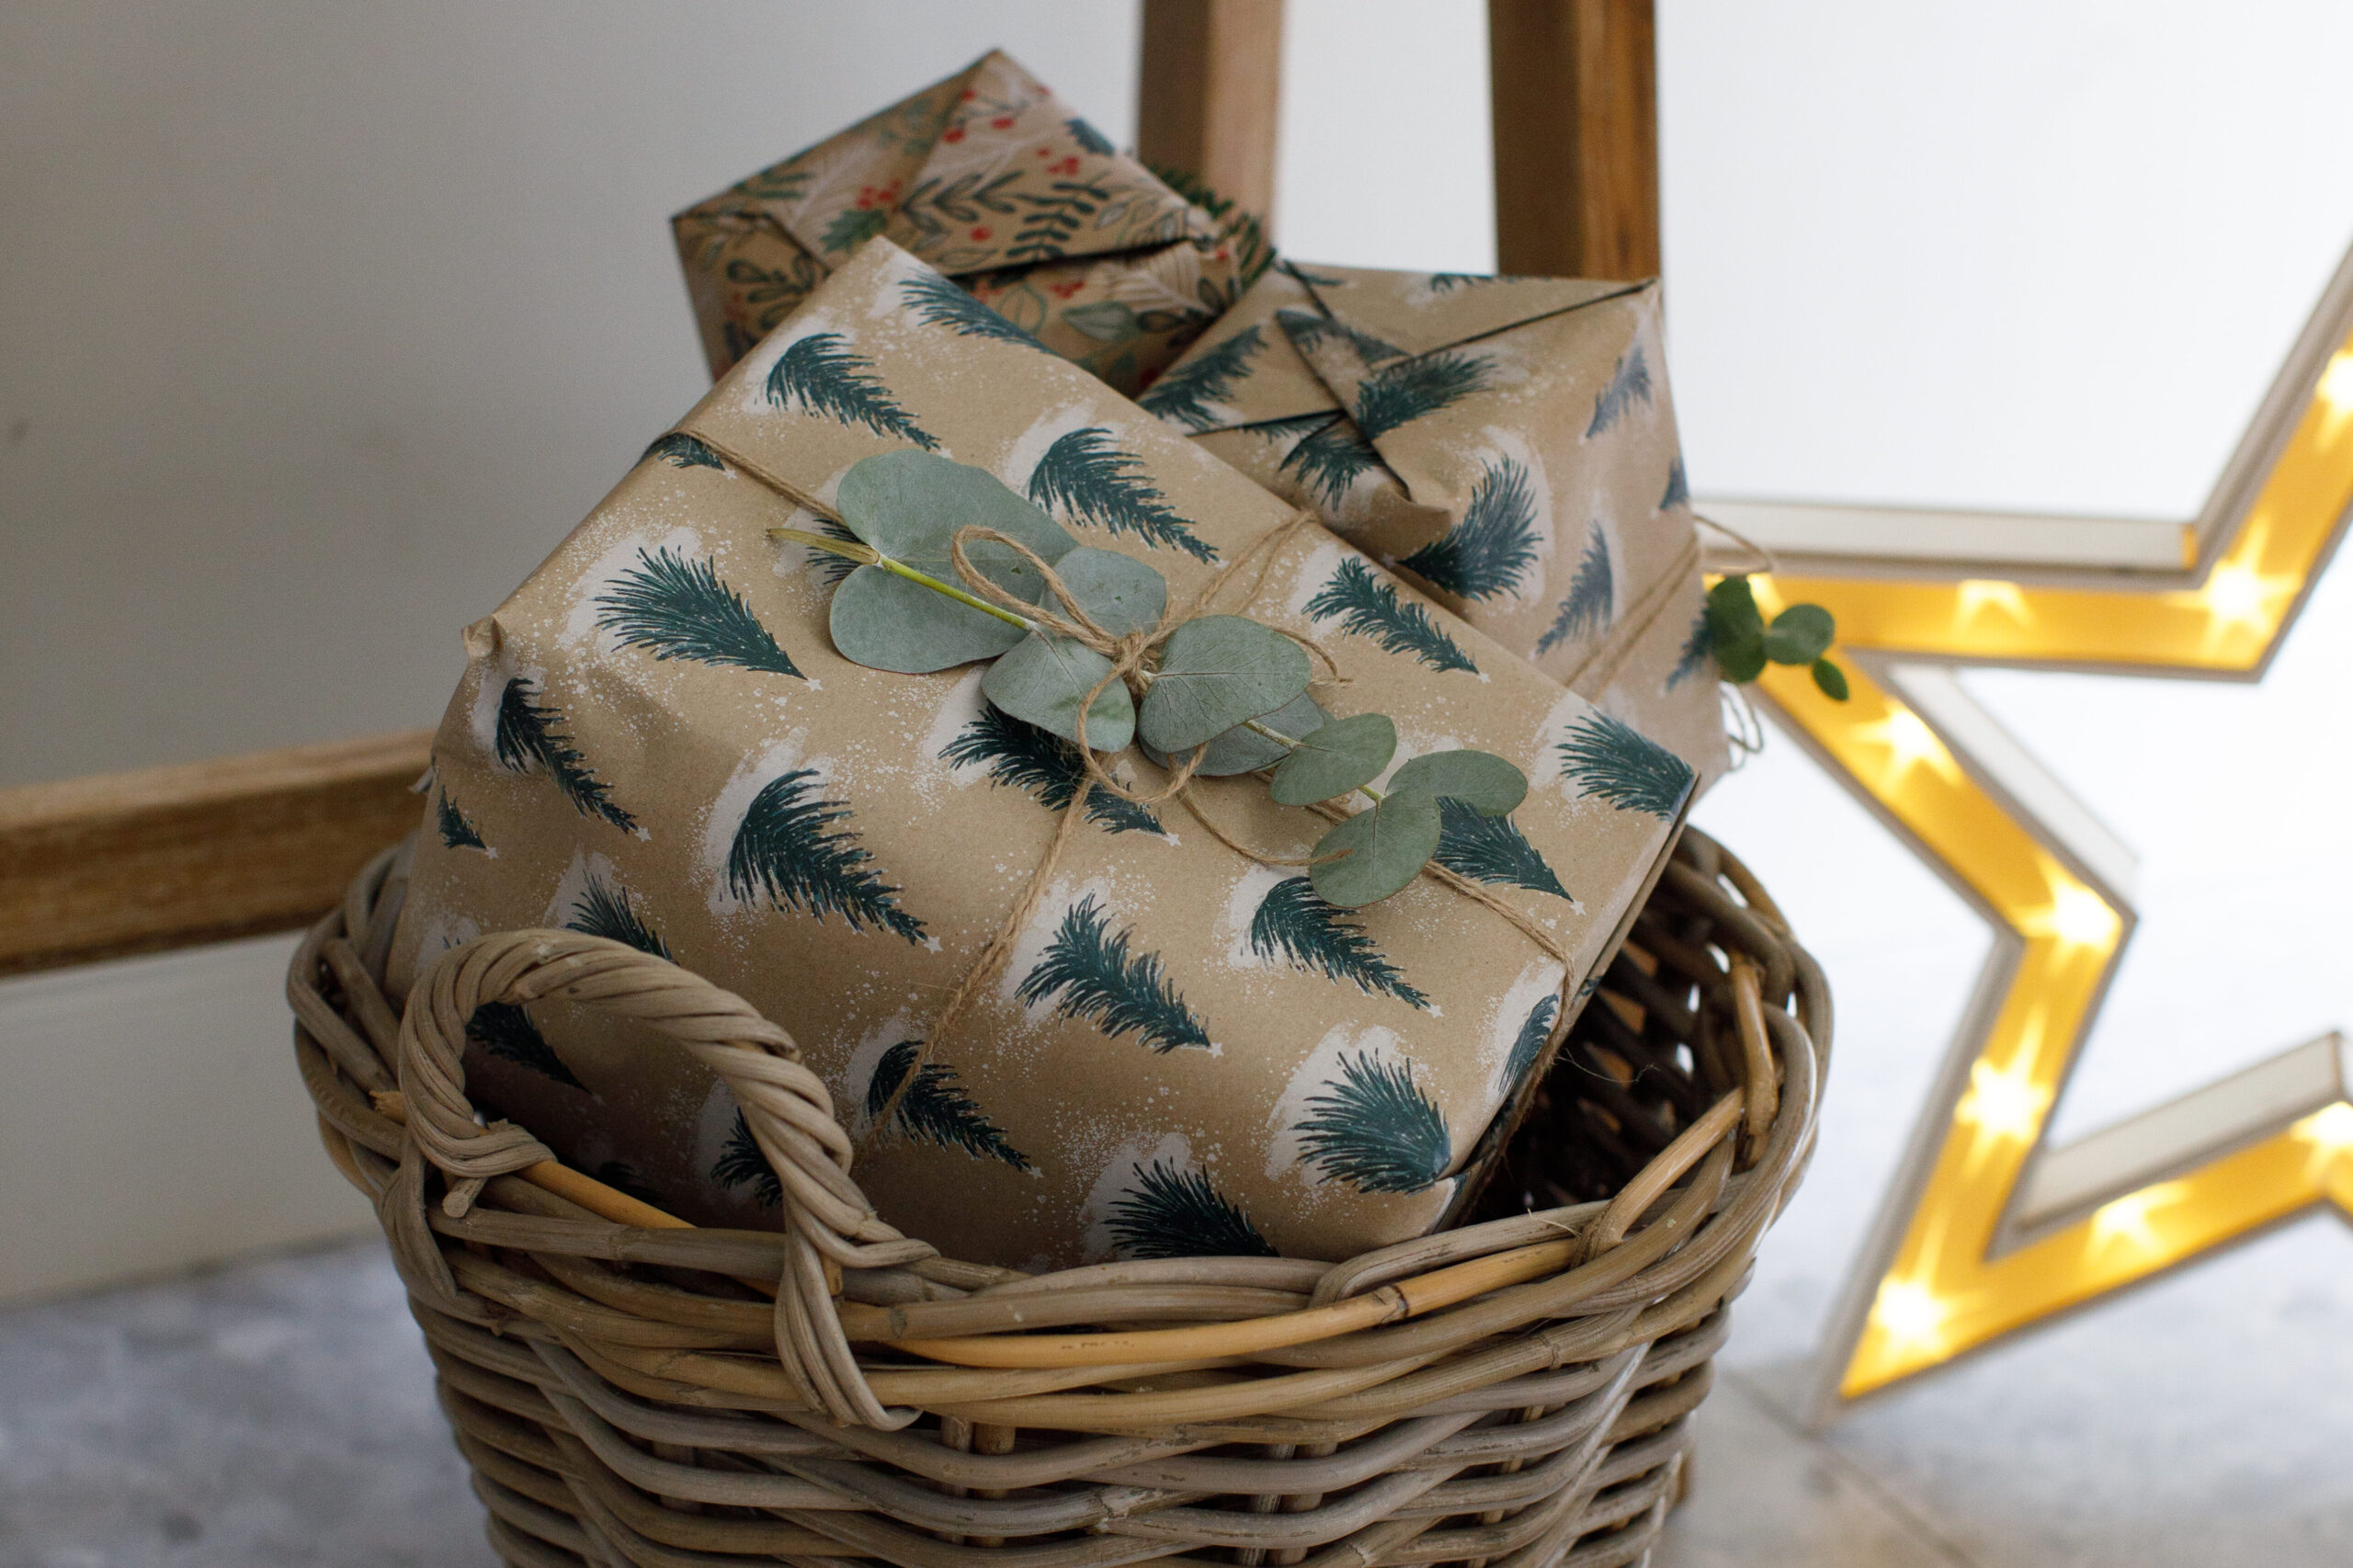
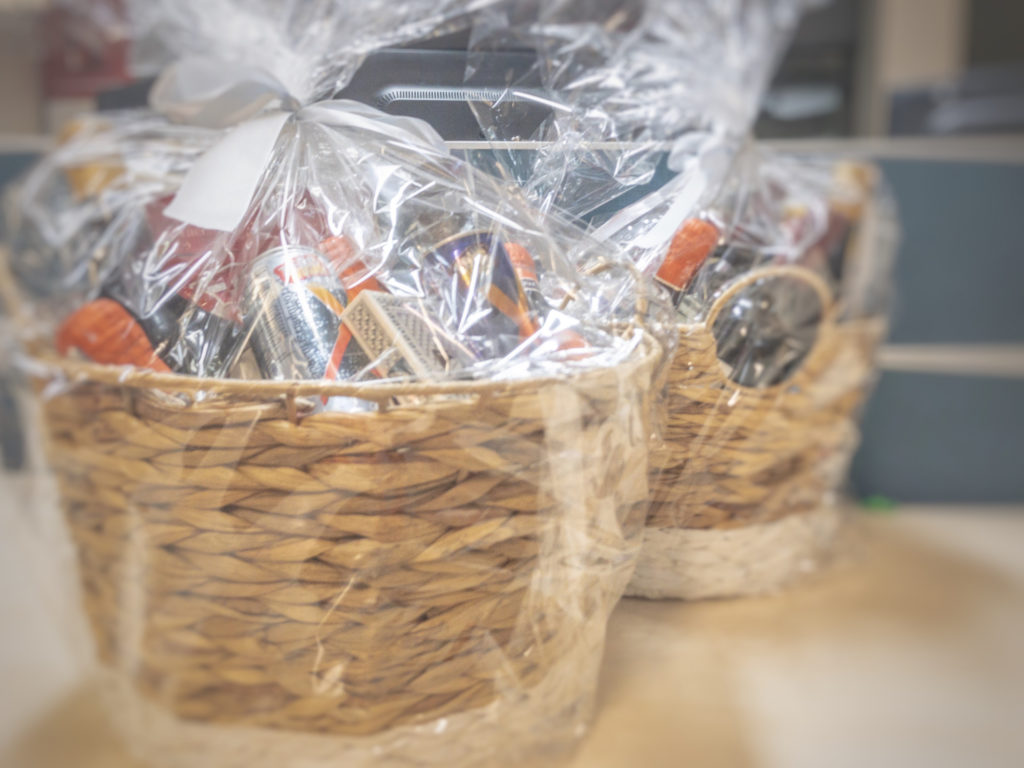
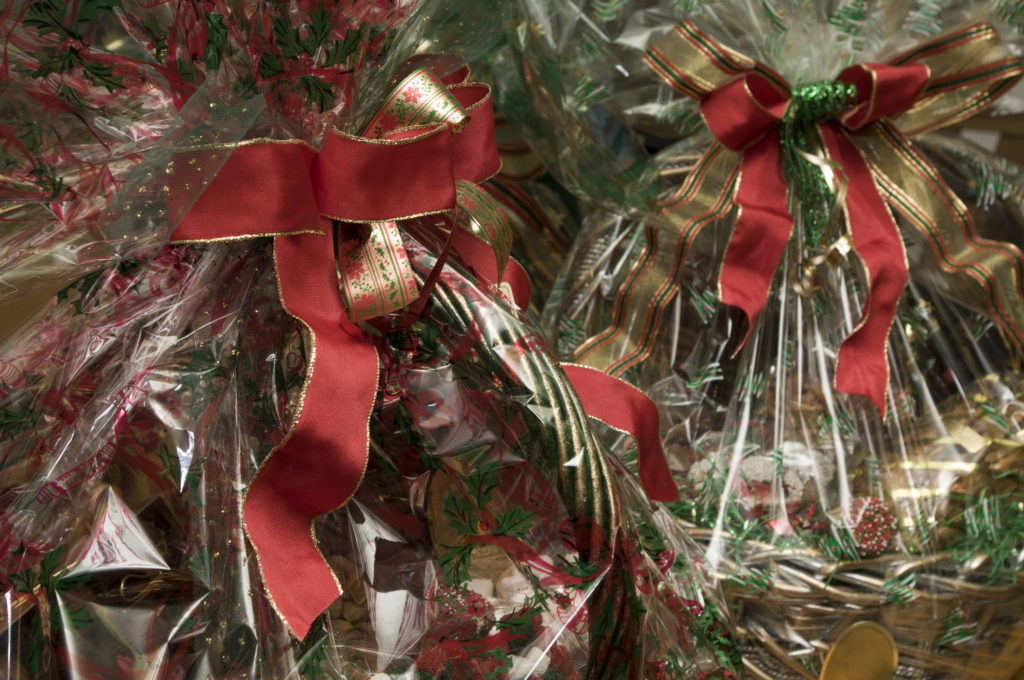
Creating a Gift Hamper
Do you have a few gifts to give to that one special person and really don't want to wrap everything individually? This year, try putting them all together in a beautifully presented gift hamper! Follow our step-by-step guide below to get started.
Tools for the Job:
- Gift Hamper/tray
- Clear wrap
- Scissors
- Sellotape
- Ribbon/Twine
- Bows
- Labels/Gift Tags
- Tissue
Step-by-Step Guide
- Start by rolling out the clear wrap on your wrapping surface
- Pop your hamper basket or tray on top of the clear wrap
- Neatly place your gifts inside the basket/tray and arrange it so you have them well presented for your recipient
- Once you're happy with the arrangement of your gifts, it's time to start wrapping the clear wrap around the hamper
- Bring each edge of the clear wrap upwards and allow them to meet centrally a few inches from the tallest item in the hamper
- Grab your ribbon and tie it in a tight bow around the gathered clear wrap to hold it together
- Make sure any sections of the clear wrap that surround the hamper are secured with clear tape to avoid any items potentially escaping during the movement of the hamper
- Arrange the clear wrap above the bow into a neat array and trim any excessive length
- Add finishing touches and pop under your tree
Finishing Touches
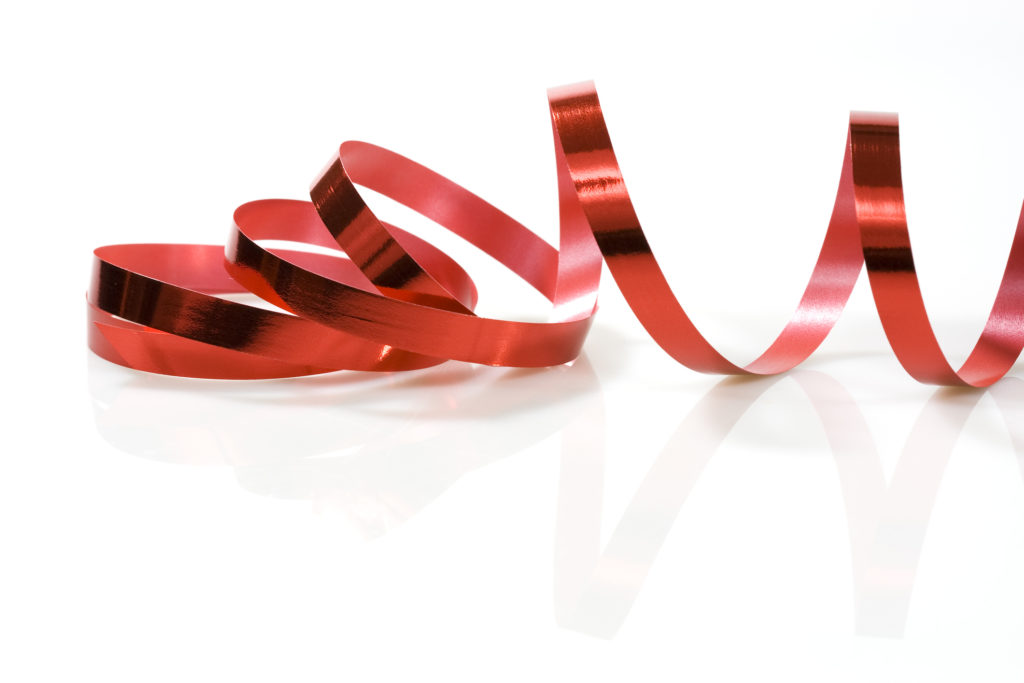
Whether you've chosen the traditional route of wrapping, the quick option of a gift bag, or the creative choice of a hamper, one thing they all need are finishing touches. One of the obvious finishing touches is the addition of a gift tag or label so you can easily identify the recipient. Other finishing touches can include something as simple as a stick-on bow, or something a bit fancier like curling ribbon.
Step-by-Step Guide to Curling Ribbon
- Wrap and tie the curling ribbon neatly around your gift.
- Take the lengths of the tied curling ribbon and a pair of scissors
- Hold the scissors completely open with one side of it securely gripped and grab a loose piece of curling ribbon with the opposite hand
- Tightly run the other side of the scissors along the length of it, gripping the curling ribbon to the scissor blade with your thumb the entire time
- Once you reach the end, the curling ribbon will bounce back into a little ringlet style curl
- Repeat until all loose pieces of the curling ribbon are curled
- You can also add additional pieces of curling ribbon if you desire a much fuller look
There you have it! You're all set to wrap gifts like a pro this Christmas.


