Paint & Decorating, DIY & Building
How to Fit Acoustic Panelling

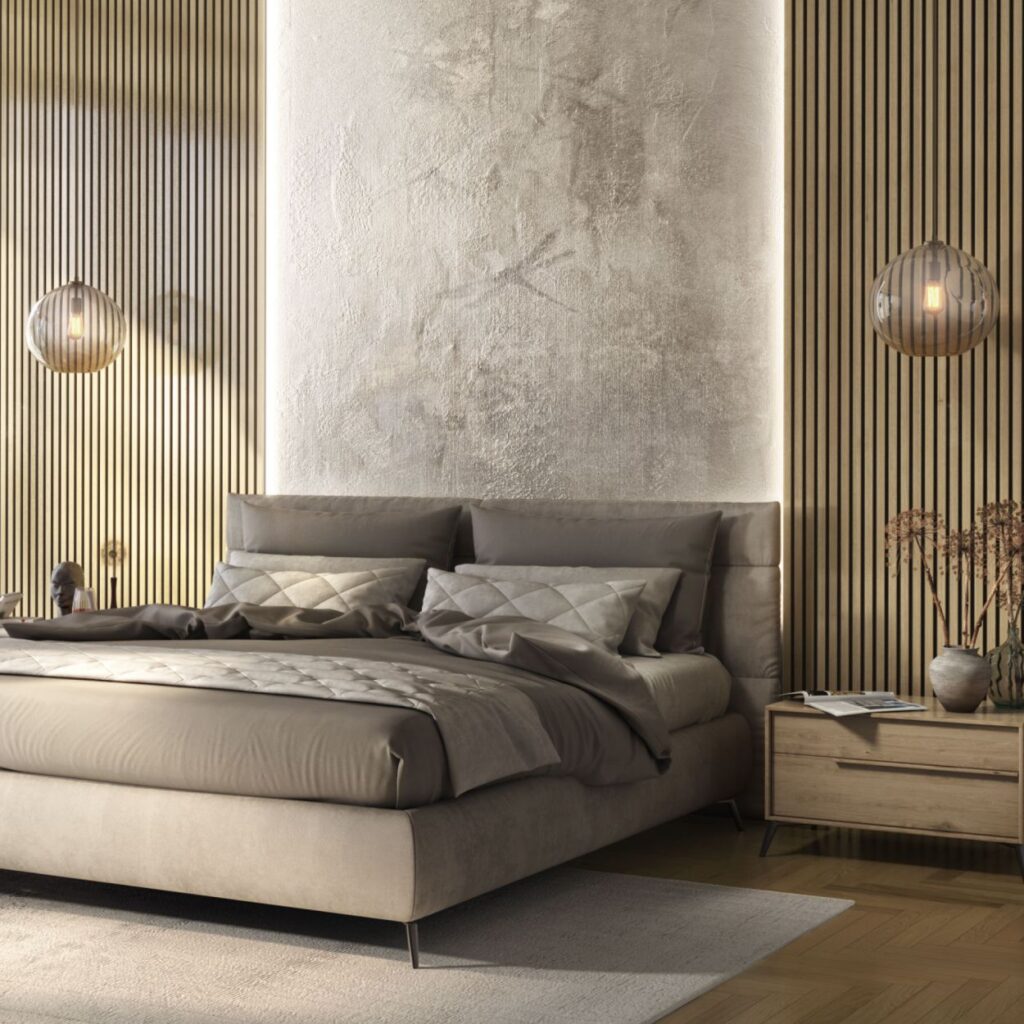
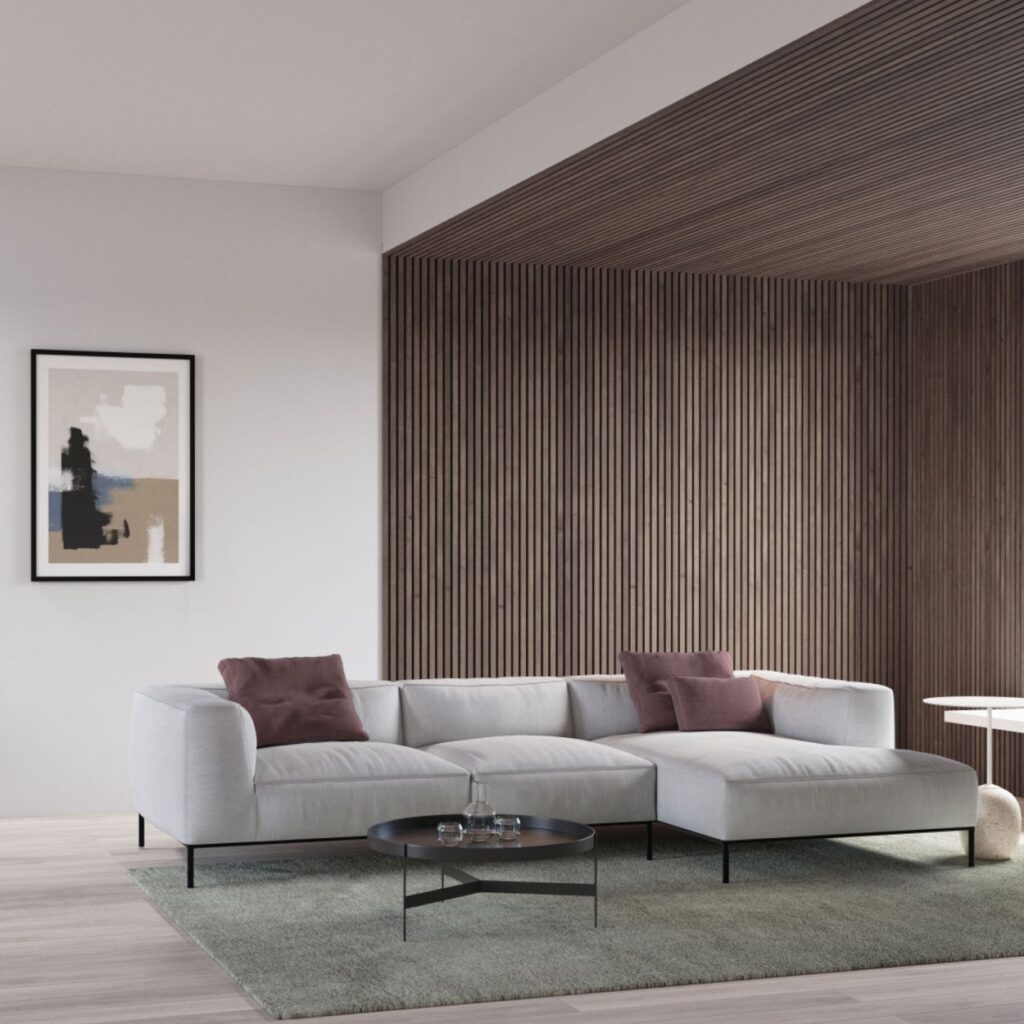
One of this year's most popular decorative additions to homes is acoustic panelling. Creating a stylish look and adding visual interest to any room, it's no wonder why! However, the idea of installing the acoustic panelling yourself may seem a little intimidating. There's nothing to worry about though as we've got you covered. Follow the guide below to learn how to fit acoustic panelling today.


What to Know Before Installing Acoustic Panelling
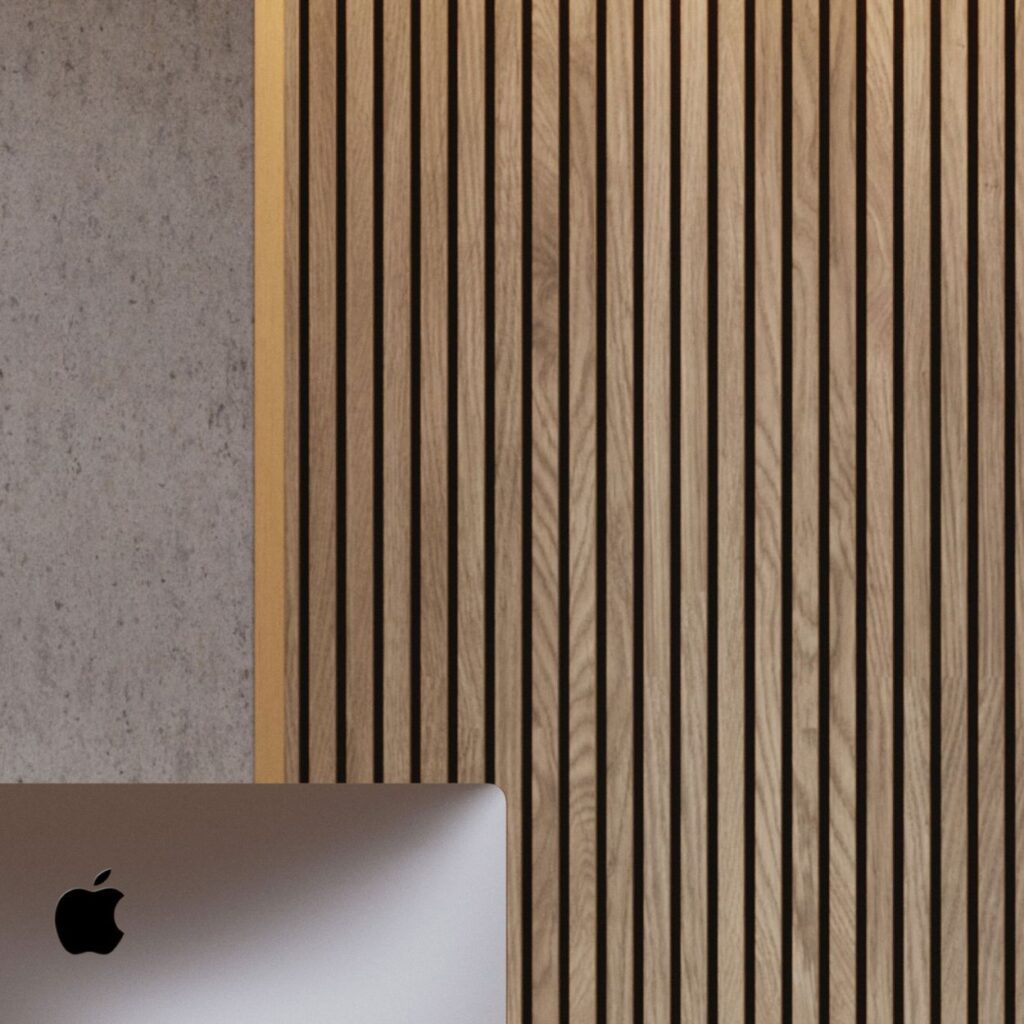
The following instructions are for installing Acoustic Panels. These panels are suitable for internal use only. They are also suitable for kitchens and bathrooms, as long as they do not come into direct contact with water. It is recommended to use an interior wood varnish on the slats and slat ends to seal them, which will protect against air moisture. Do not apply to felt backing.
Please note: All components should be inspected BEFORE installation commences for any damage, as supplier cannot be held responsible for any damage caused during installation. They do not recommend the use of a sharp blade to open the packaging as this may damage the product.
Tools for the Job
In order to complete the job, there are a few things you'll need. These include:
Preparing Your Walls
Before you install, ensure that the wall is clean and smooth. Remove any nails or screws. If you are drilling and inserting screws into the wall, it's recommended that you use a pipe and cable detector first. This is to identify and mark these locations onto the wall so you can fix around them. Masking tape should be applied to all cut locations prior to cutting. Always use sharp, good quality blades when cutting.
Installation Methods
There are a few different installations methods to note when installing the acoustic panels. These include:
- Using Adhesive
- Fitting Around Sockets & Switches
- Screw to Wall
- Screw to Battens
- Fix to Ceilings
Using Adhesive
To Start
Measure the vertical distance of the wall. Measure and mark the location of cut on the panel. Apply a strip of masking tape along area to be cut. Strike a line across using a pencil and straight edge. Cut panel to correct height using either a fine tooth handsaw or circular power saw. For best results, use a good quality sharp blade. Remove masking tape after cutting.
Securing the Panels
If slats on panel are loose after cutting, secure slats by inserting 15mm long screws through back of panel, through the felt and into the slats ensuring that screw heads are flush with back face of felt backing. Check the panel fit on the wall. Next, apply a proprietary fast grab adhesive to the back of the panel. One standard cartridge should be enough to install 3 panels.
Next Steps
Working from left to right, carefully offer the panel up to the wall, ensuring that the panel side where the slat projects past the backing is to the left hand side, and the open side where the slat is set back is to right hand side, ready to accept next panel. Lead with the bottom edge, then locate fully up into position. Press panel at top, middle and bottom locations to ensure adhesive makes full contact with wall. Check vertical using spirit level.
Repeat above procedure for all remaining full width panels. When you come to the end of the run, it may be necessary to cut the last panel to the correct width. Measure the distance from the edge of the panel to the wall, at the top and bottom, to check the parallel. Transfer the measurements to the panel and mark. If the mark falls on a slat, apply masking tape. Cut the panel to width. Offer it onto the wall to check the fit. Remove the panel and apply adhesive to the back of the panel and install as previously mentioned.
Please note: If using this method, some damage to wall and panel may incur if you wish to remove at a later date
Fitting Around Sockets & Switches
To cut your panel to accommodate light switches and sockets, measure the size and location of the socket/switch. Transfer these measurements to the panel and mark the location of the socket/switch. Apply masking tape to the cut area. Cut the marked area using a jigsaw with good quality blades. Secure any loose slats by inserting 15mm long screws through the back of the panel, through the felt and into the slats ensuring that screw heads are flush with the back face of felt backing.
Screw to Wall
To secure the panel to a wall using screws, you'll need 15 off, 3.5mm x 35mm black drywall screws set in 5 rows of 3. Top and bottom screws should be placed no closer than 50mm from the ends. On a 2.4m panel, rows should be spaced approx. 575mm apart. Using black coloured screws will help the screw heads blend in with the black backing felt. Cut panel to correct height and insert 15 off screws through front of panel into felt backing so they project slightly through the back. Offer panel up to correct position on the wall, check vertical using spirit level. Tap or rotate each screw with a screwdriver so they leave a location mark on the wall. Remove panel. Drill and plug all location marks on the wall using appropriate plugs suitable for wall construction. Offer panel back to the wall and secure the panel using screws. Repeat process for remaining panels.
Screw to Battens
Drill, plug and secure 5 off, battens (45mm x 45mm) up the wall, spaced evenly. You have the option of installing mineral wool between the battens to improve insulation and increase sound absorption. Measure and cut panels as mentioned previously. Offer panel up to battens at the start of the run. Secure using 5 off, rows of 3, black drywall screws 3.5mm x 35mm. Repeat process for remaining panels.
Fixing to Ceilings
If you are installing panels to the ceiling, please ensure all fixings are located at structural points, i.e. into the joists. This installation will require two people. Take care when using step ladders. Alternatively, use a Panel Lifter Hoist Jack, depending on how many panels you are installing.
If you're ready to transform your interior using acoustic panelling, then check out our range here.


