Your Complete Guide on How to Paint a Shed The Right Way

It’s a task you may have been putting off for a while because it seems intimidating to tackle. However, if you’re ready to give a shed a completely new look, don’t worry. We’ve created a step-by-step guide on how to paint a shed (the right way) so it feels less intimidating and more doable.

When to Paint Your Shed
You’ll want to be wary of the weather and choose the right time of year to get your project done! Avoid high humidity, cold temperatures, and wet weather altogether.
If a wood shed is damp when you start painting, the paint will trap all the moisture in the wood. This keeps the wood from drying completely, and it will cause the wood to rot.
If a metal shed is wet when you start painting, you can cause rust spots and paint chipping.
Avoid painting your shed if it’s under 10*C or in high humidity. This will keep the paint from applying evenly. And too cold weather can keep surfaces from drying quickly enough.
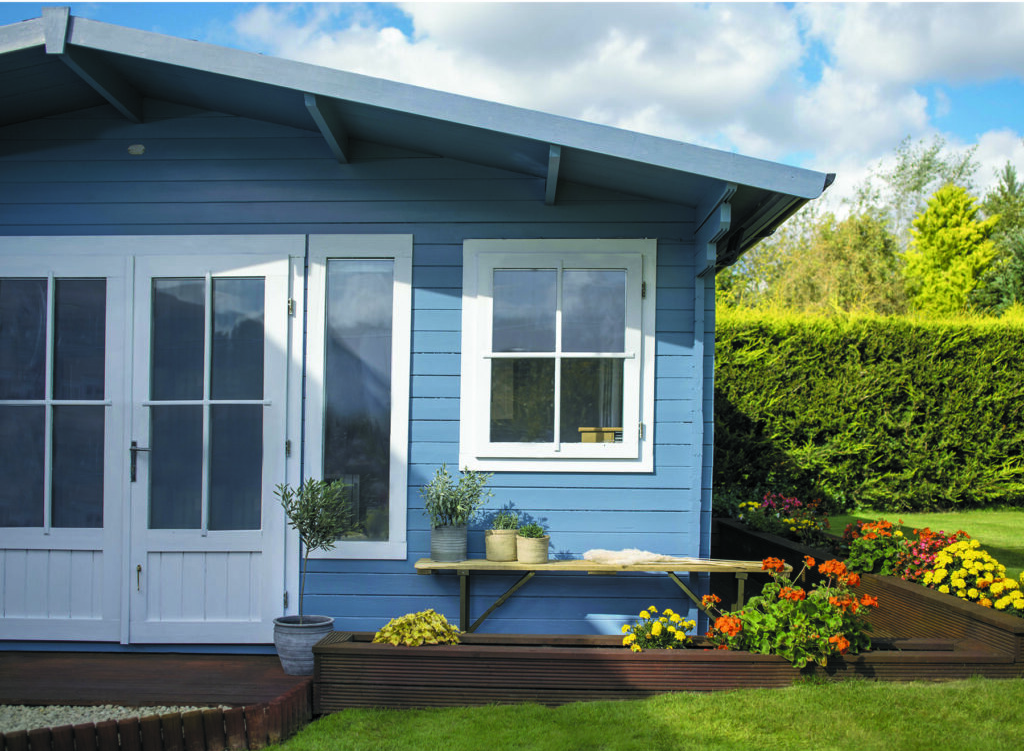
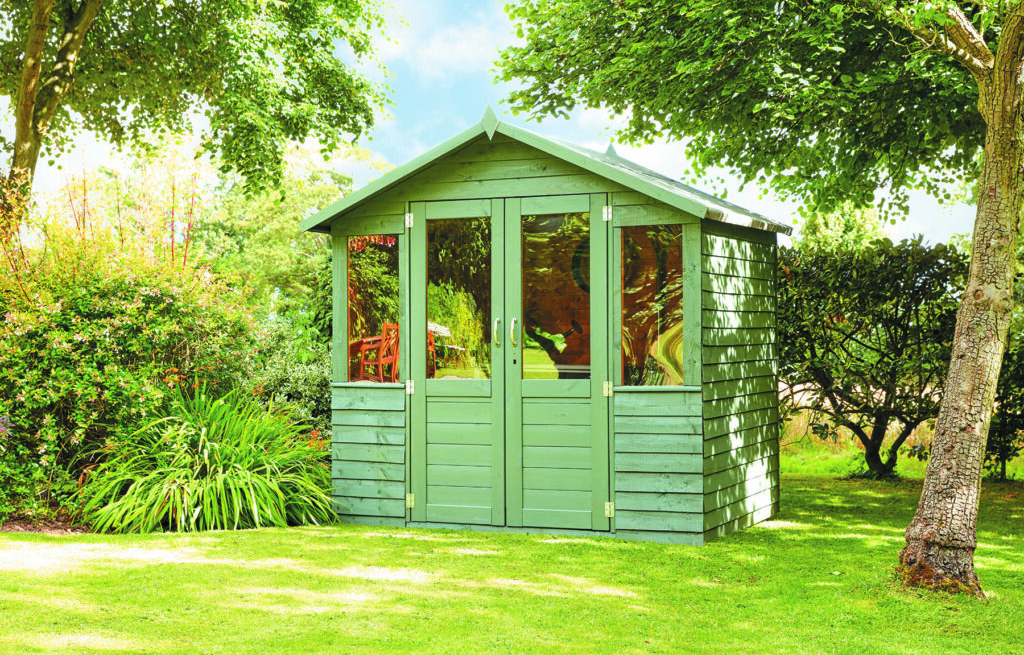
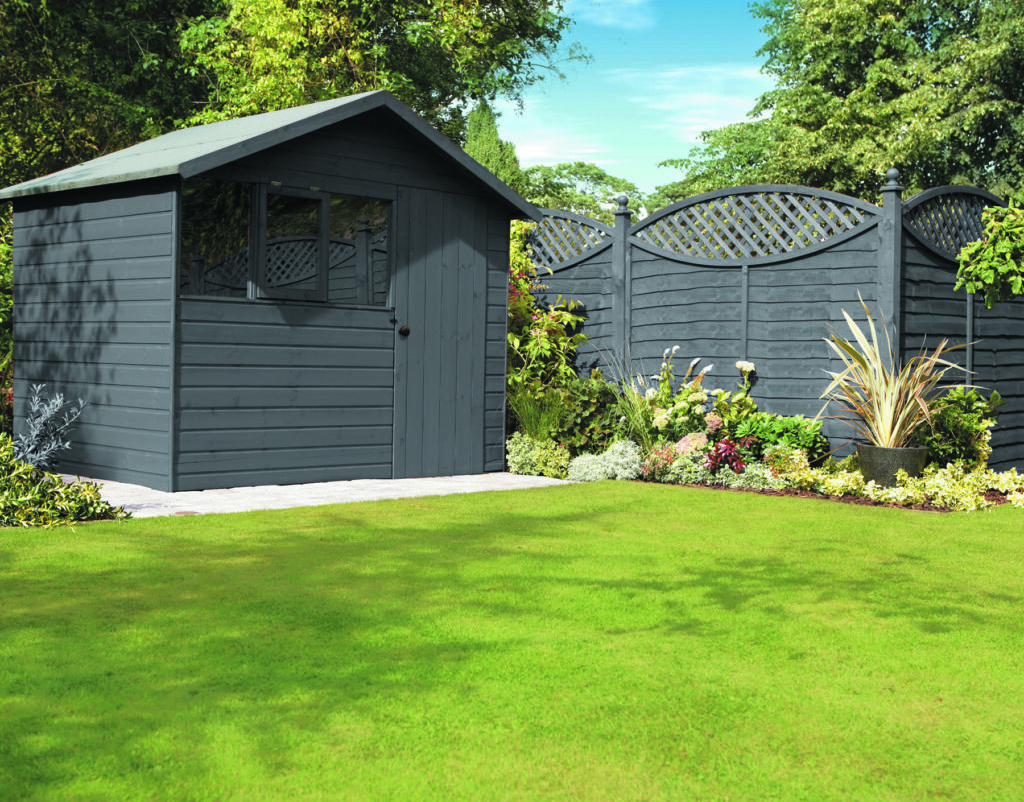
How to Choose the Colours for a Shed
When it comes to how to choose the colours for a shed, it’s similar to painting a house. So, you can abide by the same tips we recommend when it comes to painting the exterior of your house.
Tools and Materials You Need to Paint a Shed
Here’s what you’ll need to paint a shed:
How to Prep Your Shed before Painting It

Before you get started painting your shed, you need to prepare it. It’s important you don’t skip this part. Preparing your shed’s surface is the only way to make sure you get a nice, even paint coat on it.
Here’s what you need to do to prep your shed before painting it:
Remove any electrical fixtures and tape them off
If you have any outdoor lighting or cameras, take them off. Then, tape over the areas to protect any exposed wiring. You’ll also need to turn off the main power to your shed, too.
Remove hardware
If you’re keeping the same hardware (even if you’re not!), take it off so you don’t get paint on them.
Clean your shed and let it dry
A clean surface means you’ll get an even paint coat. Clean the shed to remove dirt, dust, and debris. Remove any dirt, moss, fungal growth, and lichens with a stiff brush. Wear a suitable face mask when sanding to avoid the inhalation of dust.
Cover any other areas you don’t want to be painted
Mask any hinges or windows on the shed to avoid damage from paint. Lay down dust sheets under the area you will be working to avoid any paint splattering on the ground.
How to Paint a Shed Step-by-Step (The Right Way)
With your shed prepped and ready, it’s time to get painting. Use this step-by-step guide to paint a shed the right way!
Step 1: Sand the shed
Using an electric sander, sand down the shed with 180 grit sandpaper. Sanding down the shed will allow the primer and paint to adhere to the shed’s material.
Give your shed another rinse with a pressure washer to remove the dust from sanding.
Step 2: Apply the primer
With a paint sprayer or a paintbrush, add a coat of exterior primer to the entire shed. This will make sure your paint sticks to the surface of the shed. Not to mention, it adds another layer of durability and protection against harsh weather.
Let the primer dry completely before moving on to the next step.
Step 3: Paint the shed
It’s time. Grab your paintbrush and load your paint sprayer with your exterior paint colour of choice.
Depending on your colour choices, you can either tape off the trim before painting with masking tape. This is the best option if your trim is a lighter colour. Or you can paint the shed and just go over the trim with your second paint colour. This is a good option if your trim colour is darker.
First, use an angled paintbrush and cut in around all of the edges of your shed with your paint colour. That includes the window panes, doors, and wall edges.
Once the edges are cut in, go over the larger surface areas with your paint sprayer. Turn it on and stand about 20cm back from the shed. Gently squeeze the trigger to start the sprayer.
Step 4: Paint the door and trim
Using an angled brush, cut in on the door and trim. Then, carefully paint the door and trim with a regular paint brush using your desired paint colours. If you’re worried about getting paint on the siding, use a strip of masking tape to cover the surface near the trim.
Let your shed dry completely.
Step 5: Add your hardware
Now that your shed is completely painted, it’s time to add your hardware. Either use the hardware you removed when you prepped your shed, or find new hardware fixtures that fit the new style better.
Step 6: Add your finishing touches
The last thing you need to do is give your shed the final pieces! Add on new outdoor light fixtures or even motion detector flood lights to your shed. Beautify it by adding a few planters near the door.
Things to Remember on How to Paint a Shed The Right Way
As you get started, don’t forget these things:
Prep Your Shed
While it more than likely feels like the most mundane part of painting your shed, don’t forget to prep it before painting.
As we mentioned earlier, preparing your shed properly is the best way to get a nice, even coat. You’ll need to wash and sand it down before applying your first coat of primer. Doing so will allow your paint to adhere better to the siding.
Apply a Second Coat
This goes for your primer and your paint colours.
Once your first coat of primer is dry, add a second coat of it. Then do the same for your paint colours. This will ensure your entire shed is covered completely. And it’ll reduce the amount of fading and chipping in the future.
The Material of Your Shed
The material of your shed will affect how you paint it. Here are our top tips for painting your shed, no matter what material it’s made of:
Painting a wood or timber shed
With a wood shed, make sure you’re using an exterior paint colour that’s designed for wood.
Use a roller, a brush, or a sprayer to apply your paint. Apply your paint in the same direction as the grain of the wood, otherwise, you’ll have streaking paint that causes an eyesore.
Painting a metal shed
The surface of a metal shed is equally as important as a wooden shed. Use a stiff brush to remove any flaking rust. Be sure to sand rust spots, too. Choose a metal care primer and paint colour so it reduces rust in the future. And to make sure you further reduce the risk of rust, use a second coat of primer.
Taking the first step toward painting a shed is intimidating at first, especially if you don’t know where to start.
Ready to start shopping for all the supplies you need to paint a shed? We’ve got everything for you in our paint and decorating section!
And, don’t worry about pausing your project if you’ve already started. With our new paint home delivery service, you can get your paint delivered right to your doorstep!

Leona Casey

- Paint & Decorating
A Guide to Picking the Perfect Colour for Your Home’s Exterior

- Paint & Decorating,
- Home Décor
Top Trending Décor Aesthetics for your Home

- Paint & Decorating
The Best Tips on How to Choose Paint Colours for Your Home

- Paint & Decorating,
- Home Décor
How To Paint Interior Walls

- Paint & Decorating
Everything You Need to Know About Buying Paint

- Lawn & Garden