Paint & Decorating, Lawn & Garden
How to Paint a Wooden Fence

Is your wooden fence looking a little worse for wear? Fear not! We're here to help you breathe new life into it and make it look as good as new. Just follow our handy step-by-step guide below to get started! Once that's done, why not give your outdoor furniture a new coat as well? Check out our guide on how to paint your garden furniture for more ideas!
Tools for the Job
Cleaning & Prepping Your Fence
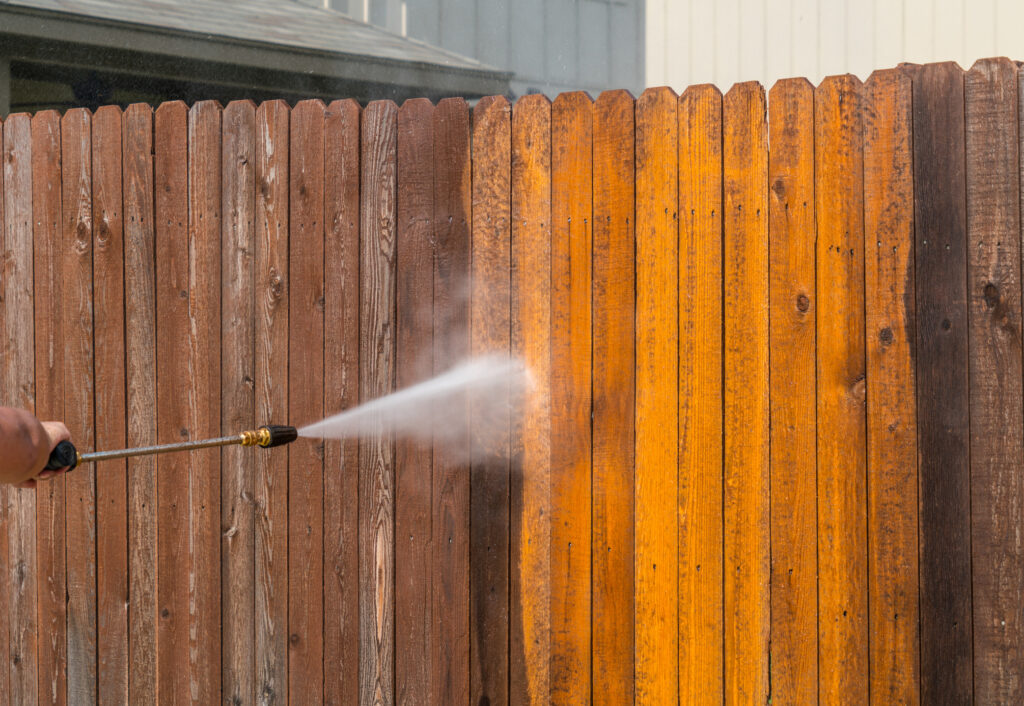
Before you get started on the painting, it's important to clean and prep your fence. You can do this by following the steps below:
- Clean the fence to get rid of dirt, dust and debris.
- Use a stiff bristle brush to remove any moss and fungal growth.
- Hose it down with a pressure washer to wash away any stubborn dirt and debris.
- Layer a dust sheet onto the area below where you'll be working on to avoid paint splattering on the ground.
- Wear a suitable face mask when sanding to avoid the inhalation of dust.
- Sand down the fence to ensure a smooth finish before painting.
- Mask off any areas you don't want painted, for example, fence posts or plinth.
Now you're ready to paint!
Painting Your Fence

After finishing your prep and clean, it's time to start painting. Follow the step-by-step guide below to get started:
- Check the weather forecast before you begin to make sure there won't be any showers before the paint dries.
- If you're going to use a paintbrush, the best method to use is to start on the top edge then paint on any verticals, making sure to paint in at the edges.
- Take one panel at a time, painting from the top all the way down to the bottom.
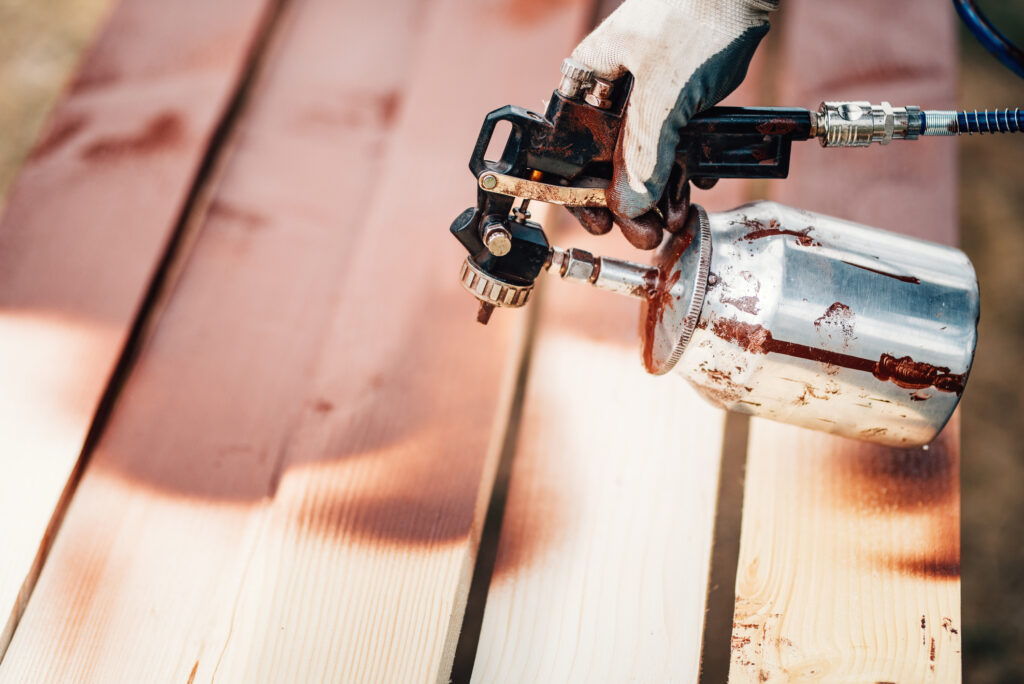
Alternatively, for larger areas you can use a paint sprayer. Follow the steps below for using this option:
- Pour the sprayable paint into the tank of the sprayer.
- Stir the paint well before starting and then secure the clips.
- Turn it on and stand about 20cm back from the fence. Gently squeeze the trigger to start the sprayer.
- Spray the fence using the same method as you would if you were painting with a brush - the top edge first, followed by any vertical uprights and then the face of the fence.
Top Tip: Don't apply timber paint in wet conditions. Also, remember, it’s tough to spray on a windy day as the paint may drift to an adjacent garden.
Continuing to follow the steps above until all the fence panels are completed, leave the paint to dry for the time indicated on manufacturer's instructions. Make sure to apply a second coat, if necessary. Finally, remove any newspaper, masking tape or dust sheets from the area you were working in.
Now you know how to paint a wooden fence and make it look as good as new! You can get everything you need here.
