DIY & Building, Bathroom & Plumbing
How to Replace a Shower Hose
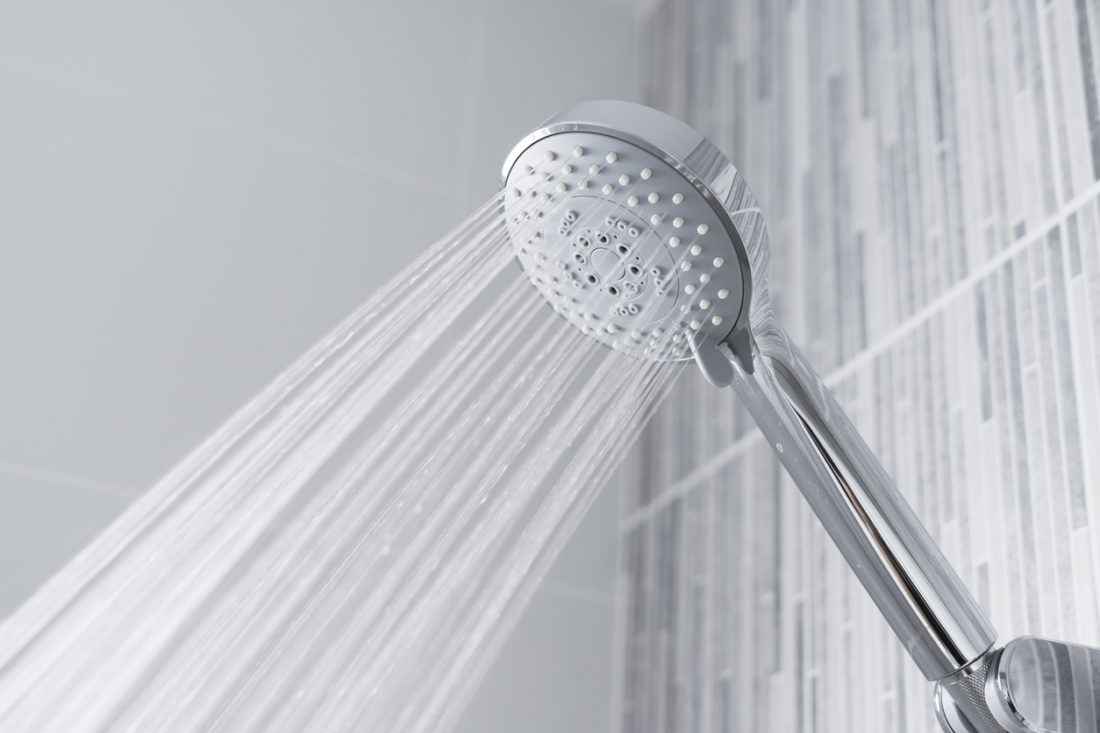
Looking for a guide on how to replace a shower hose? Follow our simple steps below.
Tools for the Job:
- New shower hose
- New shower head (if required)
- Cloth
- Pliers (if required)
Step by Step Guide to Replace a Shower Hose
Remember: When you are going to replace a cracked/ damaged shower hose, or an old//broken shower head, all the replacement fittings are universal.
Step 1
Make sure your shower/bath is dry before beginning work. Choose your shower head and hose. Consider what style of head will fit your riser when picking a new shower head.
Step 2
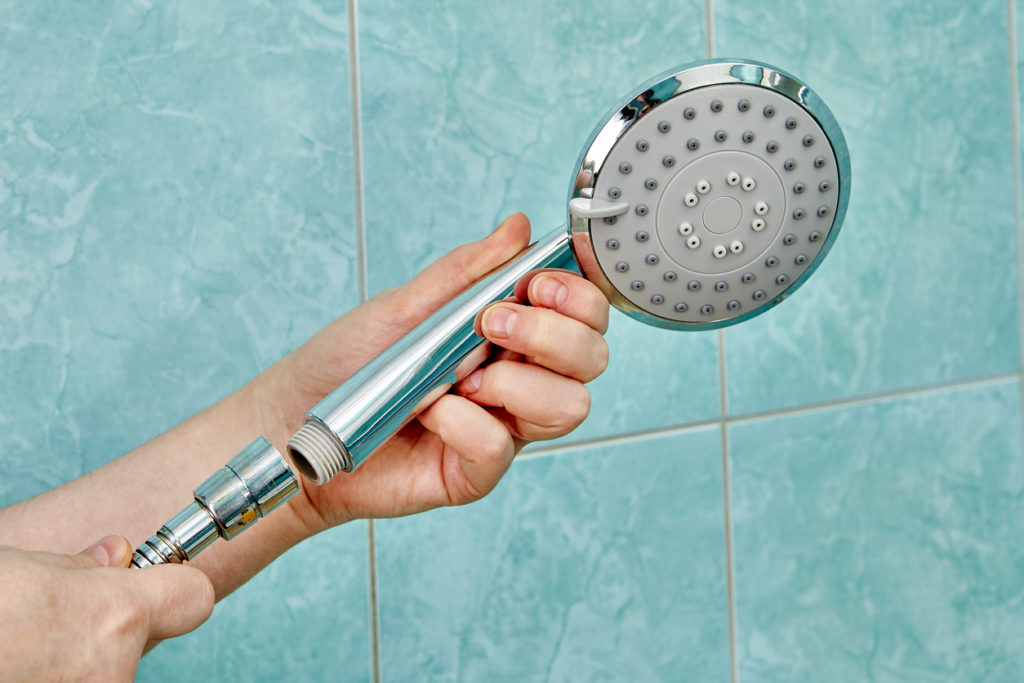
Remove the current hose from the shower head and the shower unit. You may need to use a plier and a cloth to remove the fitting but generally, it can be done by hand.
Take care not to damage the shower head when separating it from the pipe, especially if you plan on keeping your current head.
Step 3
Insert the washer into the joint of the shower hose. Attach it to the shower unit. Insert another washer to the other joint of the shower hose and attach this to the shower head. Be careful not to over-tighten as this could cause damage to the washers.
Step 4
Inspect your work and check for leaks. Turn on your shower and note if there is any water coming from the wrong parts of the hose. If you notice any leaks, turn off your shower, remove & reattach your shower hose again, making sure to secure it tightly.
Now that you know how to replace a shower hose correctly, you'll be having leak-free showers in no time!
Missing any bathroom and plumbing supplies? We've got you covered!
Woodie's
- DIY & Building,
- Bathroom & Plumbing
How to Clean a Glass Shower Door: A Step-by-Step Guide

- DIY & Building,
- Bathroom & Plumbing
How to Install a Shower Door
- DIY & Building,
- Bathroom & Plumbing
How to Install a Shower Riser
- DIY & Building,
- Bathroom & Plumbing
How to Install Bathroom Accessories
- DIY & Building,
- Bathroom & Plumbing
How to Put Up a Bathroom Mirror/Cabinet
- DIY & Building,
- Bathroom & Plumbing