How to Re-Grout a Tile

Curious about how to re-grout a tile? Whether it's a tiled floor, wall or splashback that you feel could do with some re-grouting, we have all the help you'll need below. By following our quick and easy step-by-step guide, learning how to re-grout a tile couldn't be simpler!
Firstly, you'll need to make sure you have everything you will need to complete the job. Check out our list below to get started:
Tools for the Job
Step-by-Step Guide
- Start by putting down a dust sheet to make sure there'll be minimal clean up to do once the job is done.
- Use a grout remover to get rid of any existing grout from between each of the tiles you wish to re-grout.
- Once you've removed all of the grout, clean the tiles to remove any excess dust or dirt.
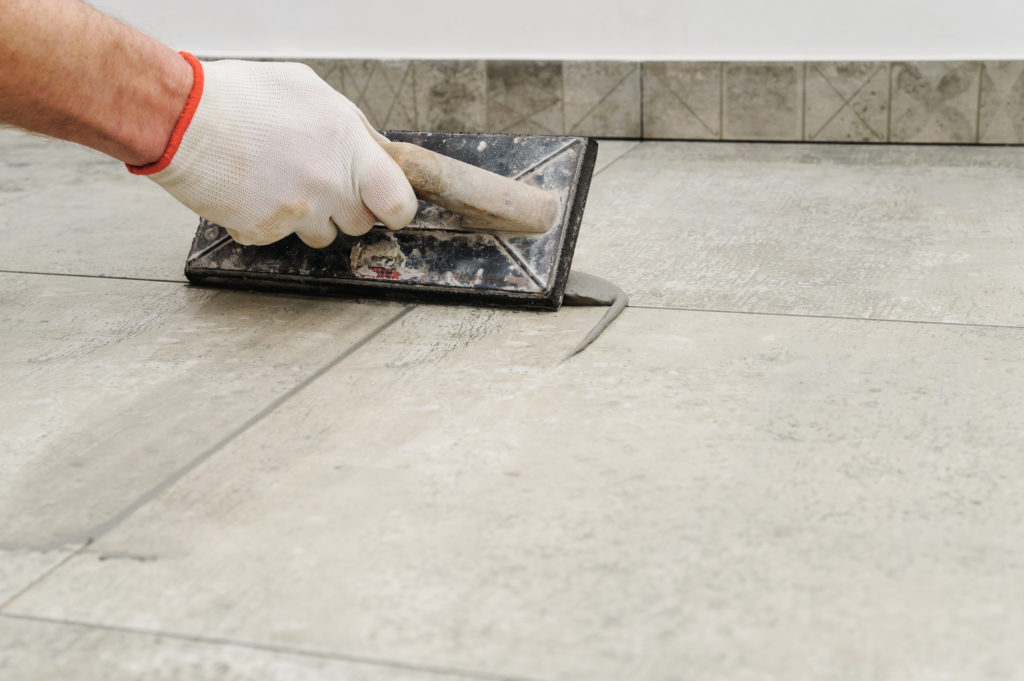
- Using already mixed grout (or mix up a tile grout following the manufacturer's instructions), begin to re-grout the tiles. Use a grout float to spread the grout mix over all of the areas that need to be filled.
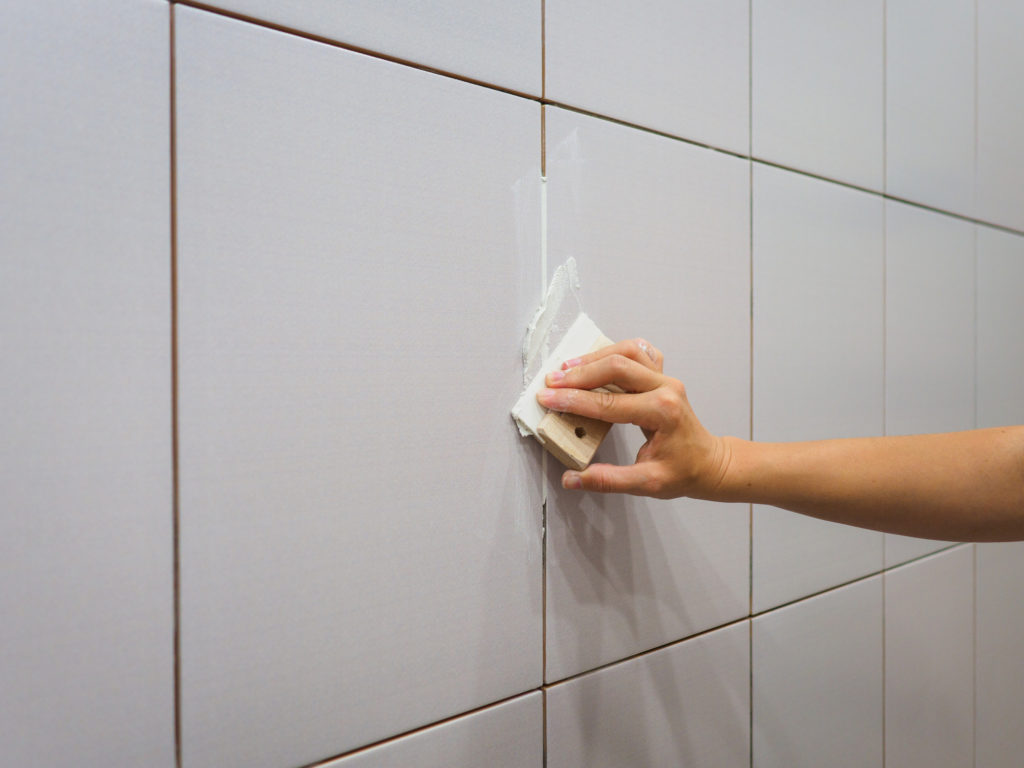
- When all of the gaps are filled, go back over them with a sponge to even out the appearance of the grout.
- Use a grout finishing tool to give a professional finish.
- Leave the grout to dry for as long as indicated on the packet.
Are you ready to begin re-grouting? Shop everything you'll need to re-grout a tile here, or pop into your local store today.

Post Written by
Read more posts by VitalijaWoodie's

- DIY & Building
Top Tips for Laying Laminate Flooring

- DIY & Building
DIY Interior Wall Panelling Guide

- DIY & Building
How to Repair a Crack or Small Hole in a Wall

- Paint & Decorating,
- DIY & Building
How to Remove Wallpaper

- DIY & Building
Your Guide to Sanding Wood Floors to Bring Them Back to Life

- Paint & Decorating