Your Guide to Sanding Wood Floors to Bring Them Back to Life

Wood floors are a classic choice for just about any home; whether your interior style is bright and eclectic or minimalist and neutral, wood is the ideal choice for your floor. Hard-wearing and easy to clean, it’s perfect for families full of kids and pets, too!
But what do you do when your wood floors are looking a little worse for wear? Sanding wood floors is the perfect choice for deep-cleaning, updating their look and giving them a new lease of life in general. Whether you’ve moved into a new home and want to polish up old wood floors, or yours are simply showing their age, a quick sand and varnish will have them spick and span and looking brand new in no time.
Do I Need to Sand Wood Floors, or Can I Just Clean Them?
It depends.
If your floors are just a little grimy, then a simple clean with a specialised wood floor cleaner and soft mop should do the trick.
If your wood floors are stained, have lost their shine, or have areas of damage on them, then sanding is the only thing that will get the job done right.
It sounds more difficult than it is, we promise! Our guide will take you through the best way to sand wood floors step by step, so you get the most professional results in the least amount of time.
Sanding Wood Floors
To start with, you want to make sure you have all the equipment you need for sanding your wood floors.
Empty the room completely, and seal off any gaps around the room’s door with masking tape while you’re working to prevent dust from spreading. We promise you it will get dusty!
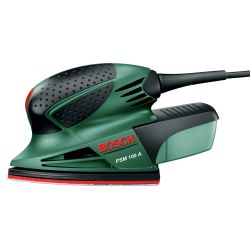
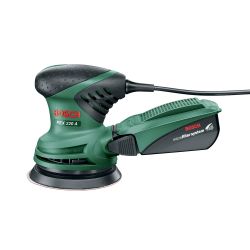
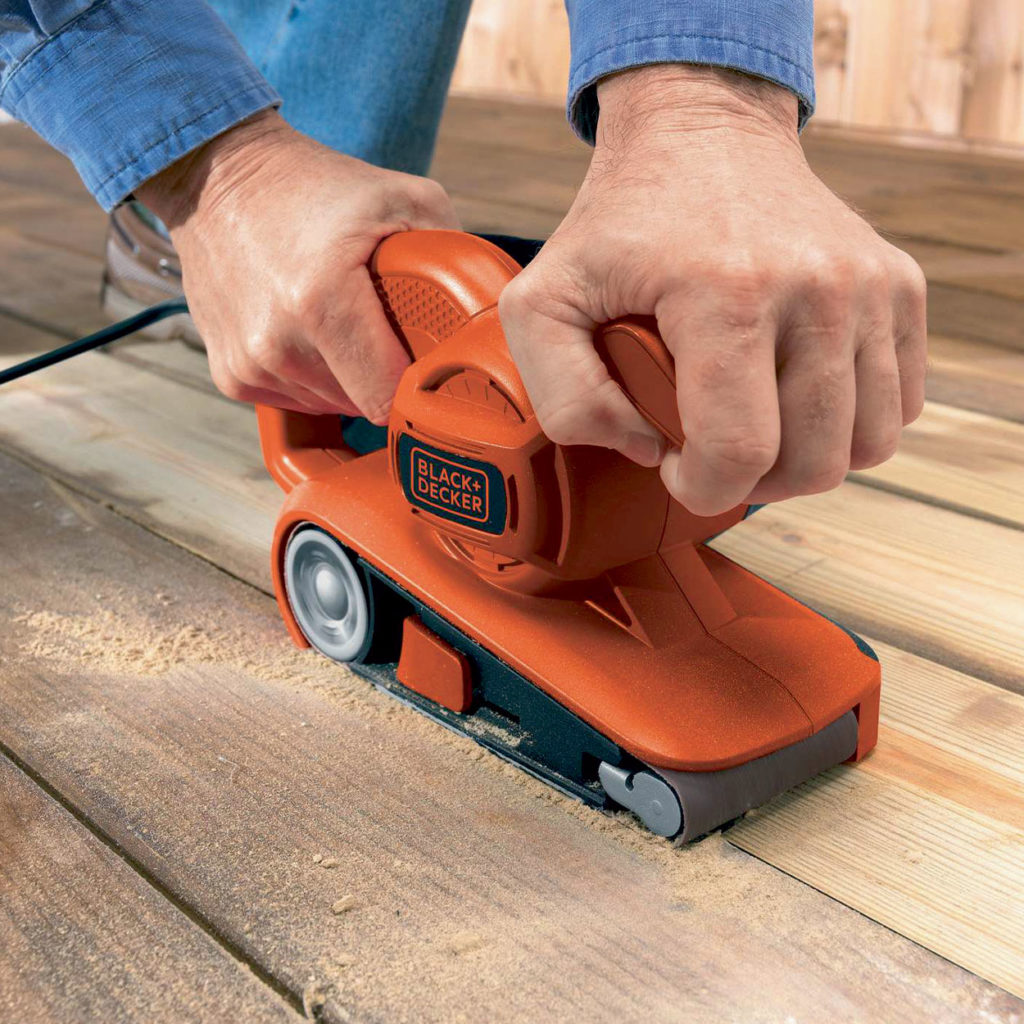
Tools for the job


The Step-By-Step Guide
Step 1
Examine the floor for any protruding nails, loose floorboards or small holes in the floor. Hammer in any protruding nails so they are flush with the floor. Fix any loose boards in position. Fill any small holes with wood filler.
Step 2
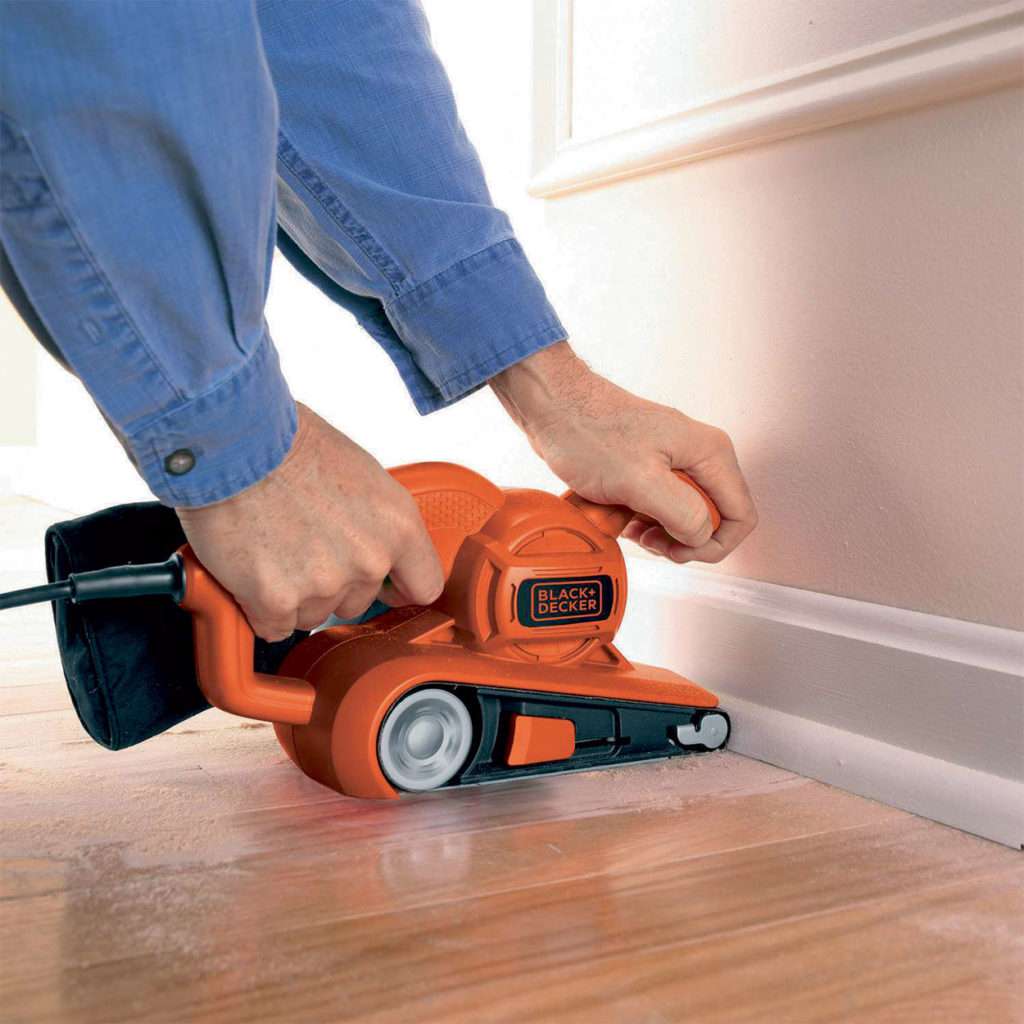
Opt for a portable belt sander if you’re working on a small area of the floor.
If you’re working on a large surface area, we recommend you hire a specially designed floor sander.
Step 3
Load the sander with a rough sanding sheet and start to remove the top layer of the existing stain. If floors are in good condition you may want to use medium-grade grit.
Step 4
Start in one corner and work diagonally across the room. Make sure to sand the whole floor.
Safety Note - Make sure to wear your goggles and a dust mask when sanding as there will be a lot of dust. Open any windows and external doors in the room.
Step 5
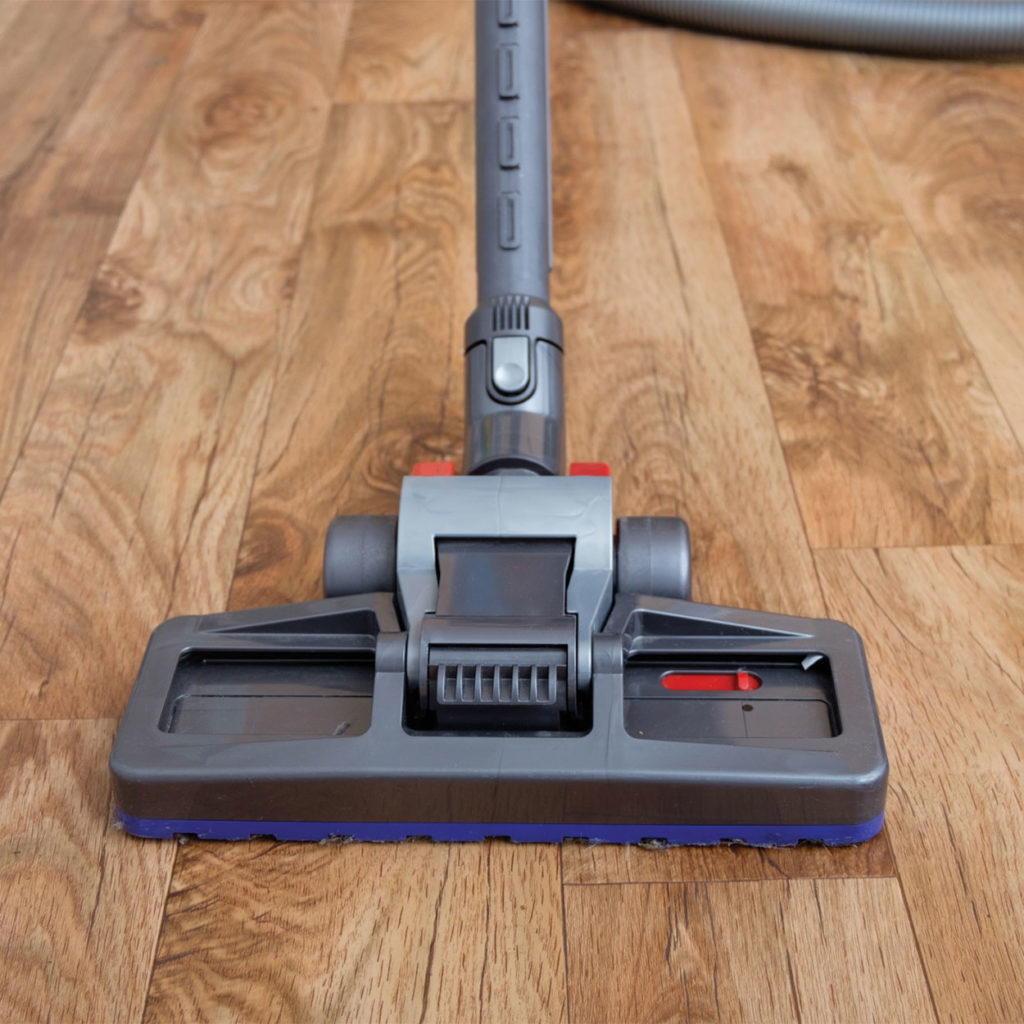
Vacuum the room and then sand the floor again at a right angle to the first sanding. Vacuum the room again.
Step 6
Using a medium sheet, sand again, this time going in the direction of the floorboards. Vacuum again!
Step 7
Sand a final time in the direction of the floorboards with a fine sheet and vacuum again.
Top Tip - The number of times you need to sand and the grade of sandpaper you start with will depend on the condition of your wooden floor. In some instances, like previously varnished floors, it is possible to go straight to sanding in the direction of the floorboards with a medium or fine grade, just to provide a key for the varnish to adhere to.
Step 8
The floor should look dull, flat and clean when it is done. Then, sand around edges and in corners using a small orbital or mouse sander.
Top Tip - If possible, leave the room for 24 hours after sanding to allow the dust to settle.
Finishing Touches
Step 9
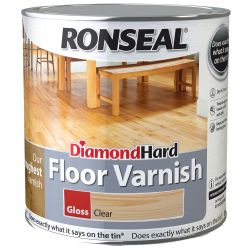
Choose the type of floor varnish you wish to put on the floor. For best results, a minimum of 3 coats should be applied to ensure maximum durability.

Step 10
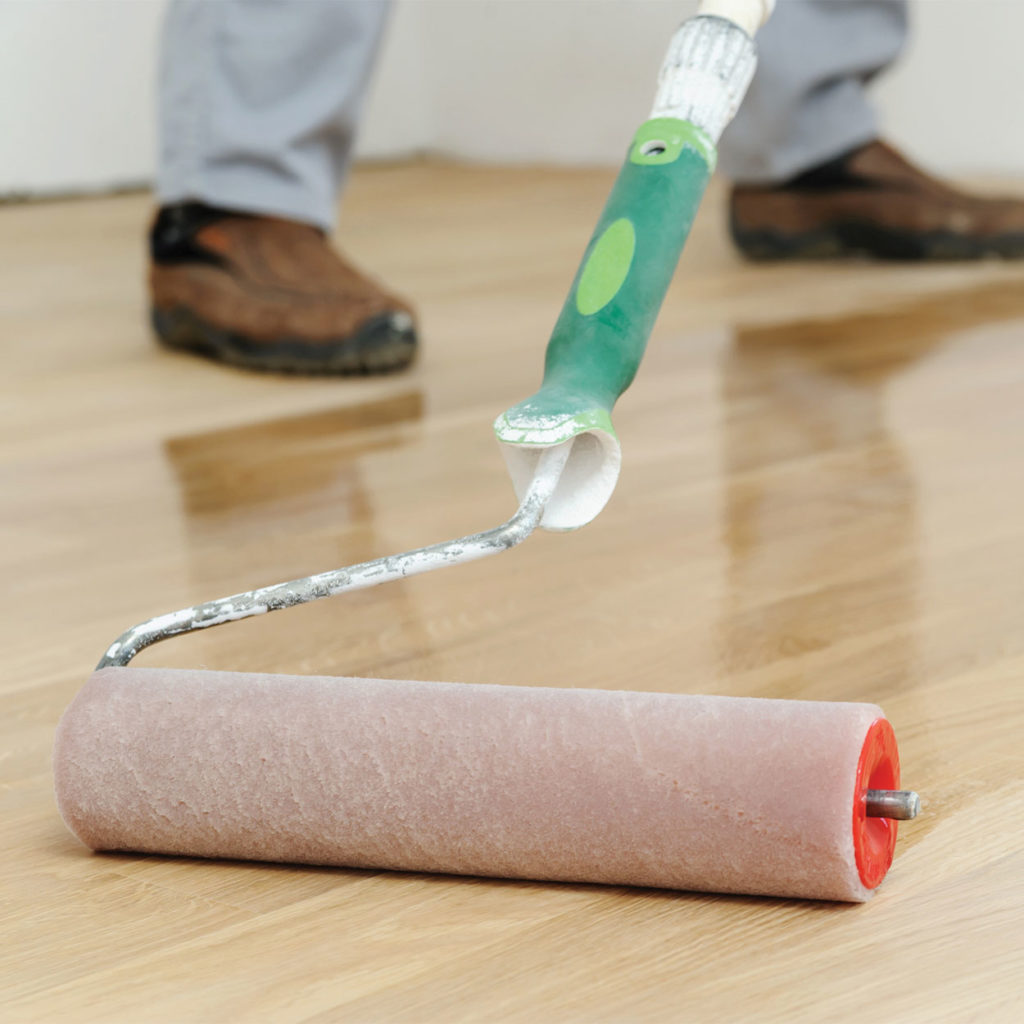
Using a wide brush or roller apply the varnish evenly painting in the direction of the wood grain. For best results apply to 3 or 4 floorboards at a time to avoid overlaps. Do not over-brush as this will spread the finish too thinly and affect performance.
Top Tip - We recommend planning your varnishing pattern so that you finish at the door and can easily leave the room!
Step 11
Before applying the final coat, lightly rub down with fine sandpaper and wipe over with a damp cloth then allow to dry. Do not use wire wool.
Step 12
The floor is ready to walk on after 8 hours but allow 72 hours before subjecting to heavy foot traffic.
Sanding Wood Floors: the FAQ
Still not sold on sanding? We’re here to answer all your questions!
Is sanding the best way to clean old wood floors?
Typically, sanding is a great way of cleaning old wood floors, provided the floorboards are in good condition.
Old wood floors that have experienced any deterioration may not take well to sanding and may need to be fully replaced.
Is sanding good for wood floor refinishing?
Sanding is a perfect method to use for wood floor refinishing.
If you’re tired of how your wood floors look and want to give them an update, sanding and refinishing with a fresh varnish or stain can give them the makeover they need in no time.
I’ve sanded and varnished my floors, how do I keep them looking great?
Wooden floor care and maintenance are easy once you’ve stocked up on the right products and know how to use them.
Wash your wood floors once per week using a soft mop (no harsh bristles!) and a specialist wood cleaning product. For a deeper clean, you can use a steam cleaner.
Ready to sand your floors?
Shop sanders & planers >
These methods serve as a guide only. We encourage you to take full caution when undertaking any project within the home.

Sean Hyland

- DIY & Building
Top Tips for Laying Laminate Flooring

- DIY & Building
DIY Interior Wall Panelling Guide

- DIY & Building
How to Fit Skirting Boards

- DIY & Building
How to Drill & Fix to a Plasterboard Wall

- DIY & Building
How to Fix A Shelf to a Plasterboard Wall

- Paint & Decorating,
- DIY & Building