How to Fit Skirting Boards

Skirting boards allow the homeowner to finish off any room in style, here is what you'll need to create and fit any design of your choice!
Tools for the job
The Prep
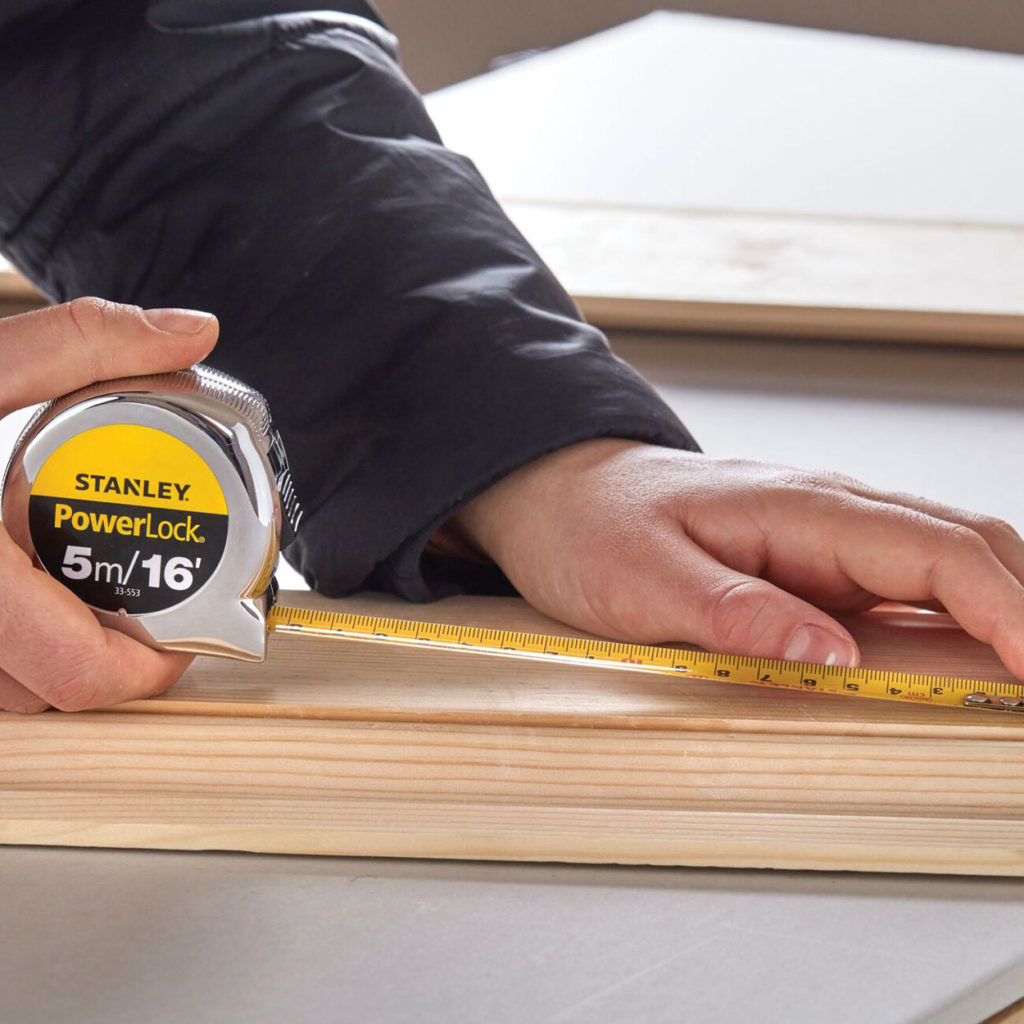
Step 1: Measure the room to work out how much skirting you need. Buy extra to allow for waste and any bad cuts. Run a multi-purpose detector around the wall and mark the location of studs, pipes and cables.
Top Tip: Always start on the longest wall and finish up on the shortest wall. You can use offcuts from the longer walls to finish up the shorter walls.
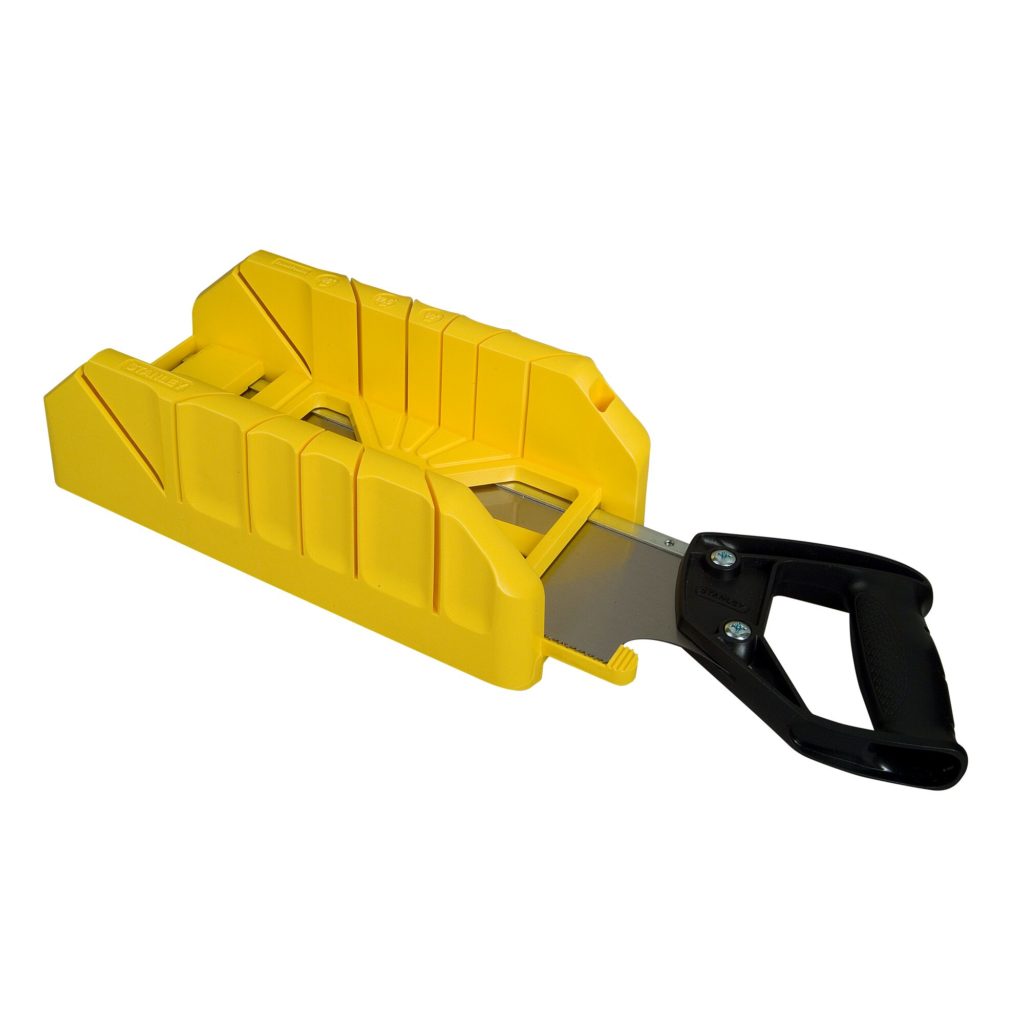
Step 2: On your longest wall, you will most likely need two lengths of skirting to cover the wall. Use a mitre box to saw at a 45-degree angle at the end of the first board. Measure the distance from the end of the first board to the corner. Transfer the measurement onto a second piece of skirting and once again use your mitre box to saw an opposing 45-degree angle to join up with the cut on the first board.
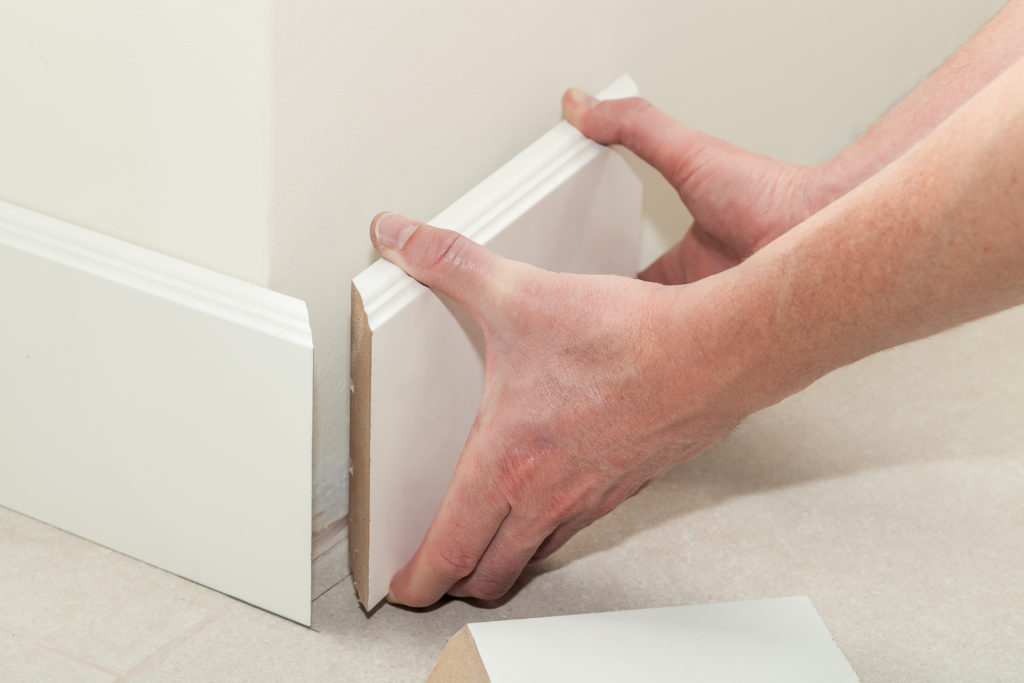
The Placement
Step 3: Test fit the pieces and trim them using a planer until they give a flush finish.
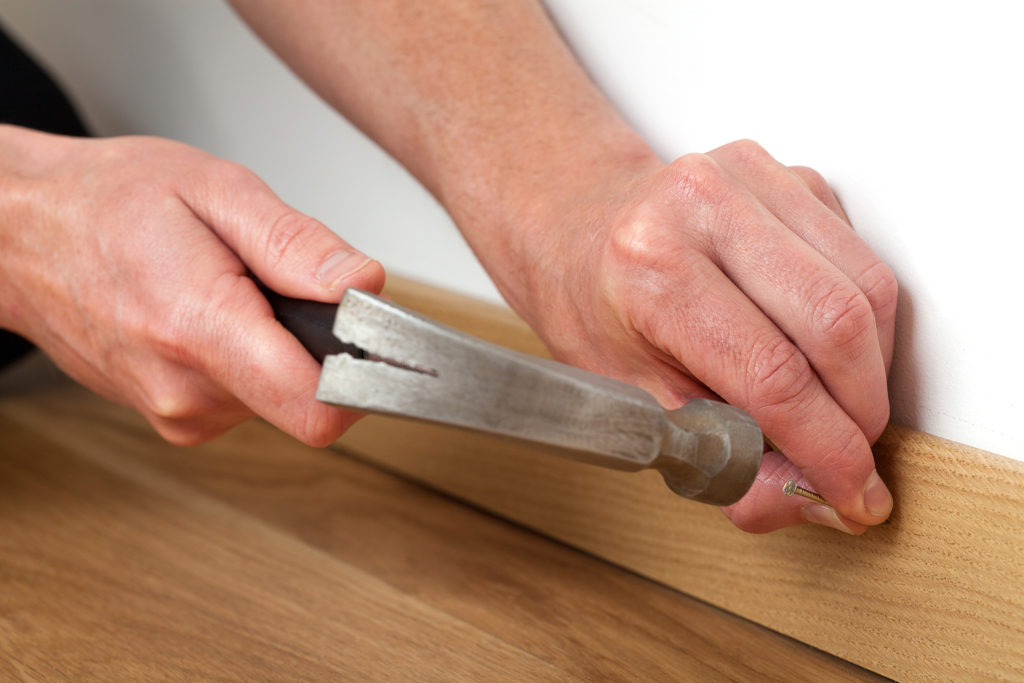
Step 4: Fix the skirting to the wall. This can be done by nailing it to the wall using masonry nails, screwing it into plasterboard using wood screws and a plasterboard fixing or glueing using adhesive. Make sure the nails are flush with the skirting board. If fixing skirting to a stud wall, secure it directly on the stud with wood screws.
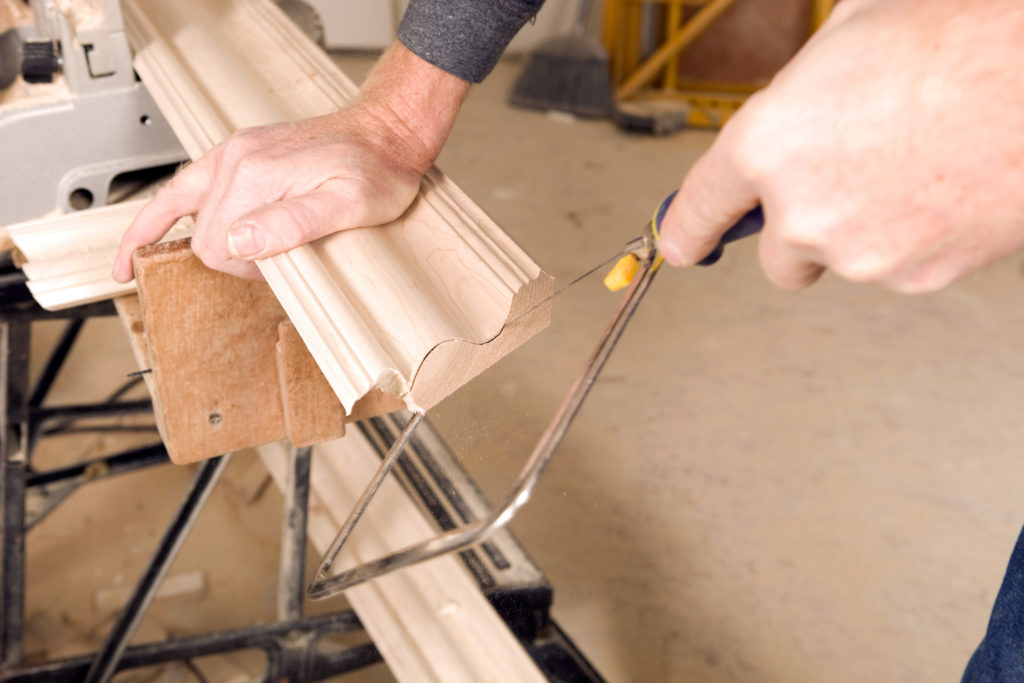
Step 5: When joining skirting at an internal corner, cut the first length of skirting so it butts against the wall. Then cut a 45-degree angle at the end of the second length of skirting and use a coping saw to cut at 90 degrees to the face of the board. Follow the grooves of the board with the coping saw.
Step 6: For external corners, saw 45-degree angles at the ends where the boards will meet. Test fit the pieces and trim them using a planer until they give a flush finish. Glue along the joint with adhesive and then secure using panel pins.
Top Tip: Use a steel drill bit and no hammer action as the plasterboard is a soft material and you don't want to disturb the backing. This will then make it difficult for your fixing to grip.
The Finishing Touches
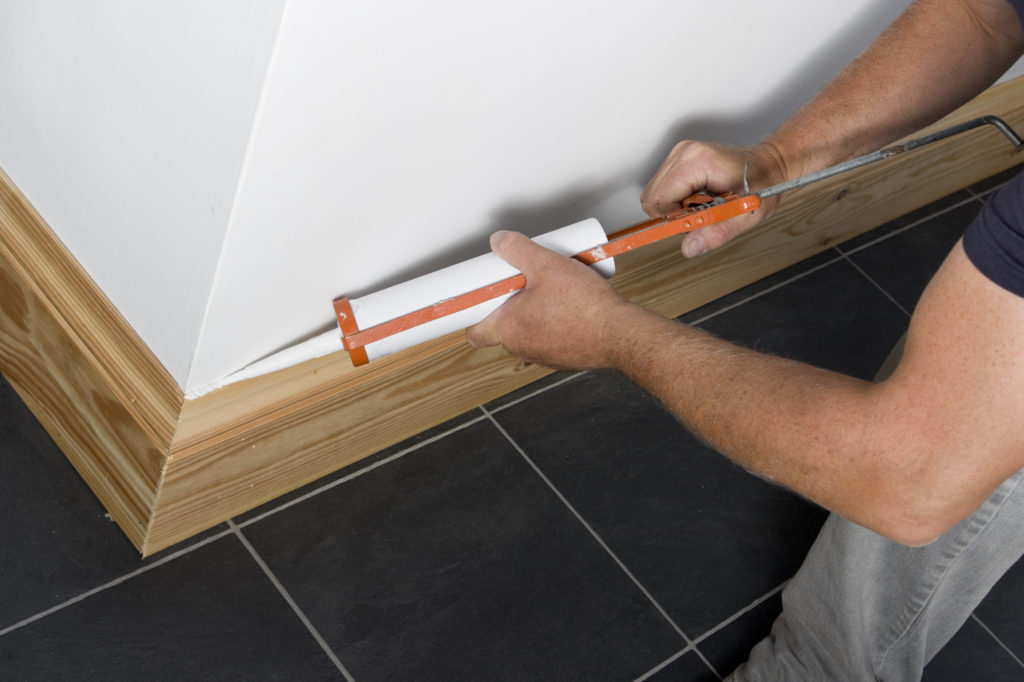
Step 7: Fill in any nail heads and lines showing at the joints with caulk if you are painting the skirting, or wood filler if you want a natural finish.
Step 8: Caulk around the top of the skirting boards to fill any gaps left by uneven walls.
Finally, you can finish your skirting boards in any colour using Woodie's wide range of paints available.
Ready to fit your new skirting boards?
Shop skirting boards now!
These methods serve as a guide only. We encourage you to take full caution when undertaking any project within the home.

Sean Hyland

- DIY & Building
DIY Interior Wall Panelling Guide

- DIY & Building
Top Tips for Laying Laminate Flooring

- DIY & Building
How to Drill & Fix to a Plasterboard Wall

- DIY & Building
How to Fix A Shelf to a Plasterboard Wall

- DIY & Building,
- Home Décor
Top Tips for Building Flat Pack Furniture Stress-free

- DIY & Building