DIY & Building, Bathroom & Plumbing
How to Replace a Ballcock & Float Valve

This helpful guide will provide you with all the steps on how to replace a ballcock and float valve, as well as showing you the tools and materials to get the job done in no time!
Tools for the Job
- Ball float
- Float valve
- Adjustable wrench
- Water pump pliers
- Multi-purpose plastic bracket
You can continue reading on for our expert tips and advice, or watch the video guide below!
Step-By-Step Guide
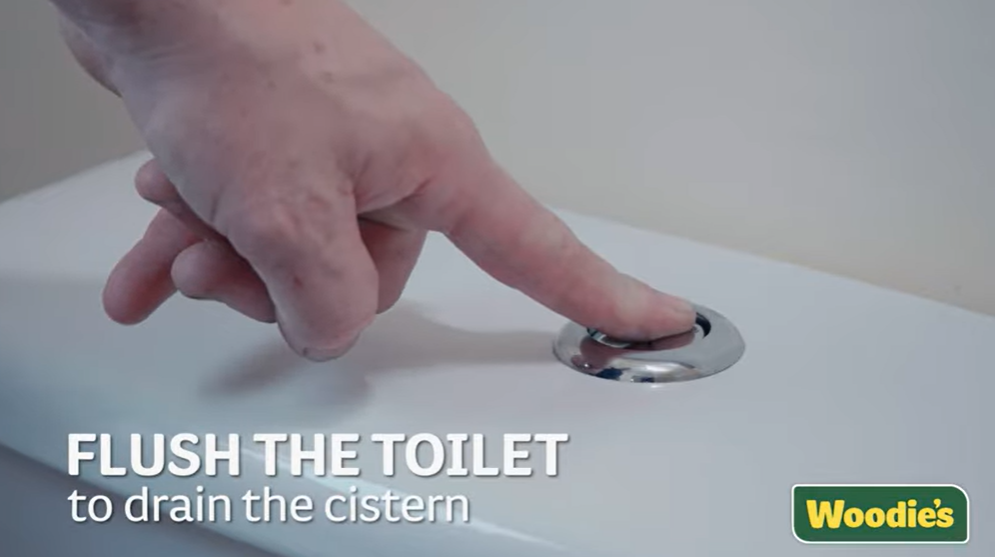
Step 1
Turn off your water, then flush the toilet to drain the cistern.
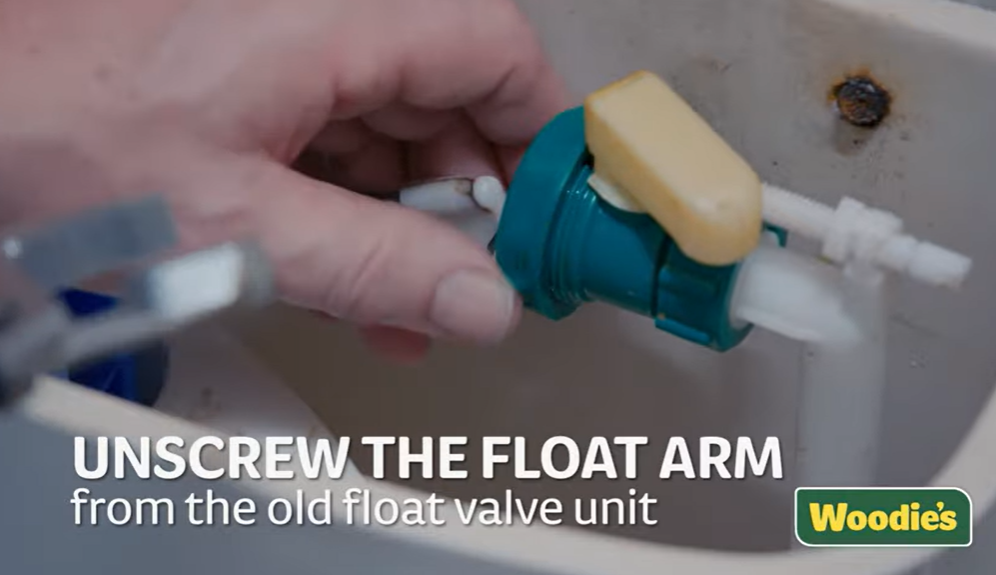
Step 2
Remove the lid, and unscrew the float arm from the old valve unit. You can remove this from the cistern.
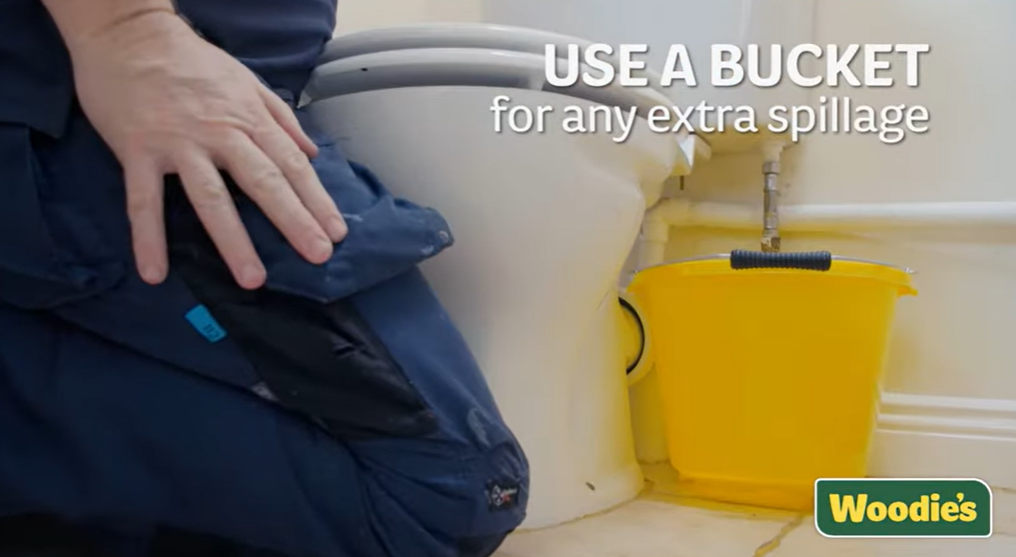
Step 3
Use a cloth to soak up any extra water in the cistern, while also using a bucket to capture any spillage that may occur.
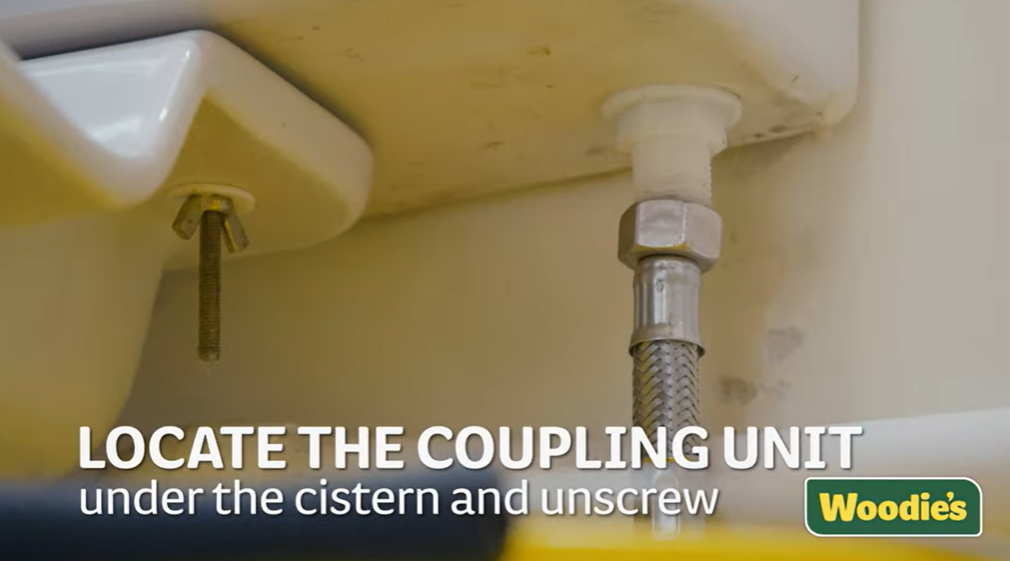
Step 4
Locate the coupling unit under the cistern and unscrew. At the same time, unscrew the retaining nut found above the coupling nut.
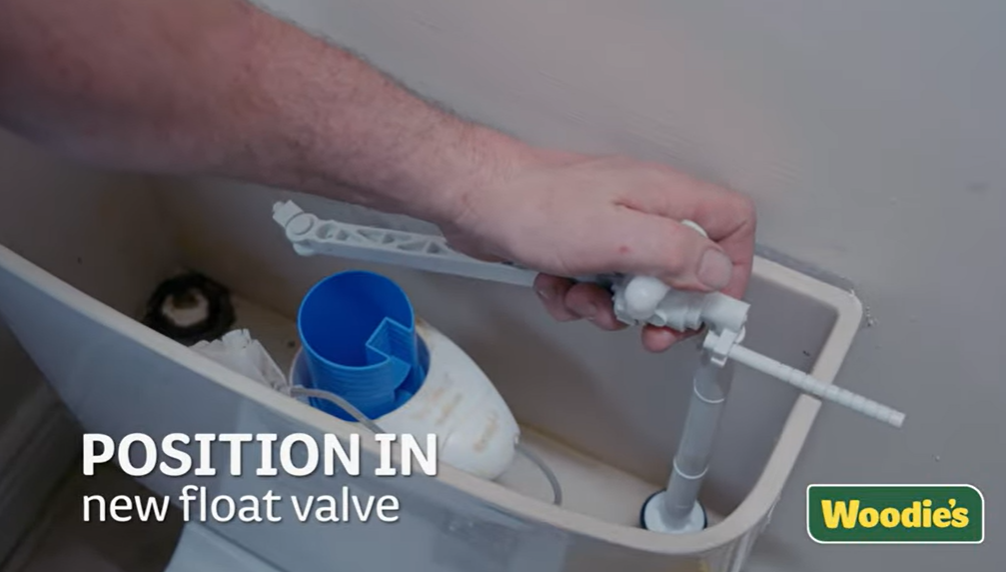
Step 5
Remove the old float valve and position in the new float valve.
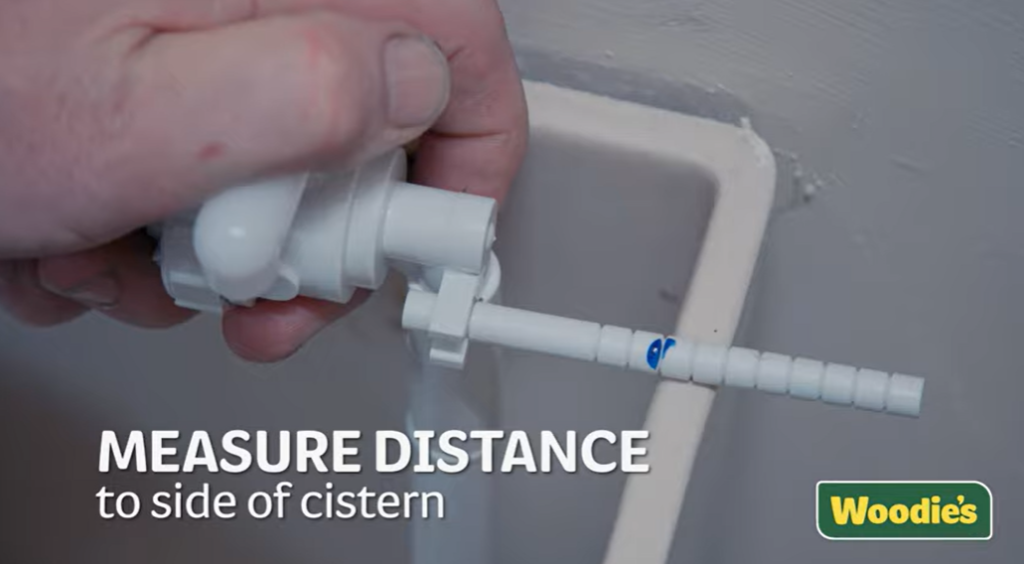
Step 6
Measure the distance to the side of the cistern and cut the piece to length.
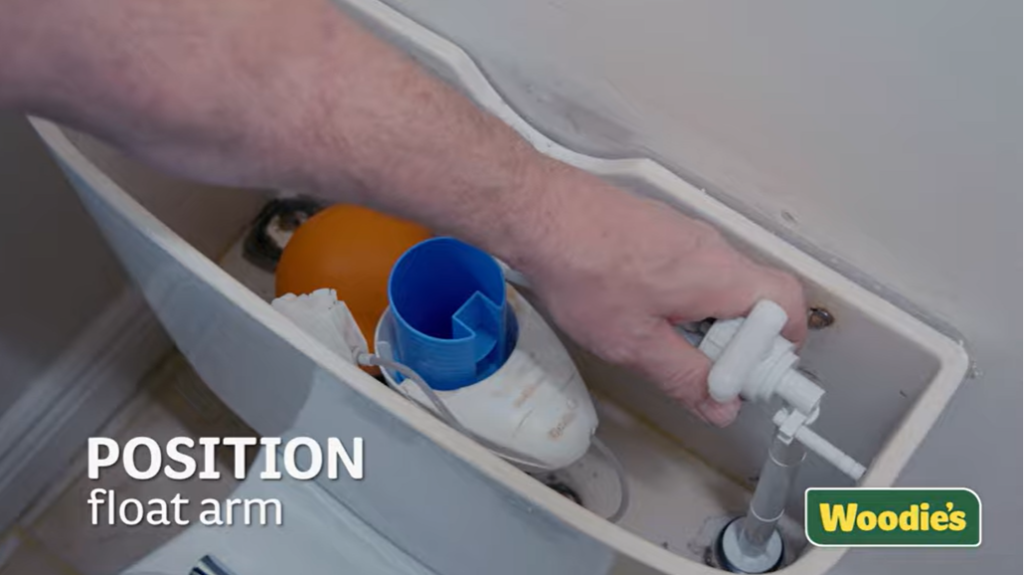
Step 7
Attach the ball float to the float valve and position the float arm in place.
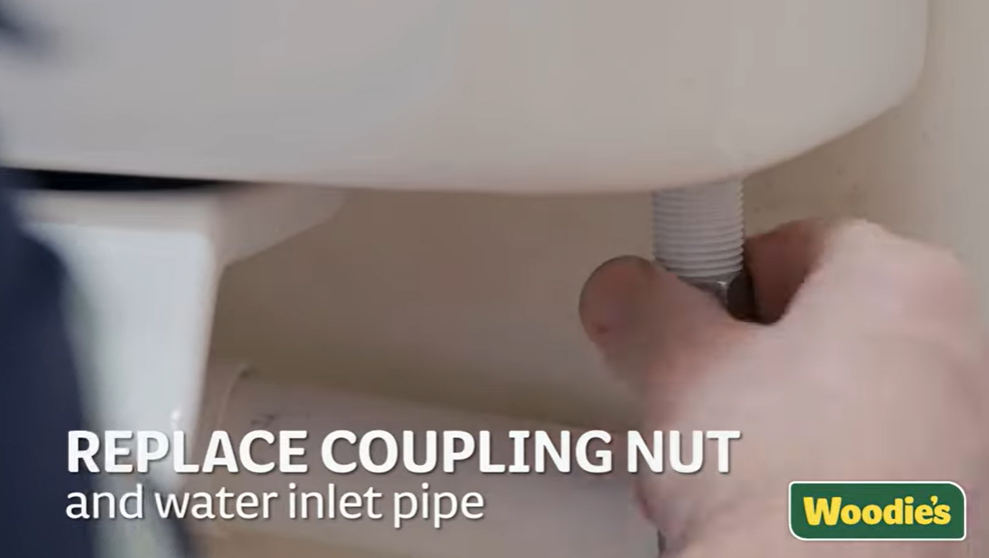
Step 8
Tighten the retaining nut and replace the coupling nut and water inlet pipe.
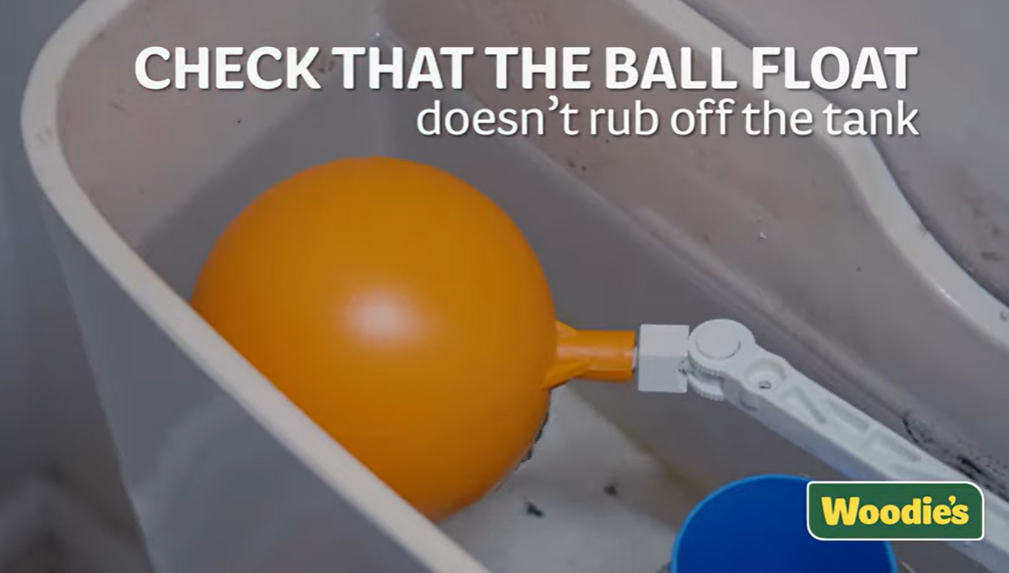
Step 9
You can now turn the water back on, and check that the ball float doesn't rub off the tank.
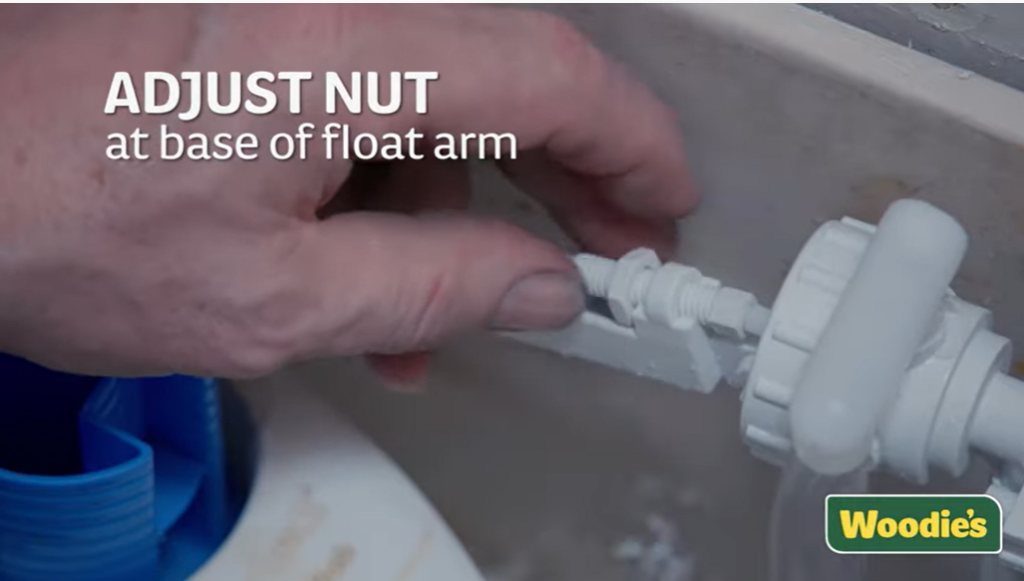
Step 10
Adjust the nut at the base of the float arm. Fill the water to the water line.
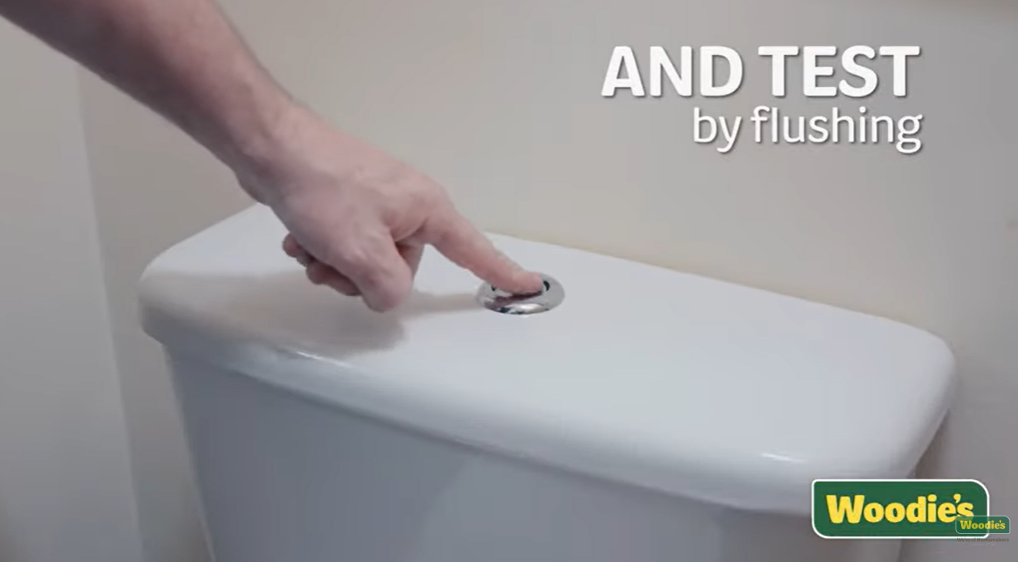
Step 11
The final step in the process is to put the lid back on and test by flushing.
By following these steps, you should now be able to replace a ballcock and float valve easily in your home.
Missing any bathroom and plumbing supplies? We've got you covered!
These methods serve as a guide only. We encourage you to take full caution when undertaking any project within the home.

Sean Hyland

- DIY & Building,
- Bathroom & Plumbing
How to Unblock a Toilet: The Ultimate DIY Guide

- DIY & Building,
- Bathroom & Plumbing
How to Replace a Toilet Seat

- DIY & Building,
- Bathroom & Plumbing
How to Replace a Shower Hose

- DIY & Building,
- Bathroom & Plumbing
How to Install a Shower Riser

- DIY & Building,
- Bathroom & Plumbing
How to Install a Shower Door

- DIY & Building,
- Bathroom & Plumbing