DIY & Building, Bathroom & Plumbing
How to Replace a Toilet Seat

Replacing a toilet seat is one of the many ways you can give a new look to your bathroom. Follow our easy steps below on how to replace a toilet seat.
Tools for the Job:
- Your new toilet seat
- Gloves
- Wrench (optional)
- Screwdriver (optional)
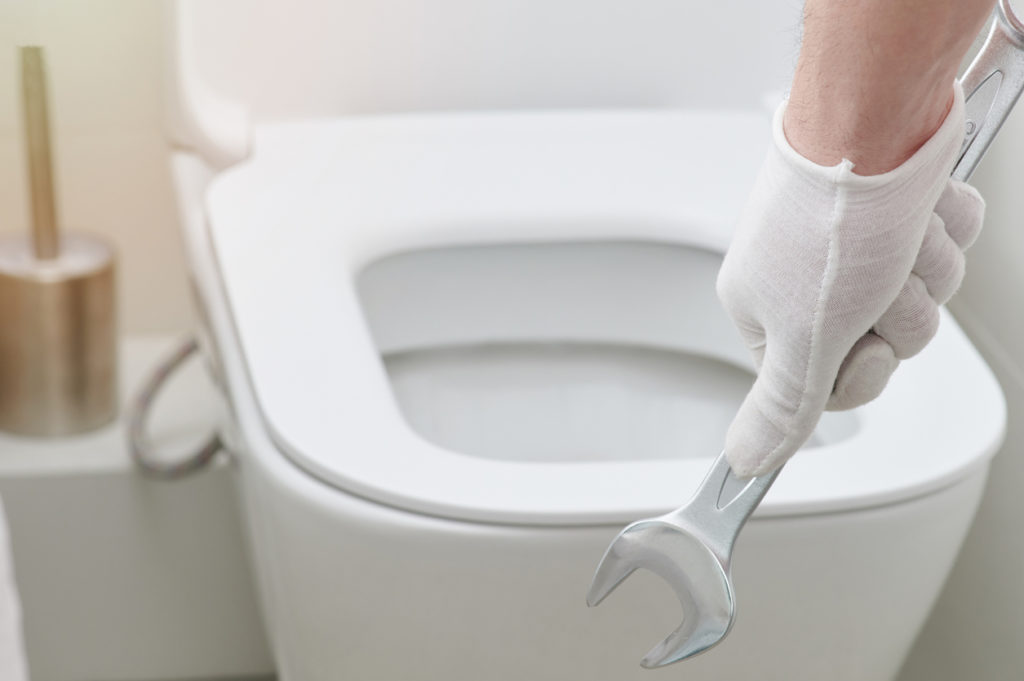
Step 1
Wearing gloves, remove the old seat and any old fittings. Every seat is different, but the release screws are usually found at the back of the seat or on the underside of the bowl rim.
Step 2
Unscrew the old fittings, you may need a wrench and a screwdriver to do this. Remove the seat.
Step 3
Assemble the fittings for the new toilet seat. As every seat is different, take time to read the manufacturer's instructions.
Step 4
Attach the new fittings through the bold holes in the rim and hand tighten. Do not over-tighten as you will need to adjust them when the seat is on.
Step 5
Click the bolt caps and place the new seat in position. Line up with the bolts and ensure the seat is centred on the bowl prior to tightening.
Step 6
Hand tighten the bolts or use a wrench if necessary.
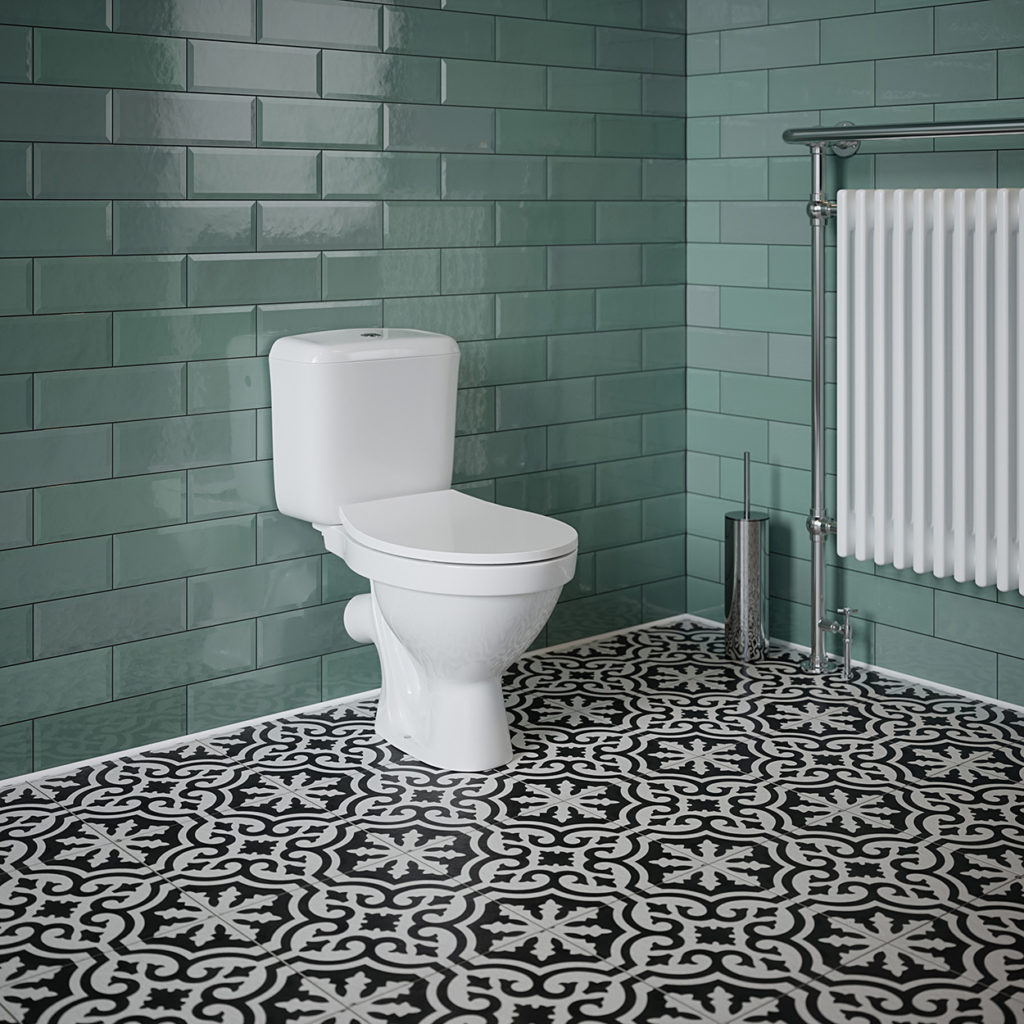 Tema Anti-Bacterial Slimline Wrap Over Toilet Seat
Following these steps, you'll be able to replace your toilet seat quickly and easily. Browse our toilet seat range to find the perfect toilet seat for you.

Woodie's

- DIY & Building,
- Bathroom & Plumbing
How to Clean a Glass Shower Door: A Step-by-Step Guide

- DIY & Building,
- Bathroom & Plumbing
How to Install a Shower Door

- DIY & Building,
- Bathroom & Plumbing
How to Install a Shower Riser

- DIY & Building,
- Bathroom & Plumbing
How to Replace a Shower Hose

- DIY & Building,
- Bathroom & Plumbing
How to Replace a Ballcock & Float Valve

- DIY & Building,
- Bathroom & Plumbing